Table of Contents
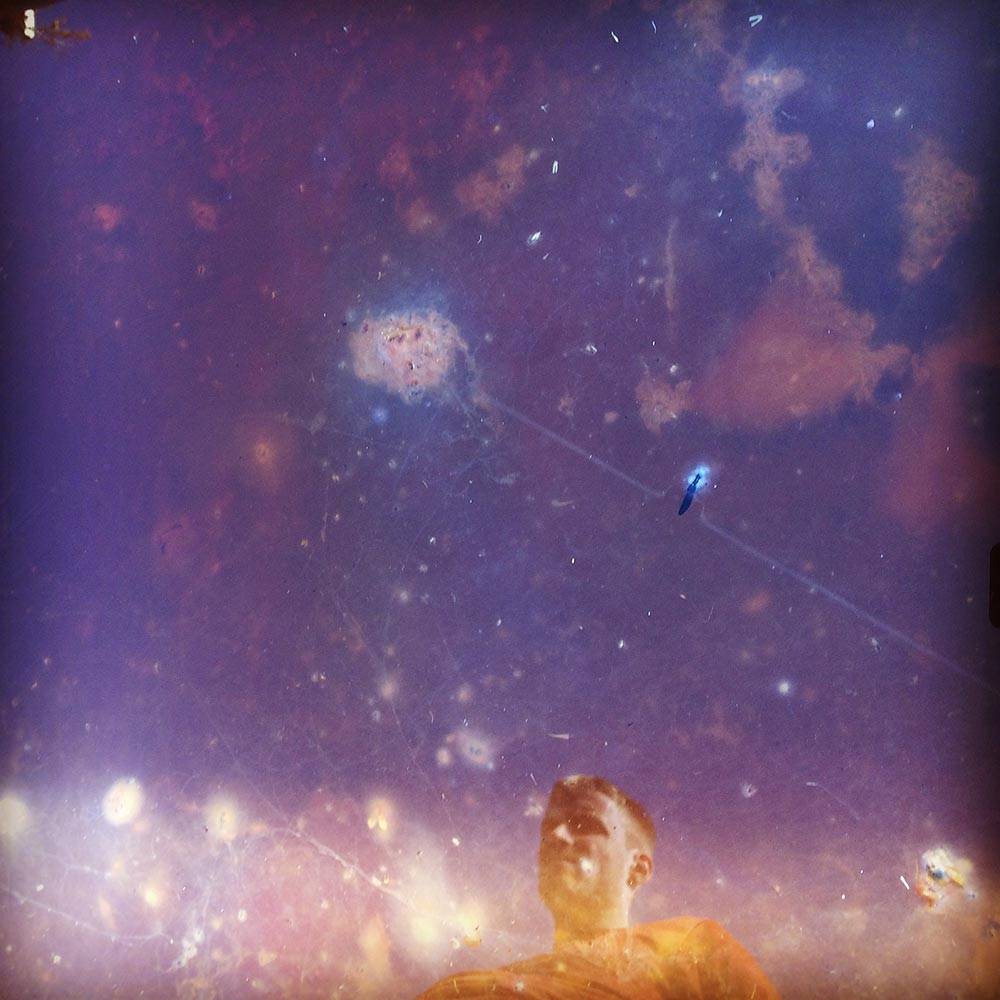
Sculpting with Skin
a series of experiments by AnneMarie Maes and Anastasia Pistofidou
This project is about research and finding solutions. We go all the way for the experiment!
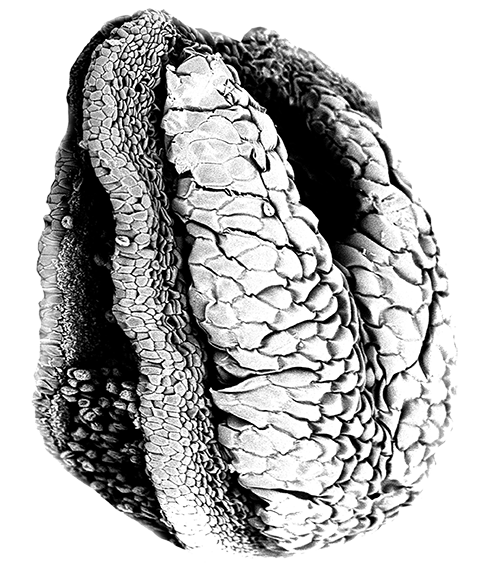
The project focuses on growing Intelligent Guerilla Beehives from scratch, with living materials - as nature does. Biomimesis is used as a starting point for incubating ecological thinking on matter and form. Different sensorial qualities of SKIN will be examined in terms of usefulness for sensing environmental threaths and for monitoring the wellbeing of the bee colonies.
Our manufacturing with nature is planned over several steps (2017-2018).
As designers, scientists and artists we build a platform for art/science projects through digital fabrication experiments and traditional craftmanship. We want to change the cultural perception of bacteria, mushrooms, algae and any other bio-agents and promote the idea of sustainability through biomimicry and biohacking. At the same time, we want to develop new -interactive- materials with multiple life-cycles.
Info on working with Microbial Skins
Springer paper
MOST RECENT POSTS ON TOP OF THE PAGE
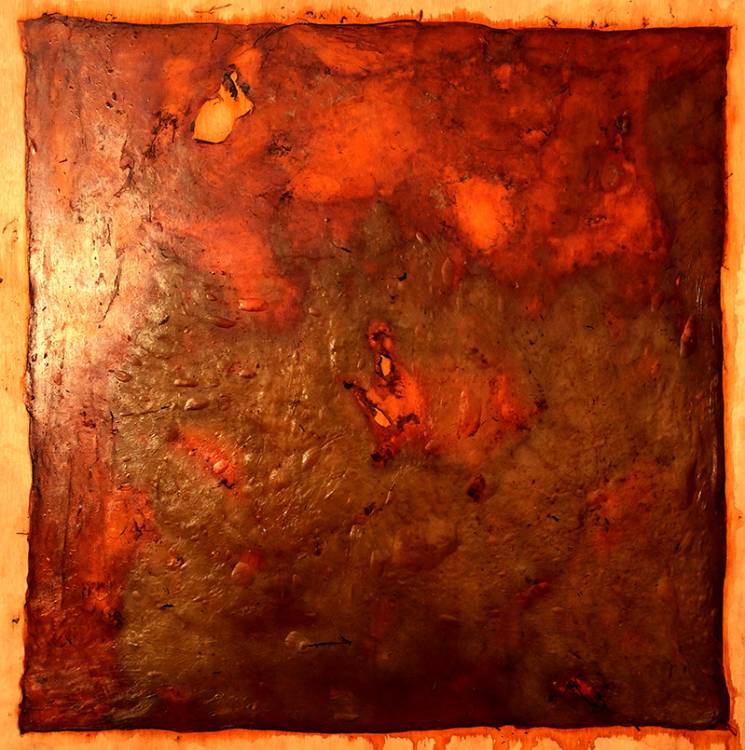
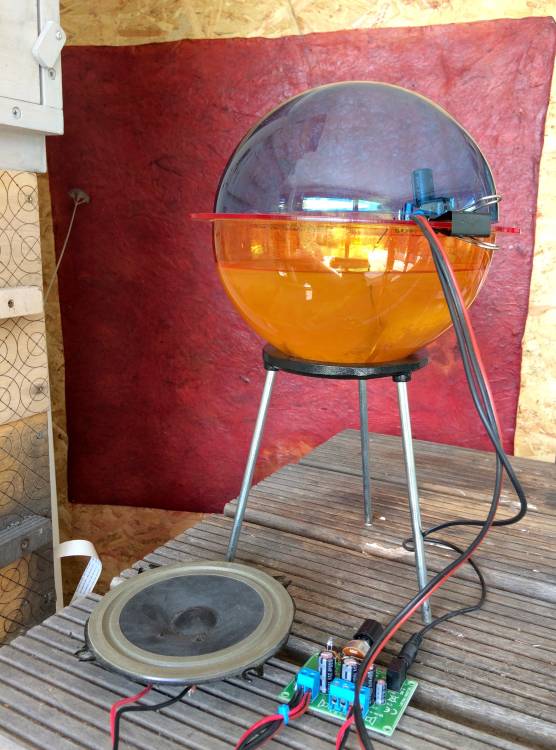
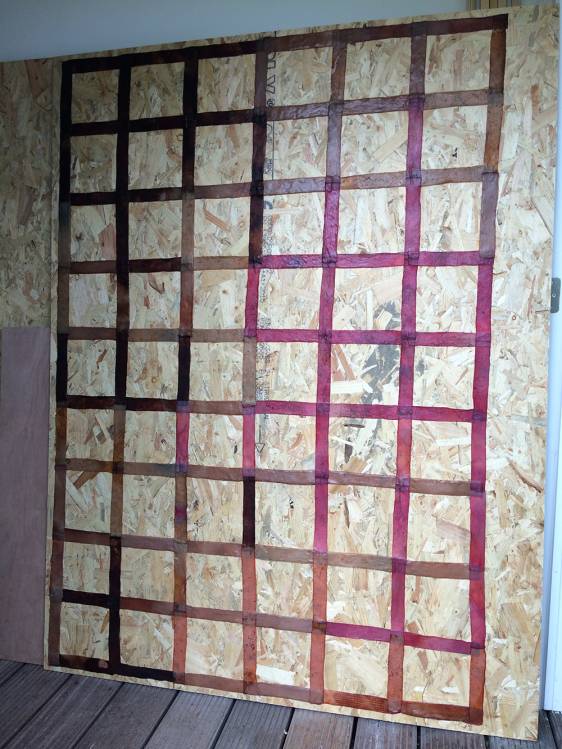
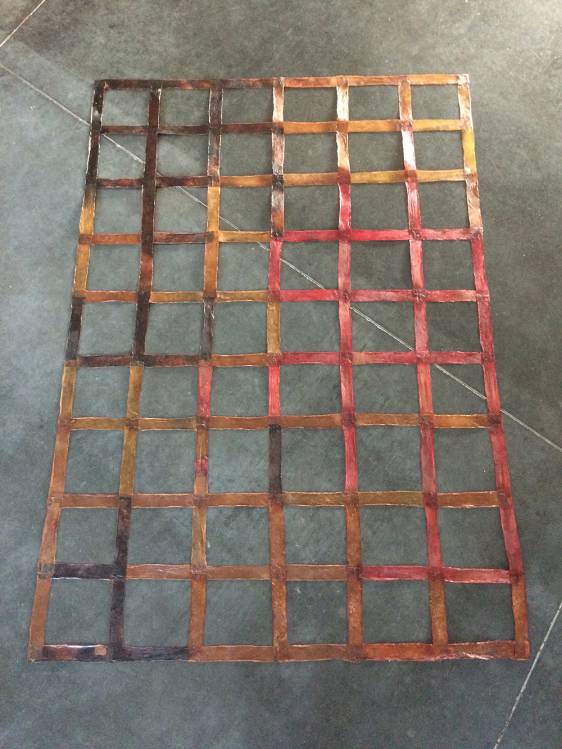
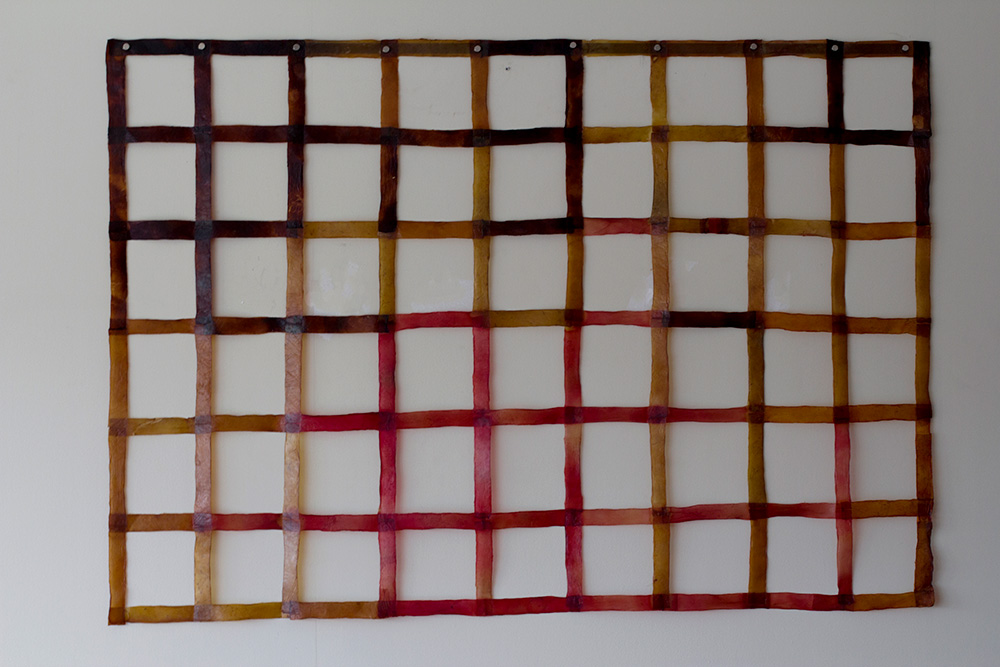
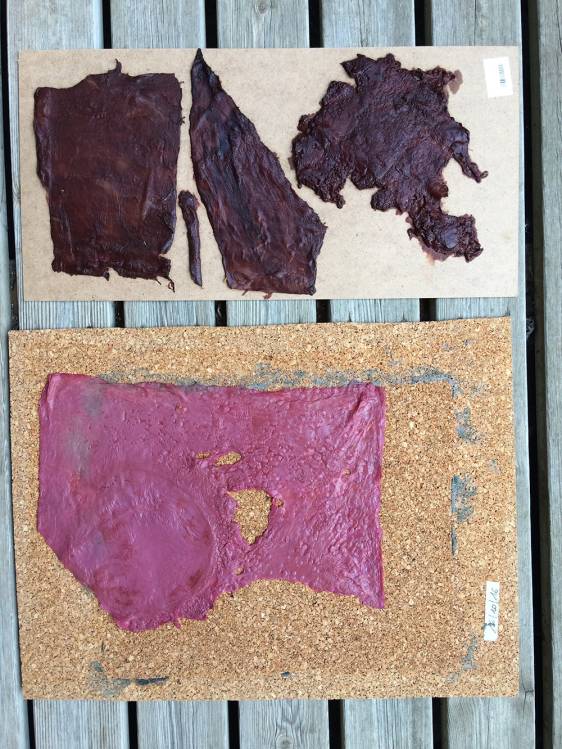
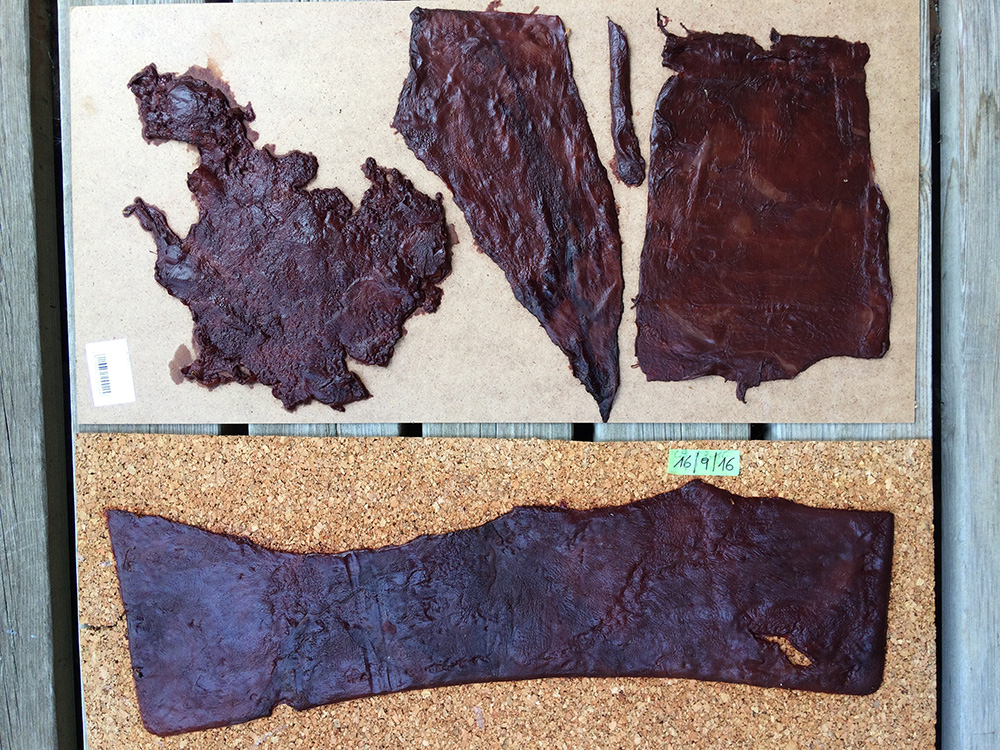
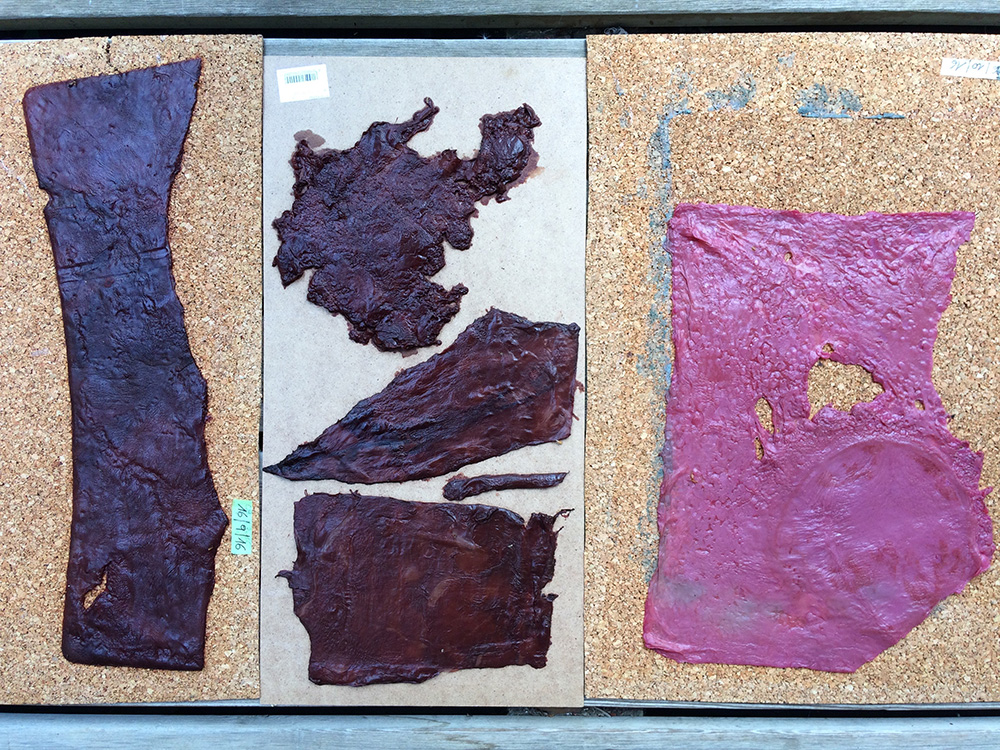
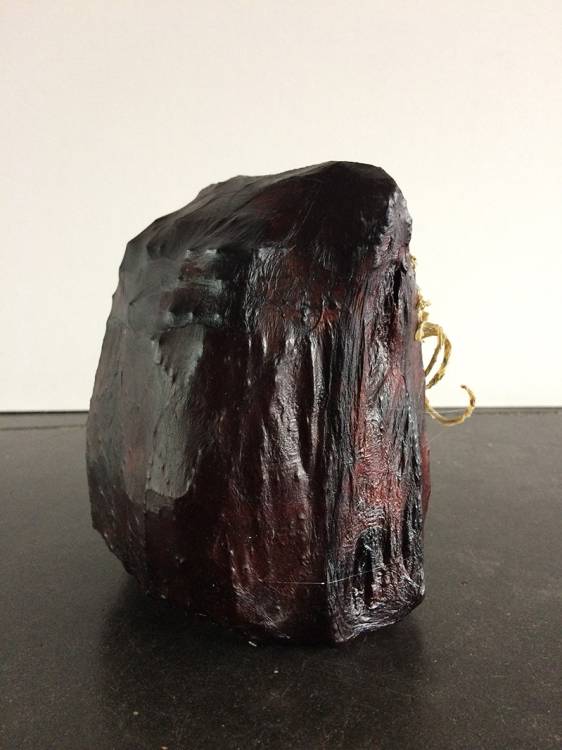
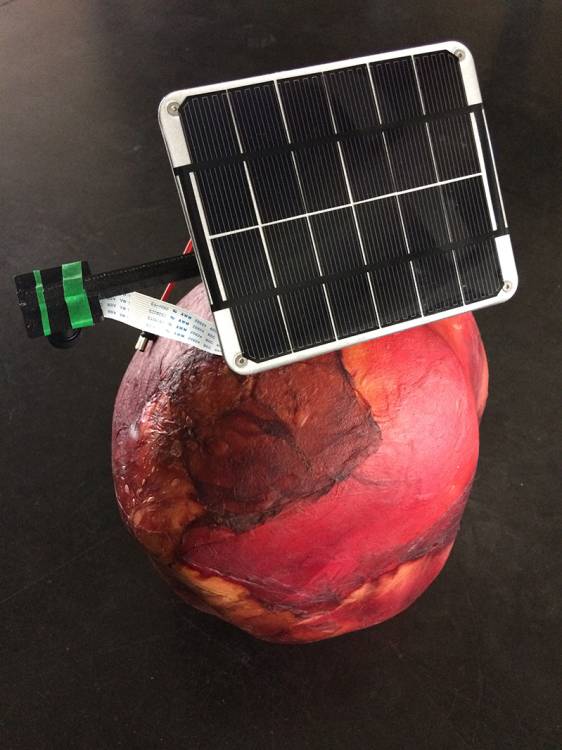
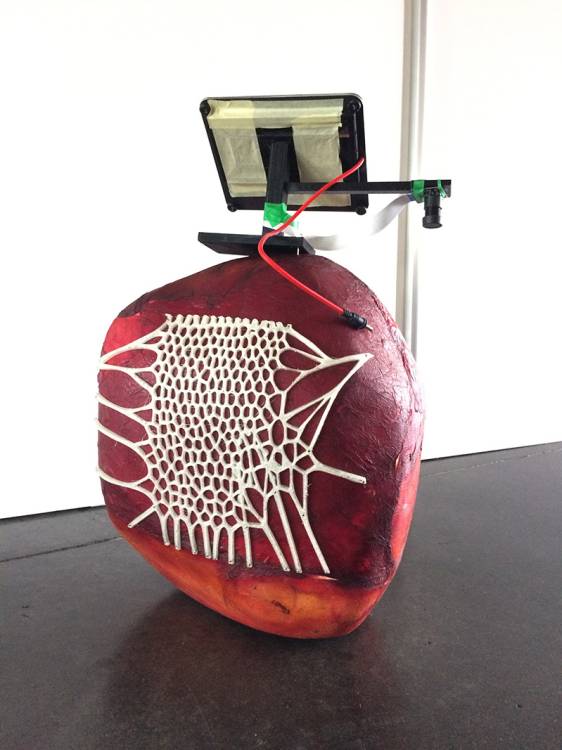
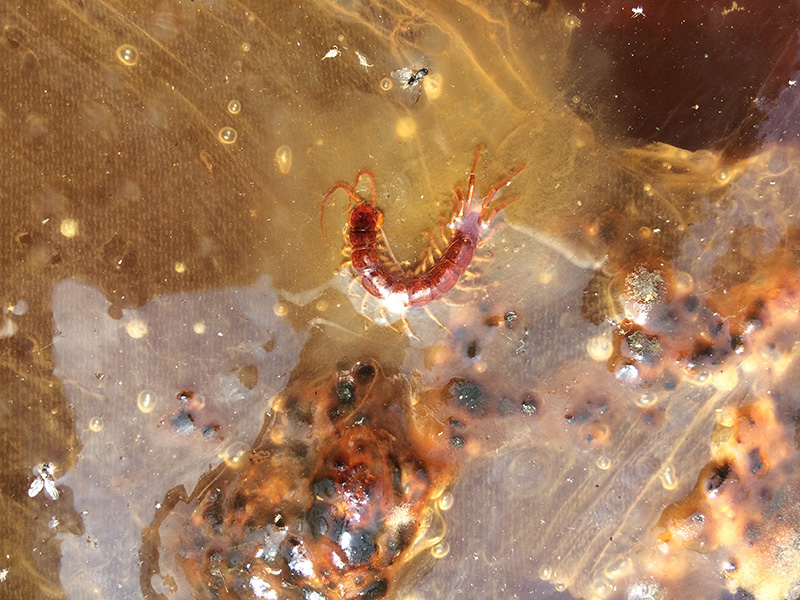
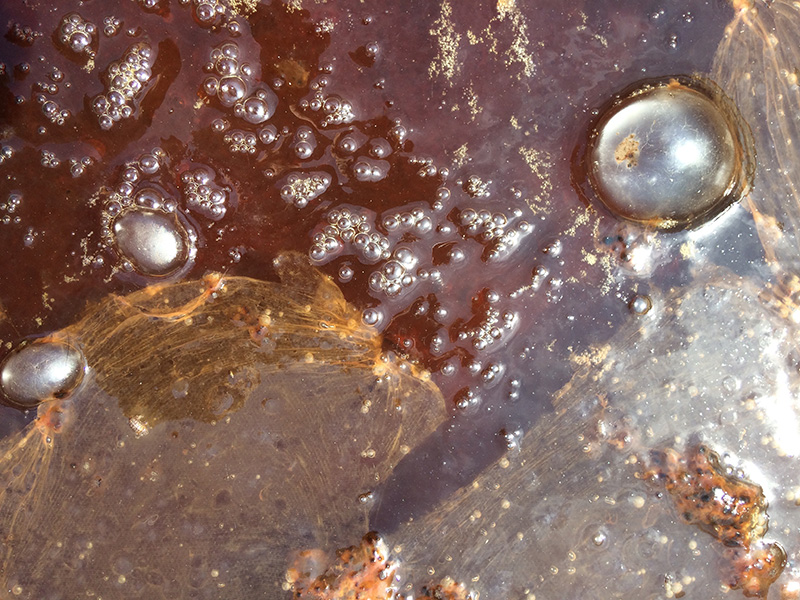
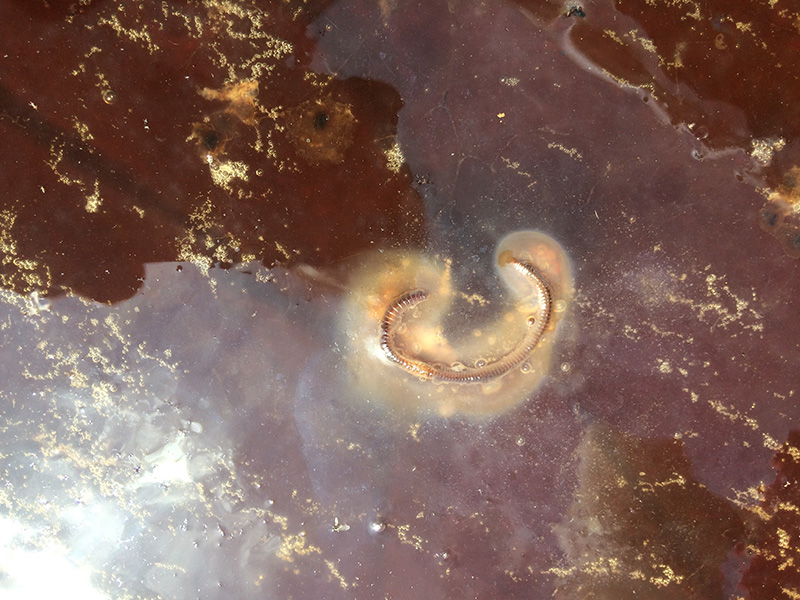
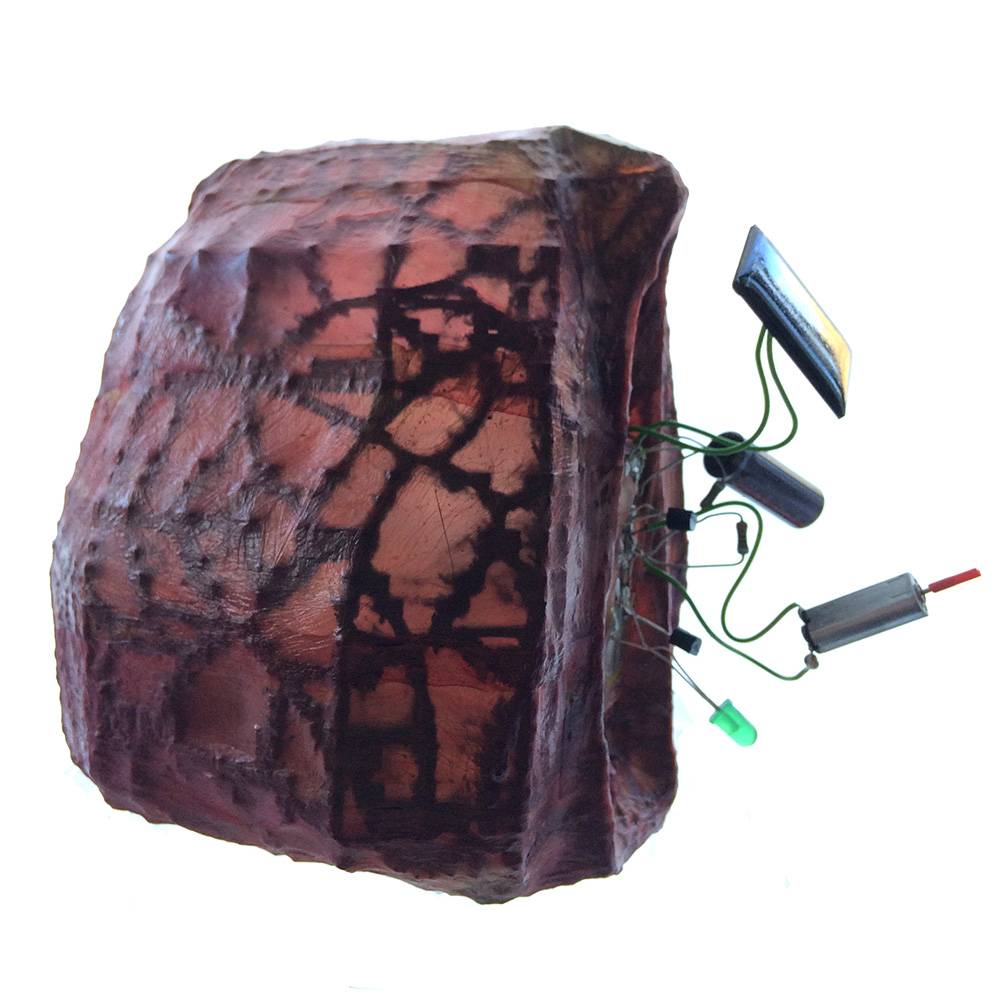
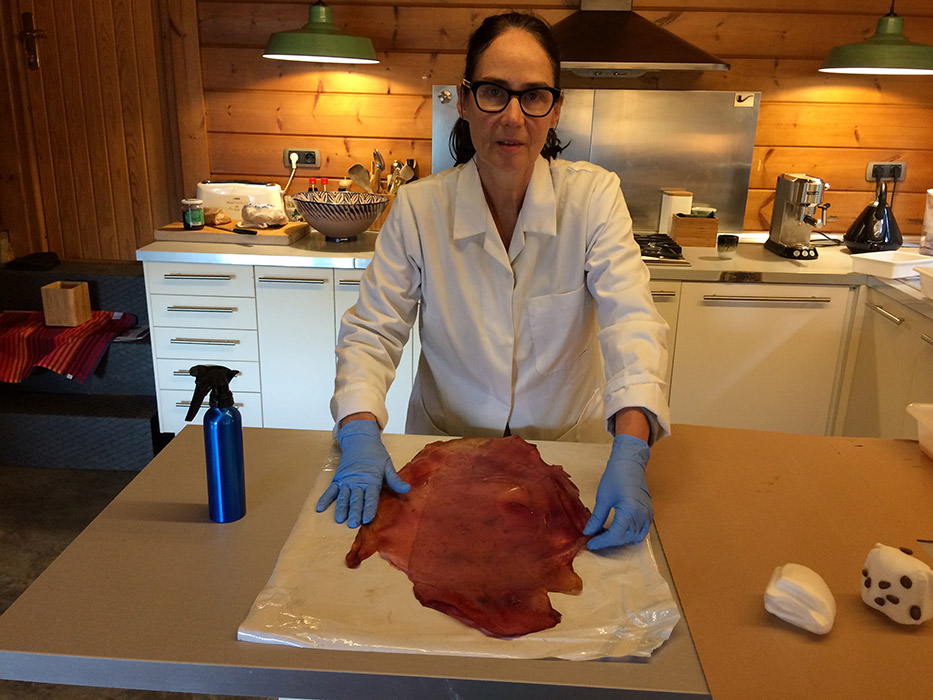
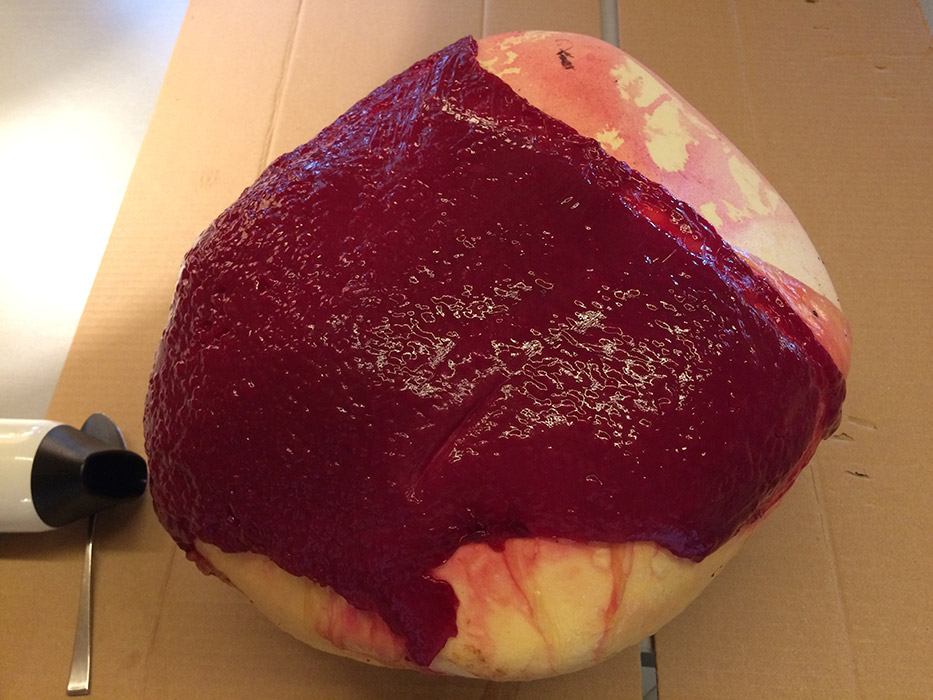
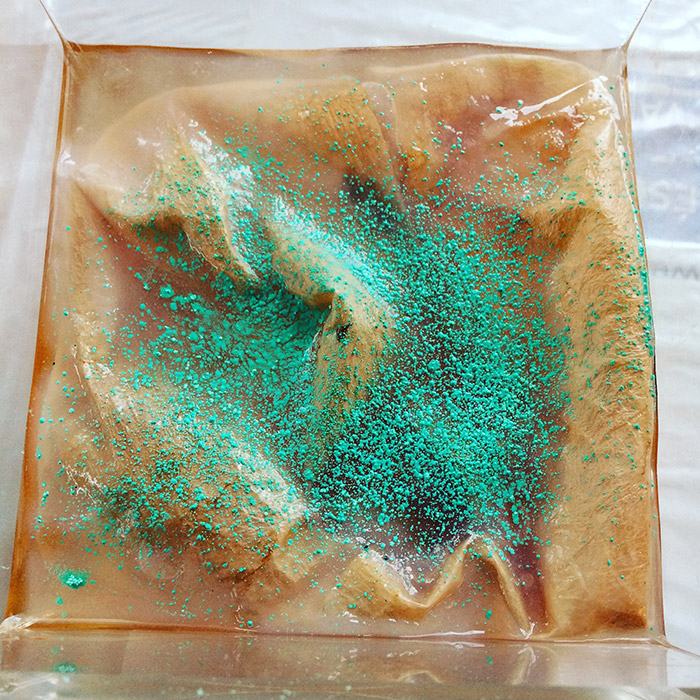
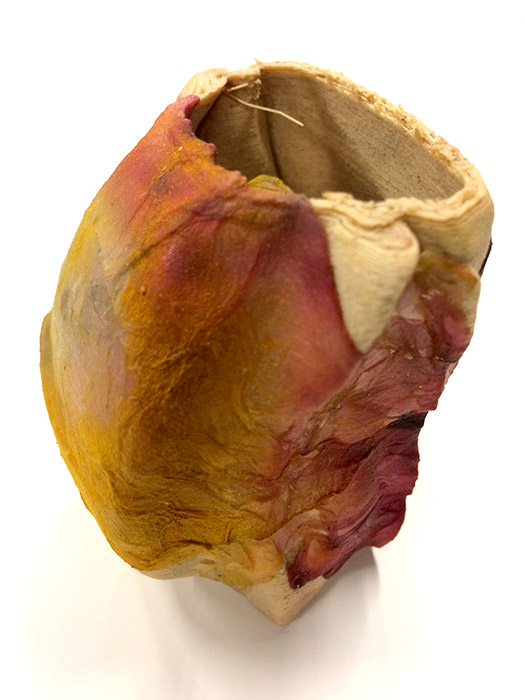
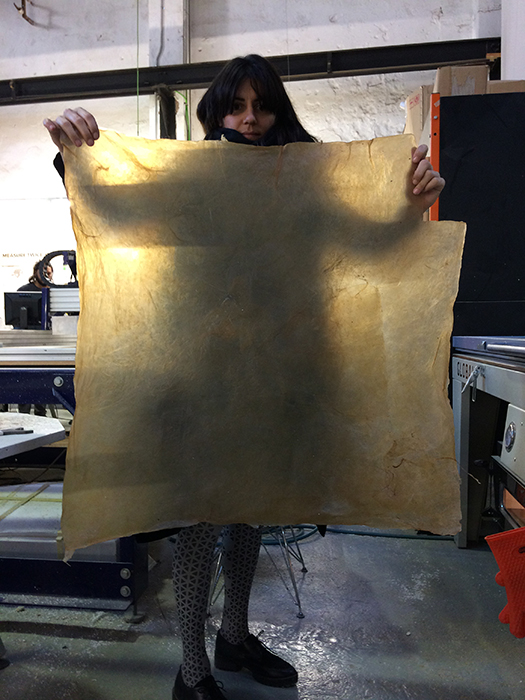
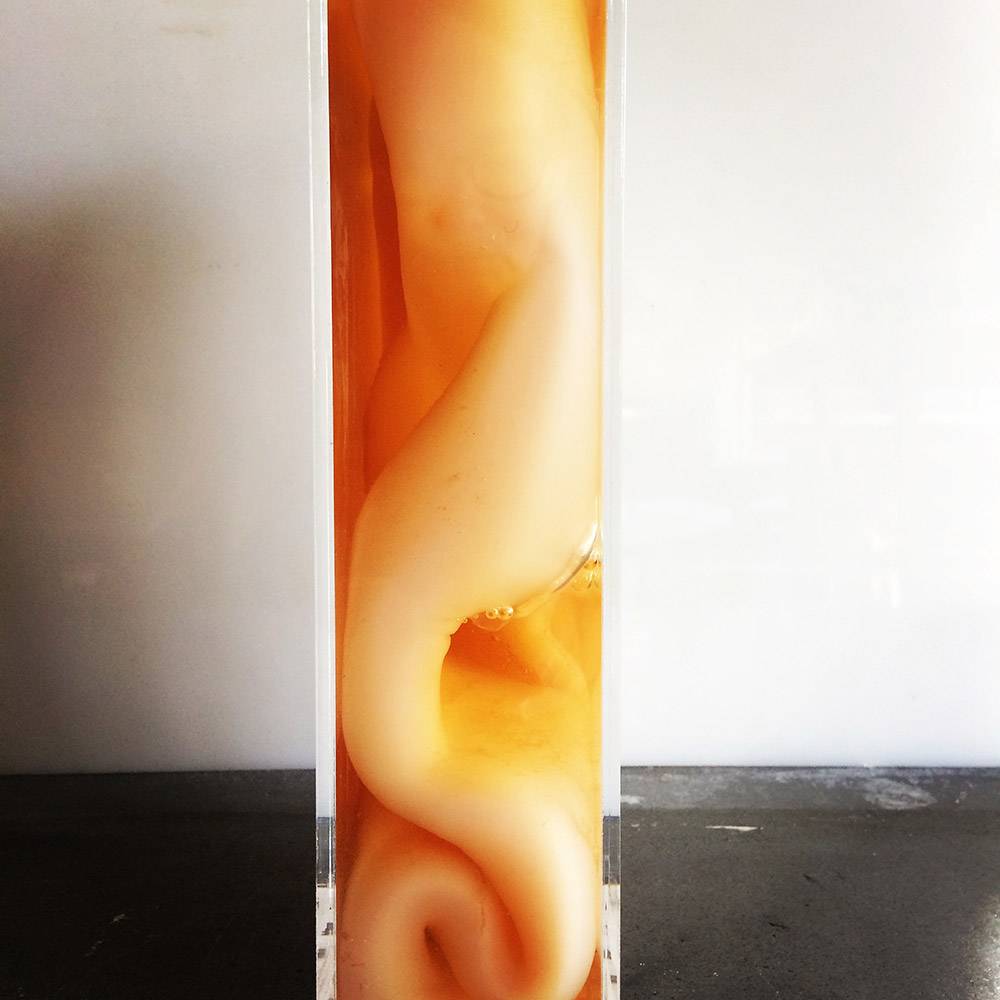
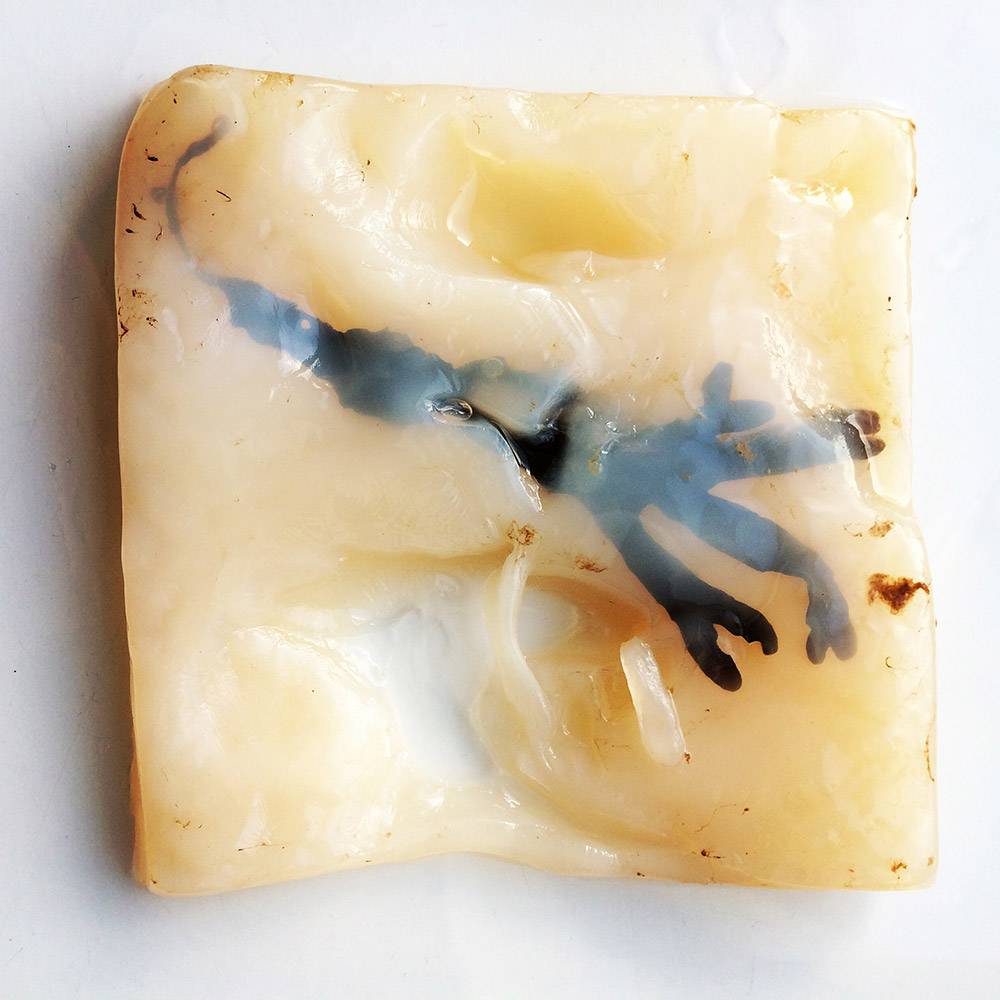
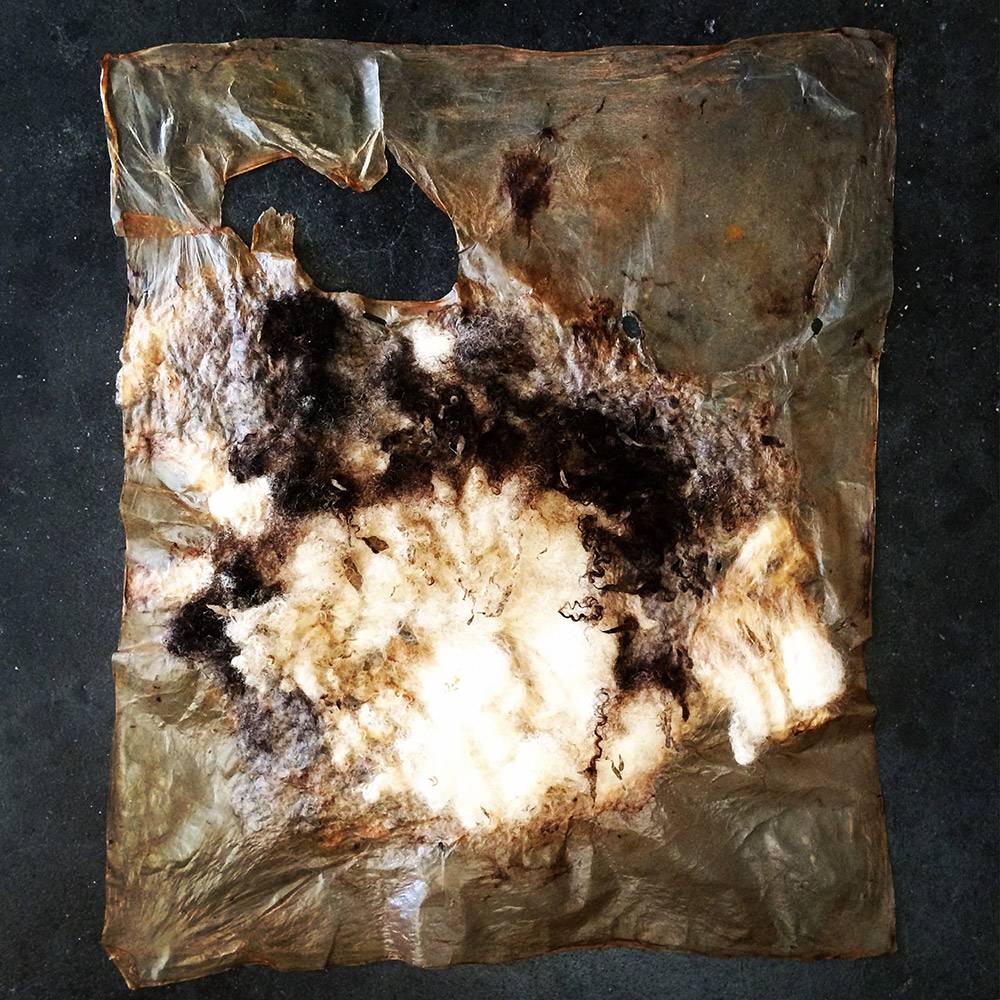
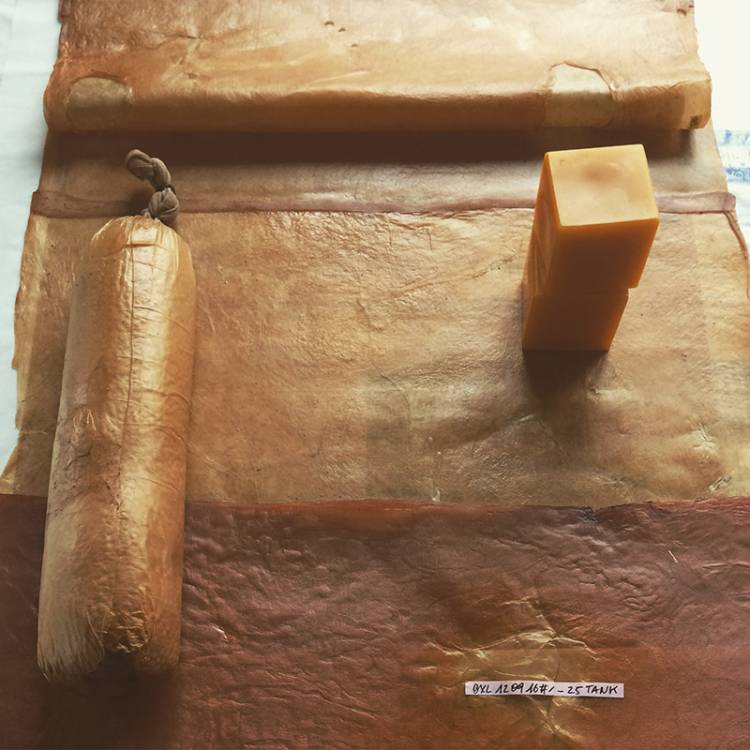
7/6/2017 results of sculpting with skin in Brussels
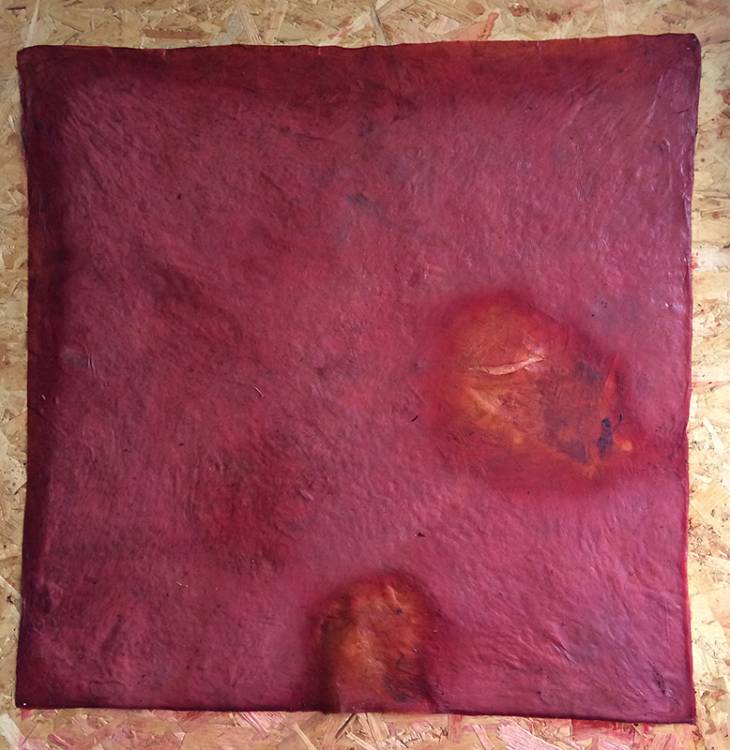


1/6 growing skins in Barcelona

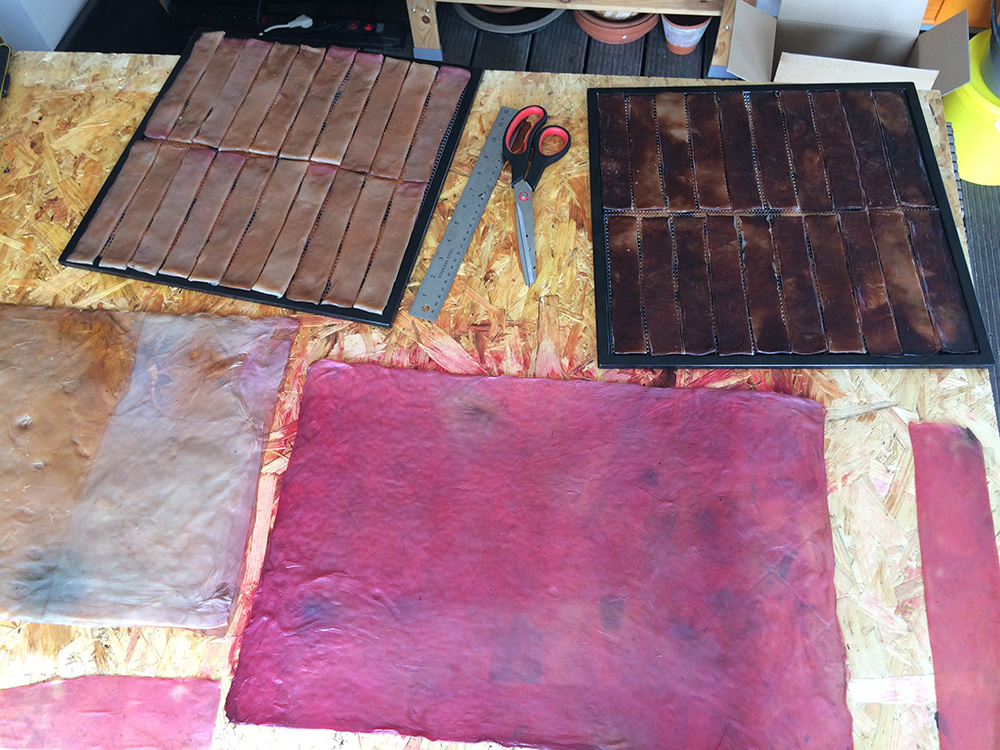
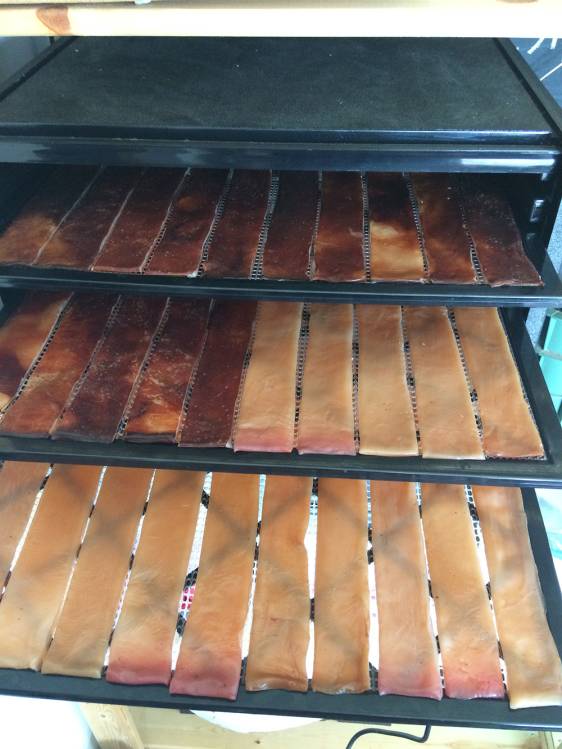
18/4 onwards... cut and paste, skin patterns and results

10/4/2017 - grow your own beehive
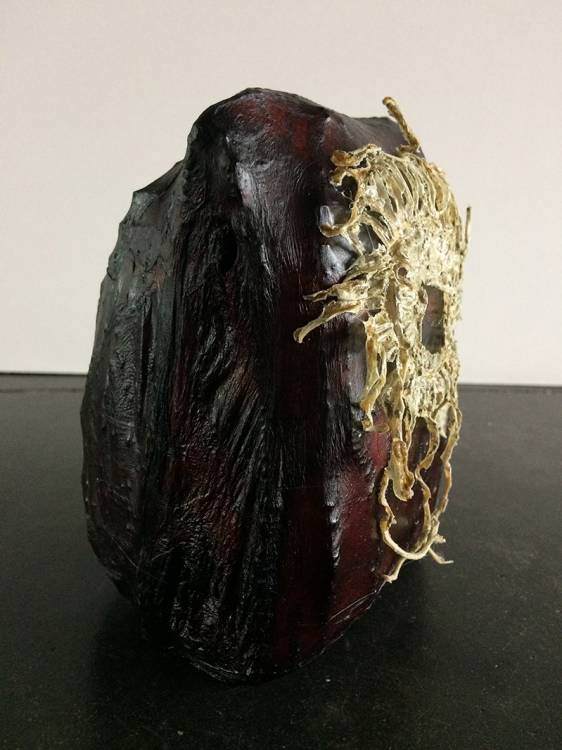
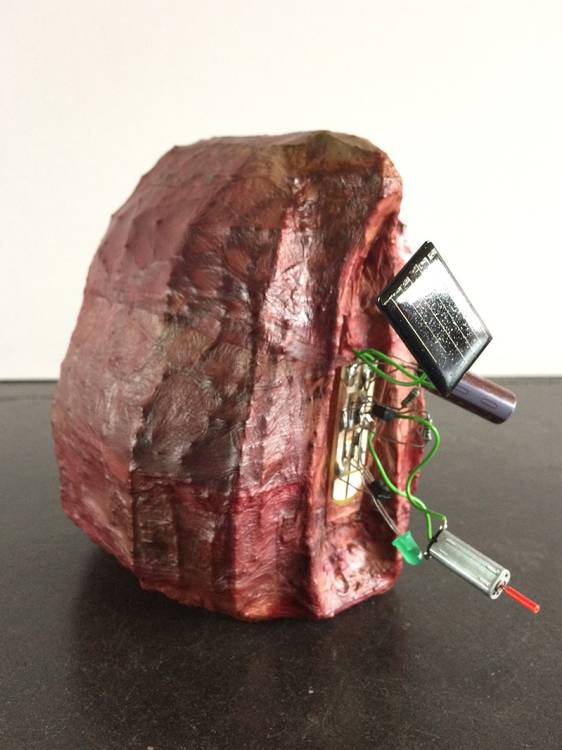
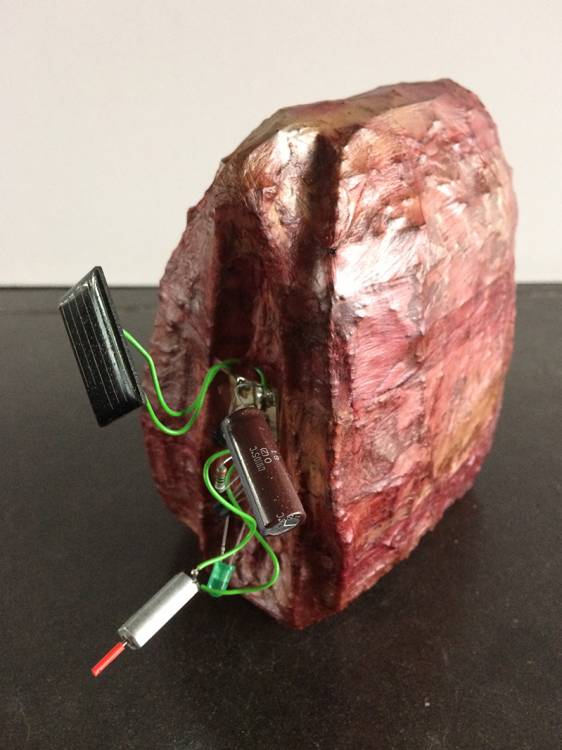
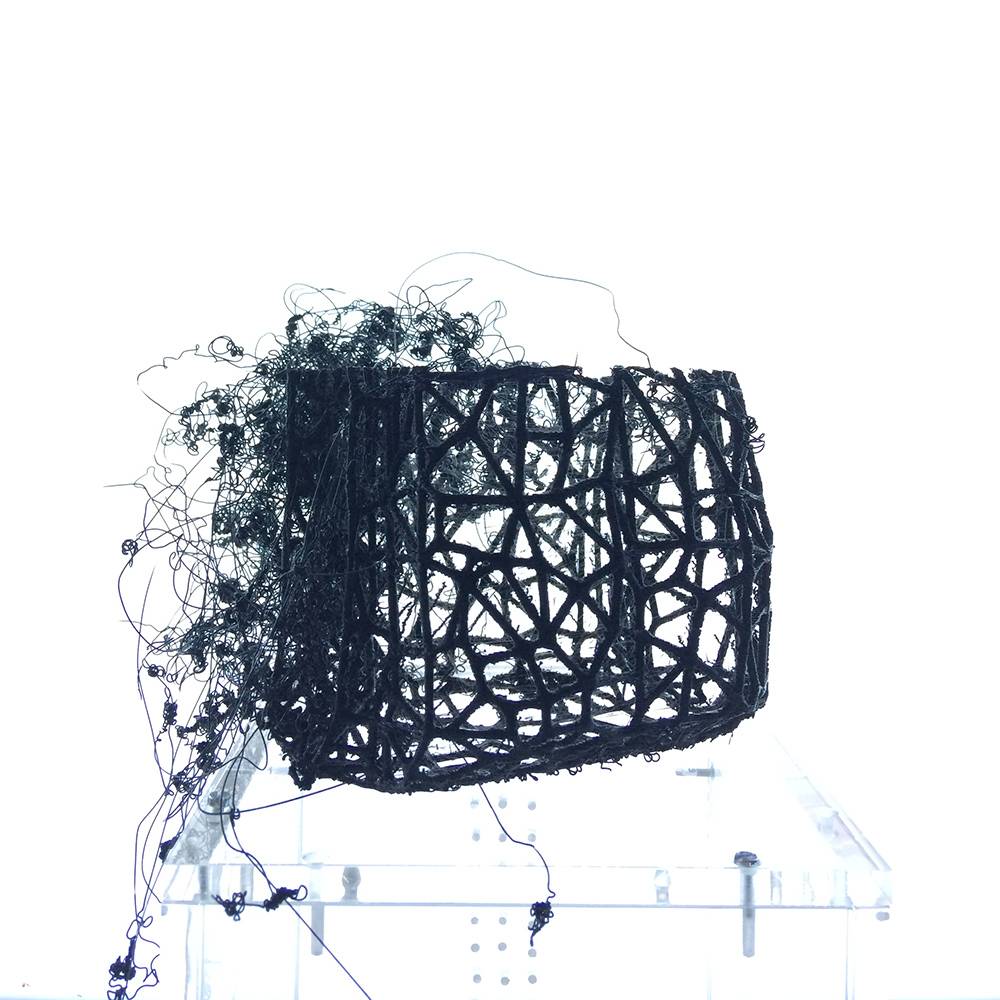
Assemblage-based sculptures in industrial and organic materials, exploring the confluence of science and the natural world.


8/4/2017 - large growing container


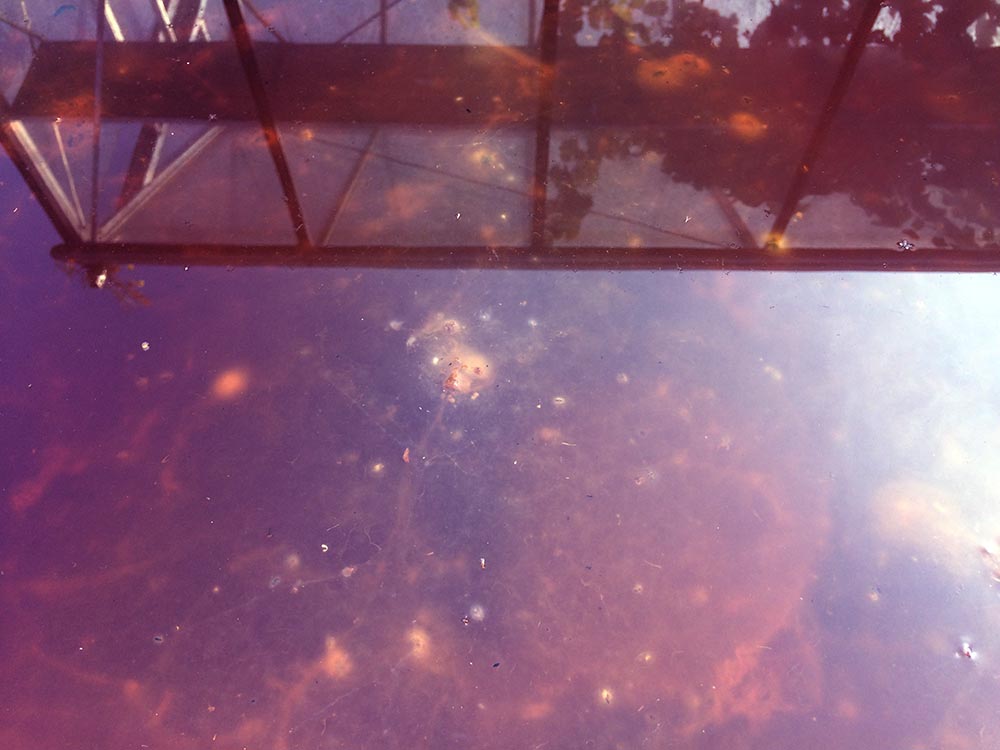

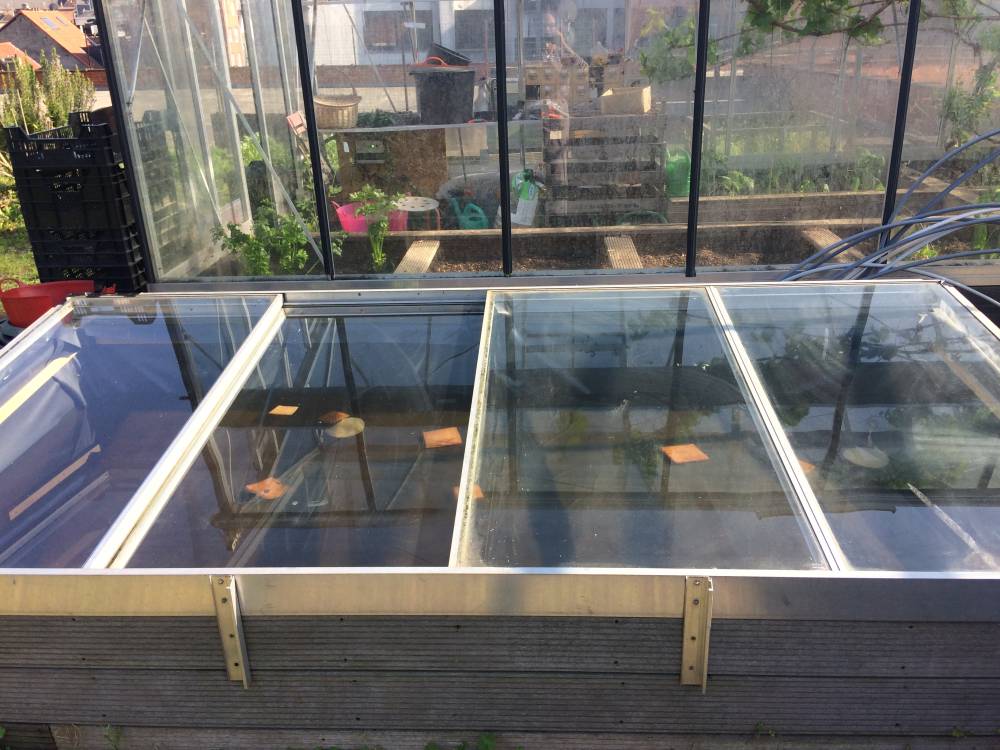
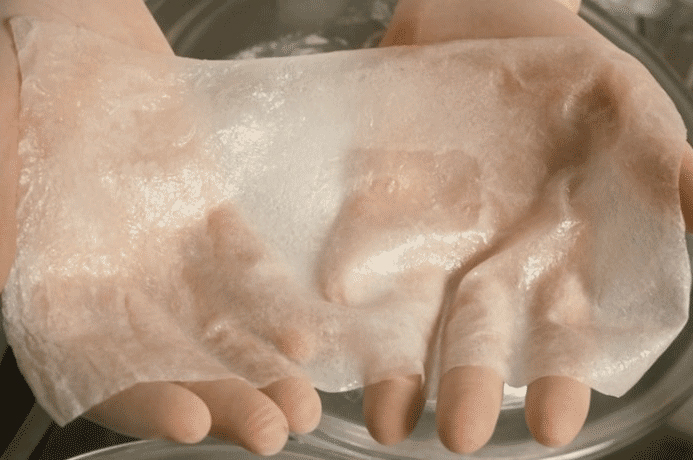
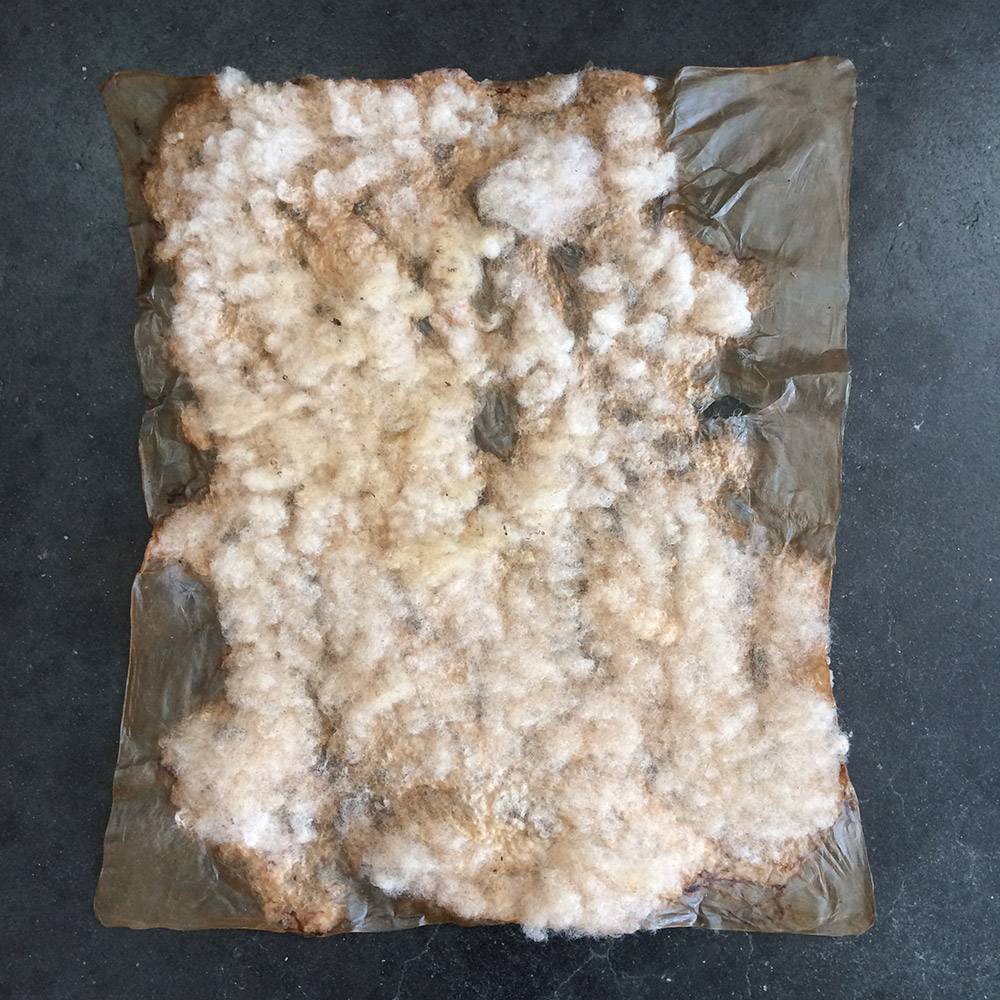
Saturday March 8th Marcin and me transformed a low greenhouse (330cm x 150cm) into a large grow-container for skins. It was 25°C, the ideal temperature for a culture start-up. We flattened the soil in the old greenhouse and we clad the bottom and the walls with a thick black pond-plastic. I made a growth medium with 30 buckets (of 10liters = total 300l) demineralised water, 30kg of sugar, 225 teabags, 8 scoby's and 3l starter liquid. The total liquid was ± 10 to 15cm in height.
The t° in the glass-covered greenhouse -I left some 'aeration holes' at both sides- rose quickly to 25°C, but at night it dropped to 14°C. But the worse had still to come. After a few days, the weather took a turn down and for 3 weeks in a row now, the weather is really below average normal temperatures for this time of the year. Sometimes it even freezes at nights! Average temperute in daytime is about 10 to 12°C. This bad weather gave me quickly a mold invasion during the first days. As a remedy, I added a bottle of white vinegar (1,5l) and another 3 liters of 'old' starter liquid with a very acid Ph. This more acid environment killed the mold, but at the same time the medium was too acid for a skin culture to take off. In 1 week temperature should finally become a bit higher. I will add another few liters of green tea with sugar and I hope the fermentation process will take off and the scoby mothers will start growing a skin… finally …
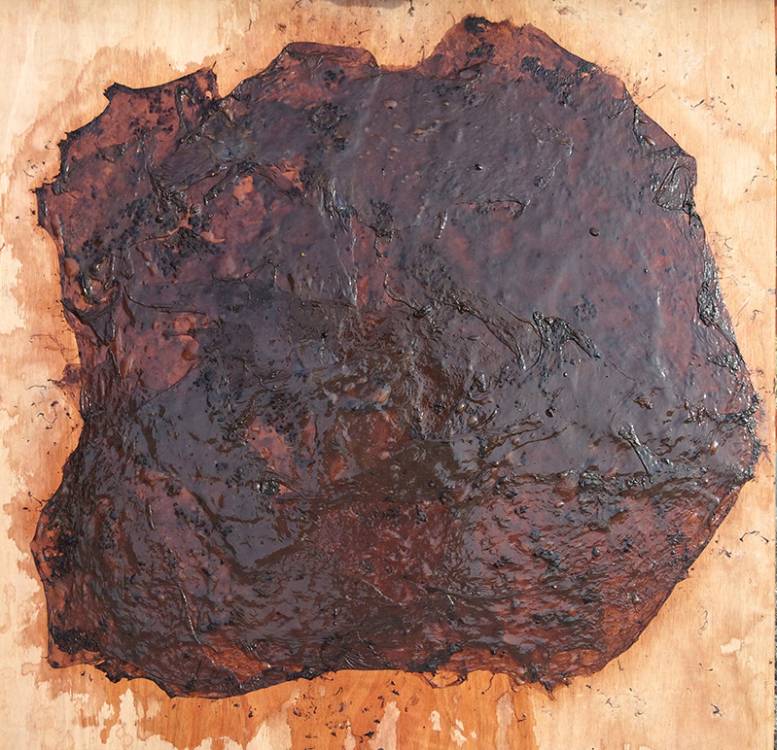
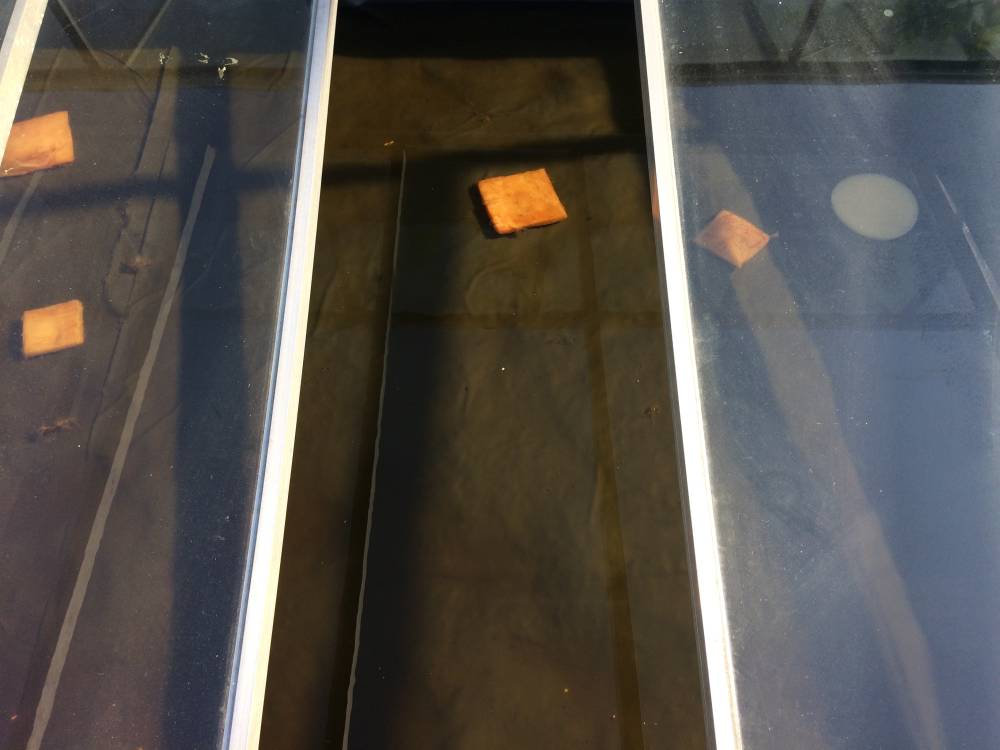
04052017 - Despite the ultra bad weather this whole month of april 2017, even continuing now beginning of May, the skin in the big batch container is starting to grow. It is still ultra thin and has a lot of (fermentation) bubbles. The acidity Ph is 3 and on May 4th at 6pm, the temperature of the growthmedium was 15°C. I guess it will take another few weeks at least before the skin is strong enough to harvest.
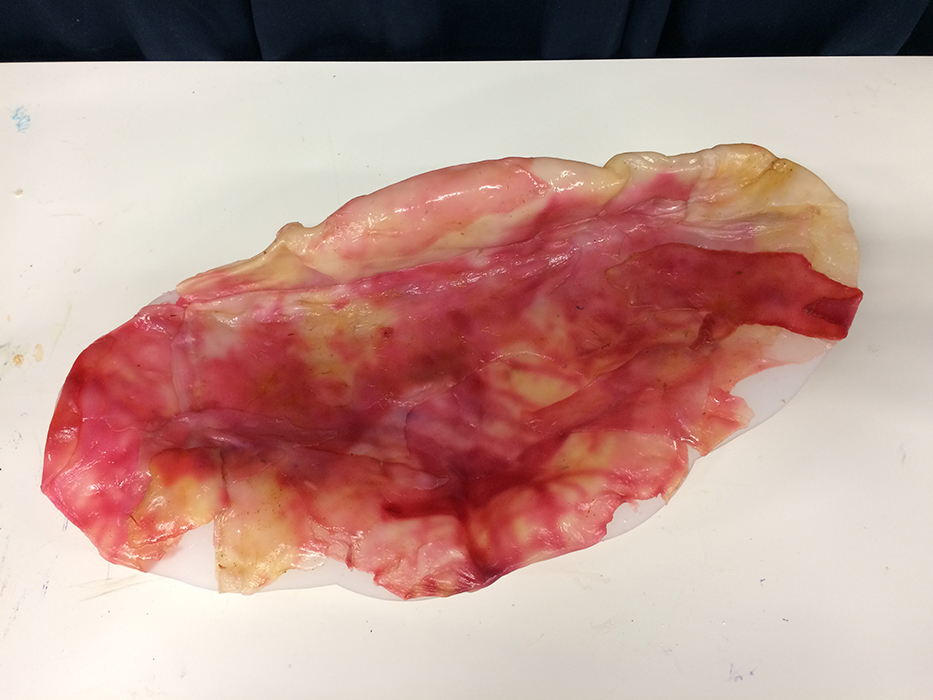
Contrarely, the skins that I've put to grow in the greenhouse are doing well. Both started the skin formation after a few days and they continue … I will harvest them beginning of June.
30/3/2017 - digital modelling
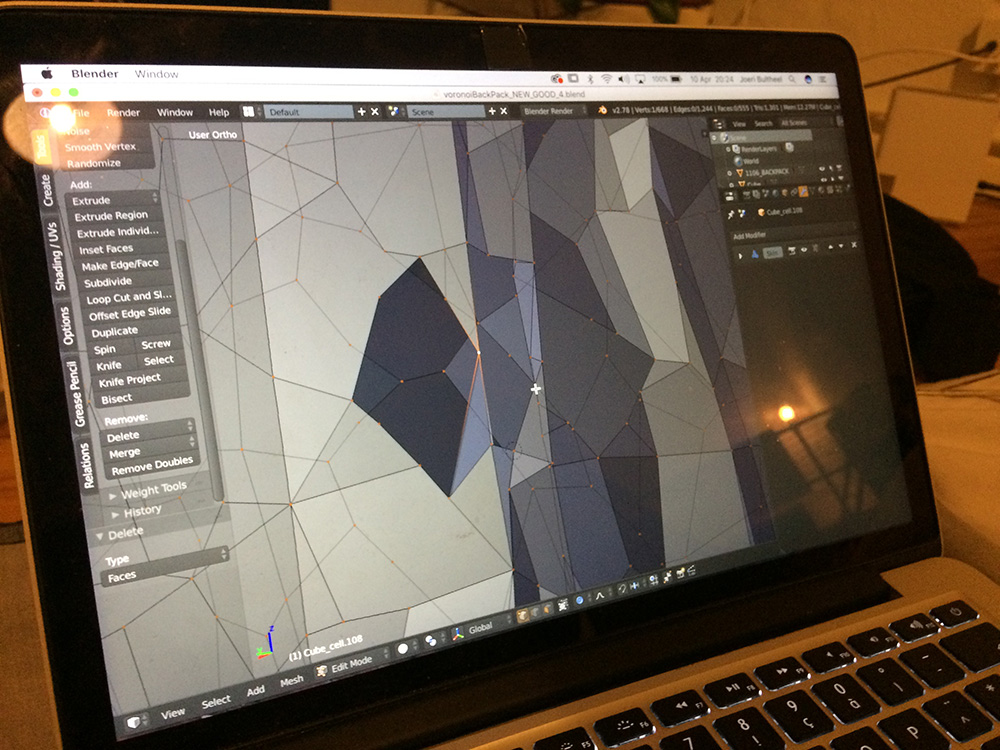
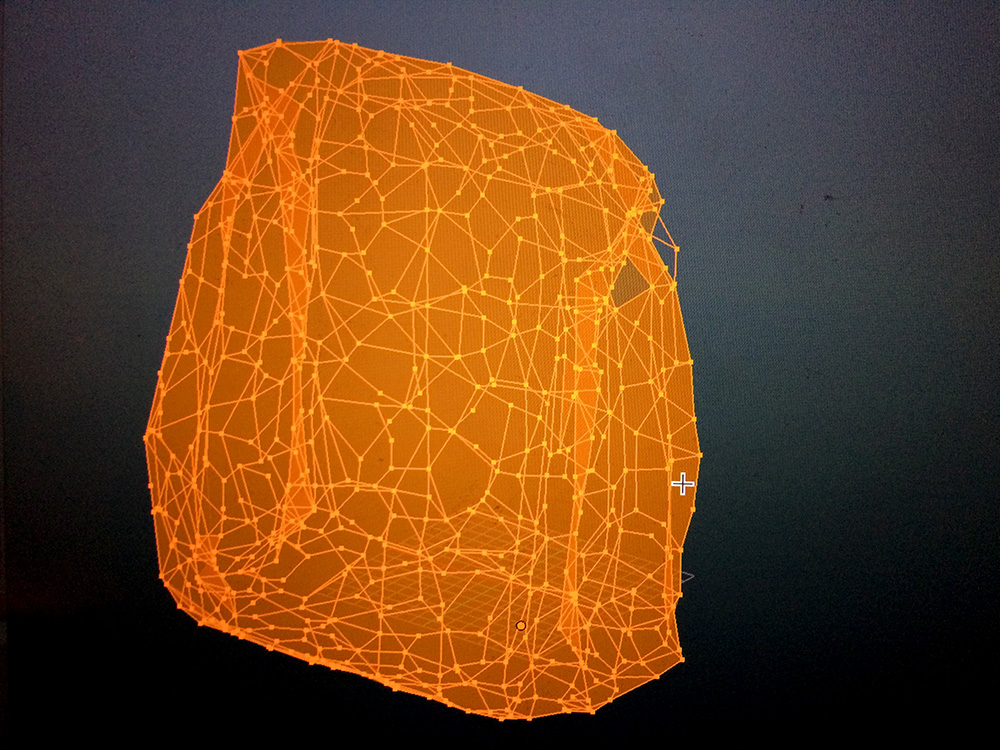
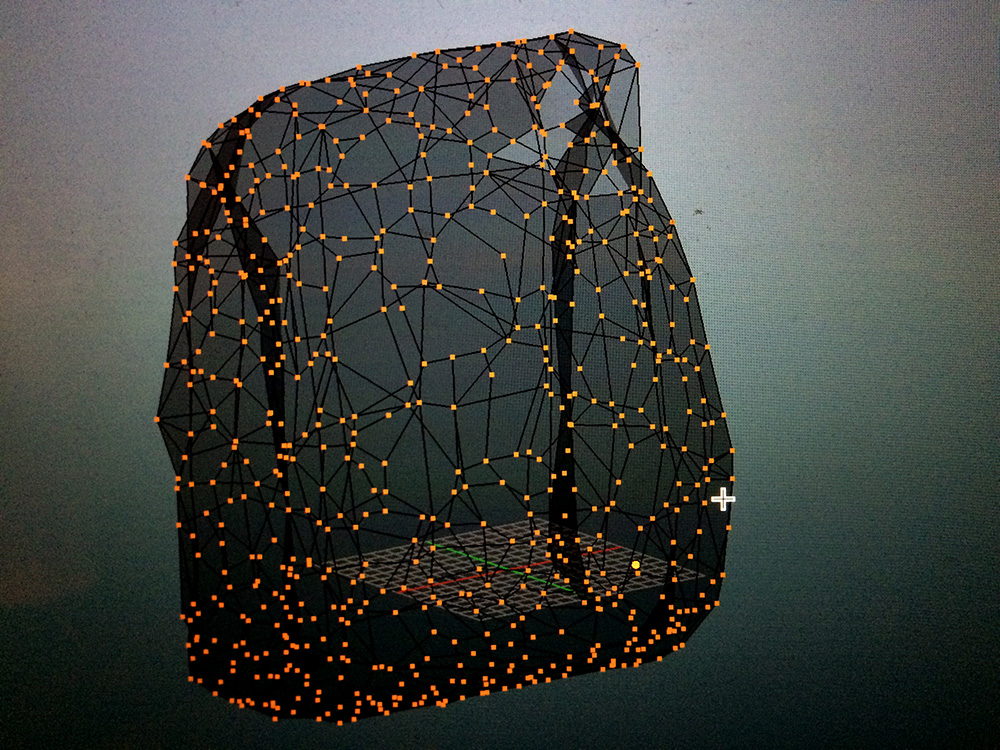


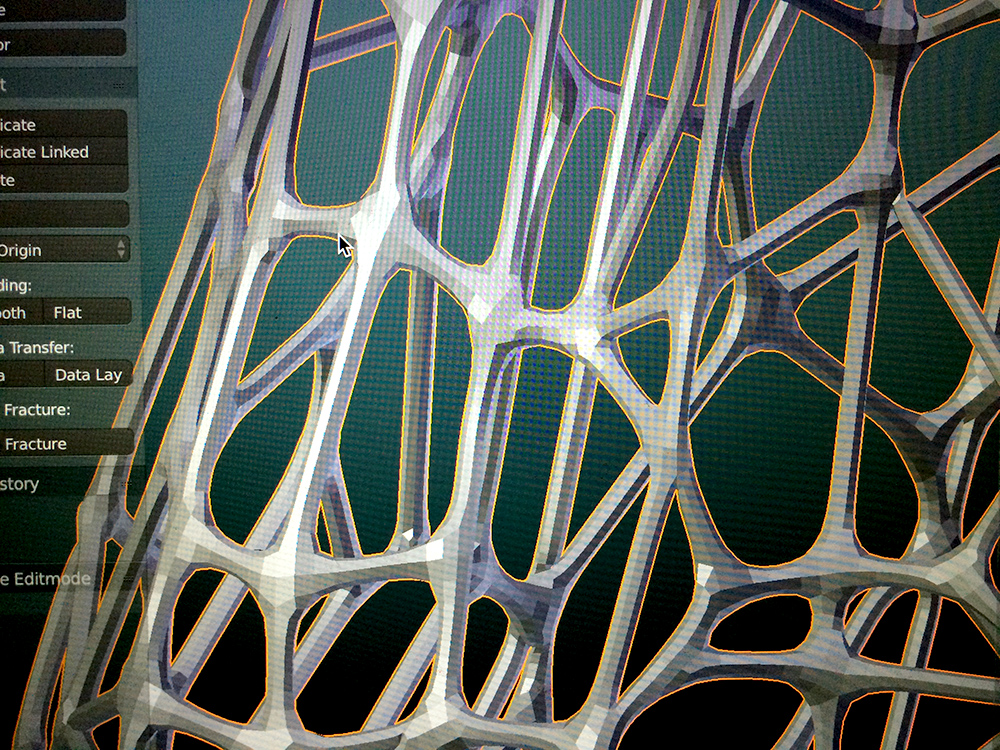
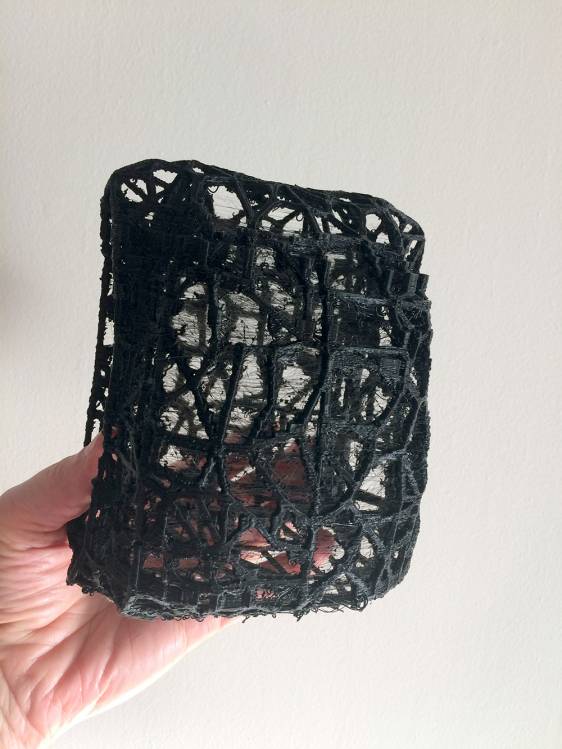
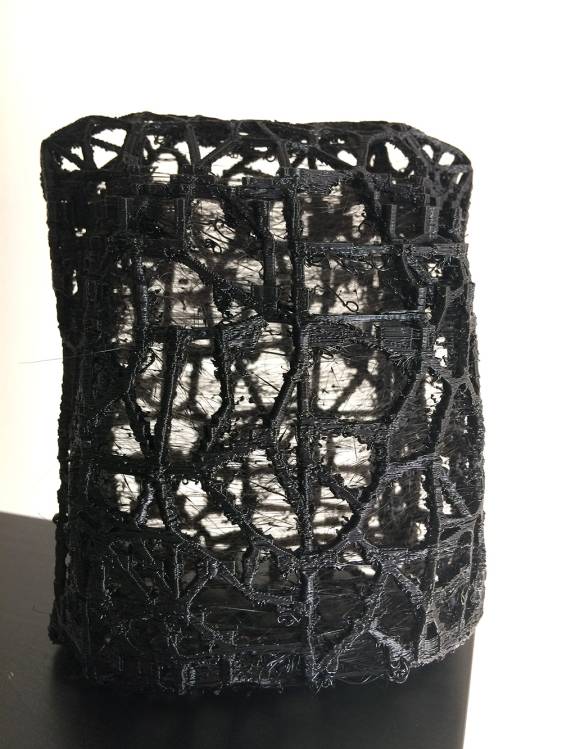
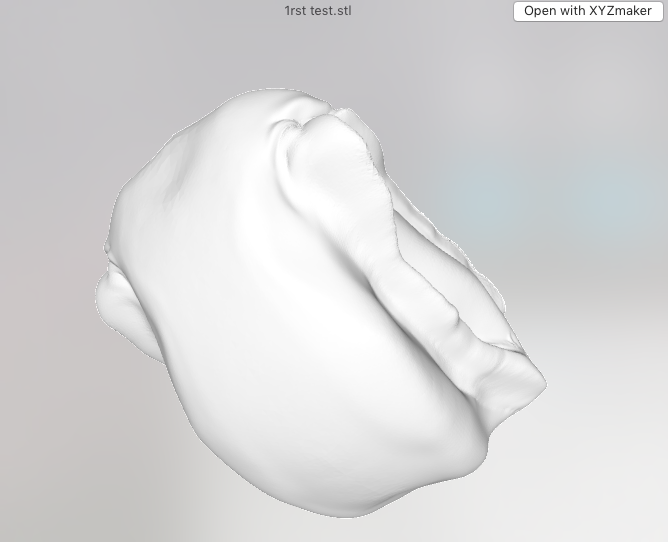
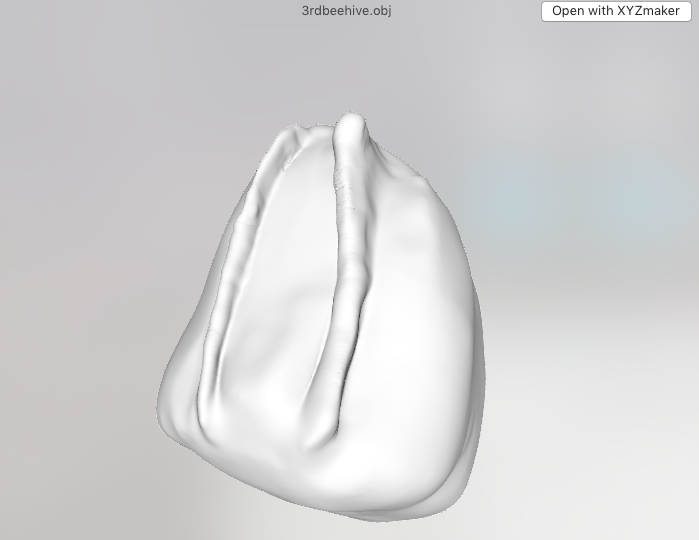
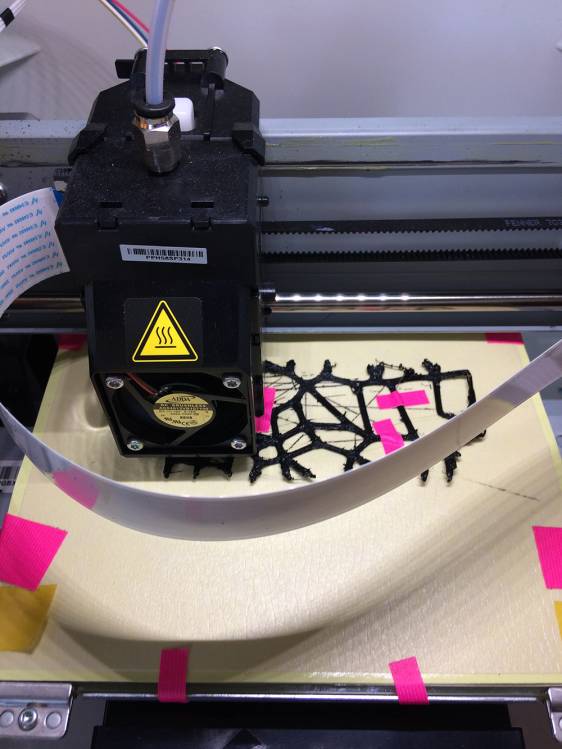
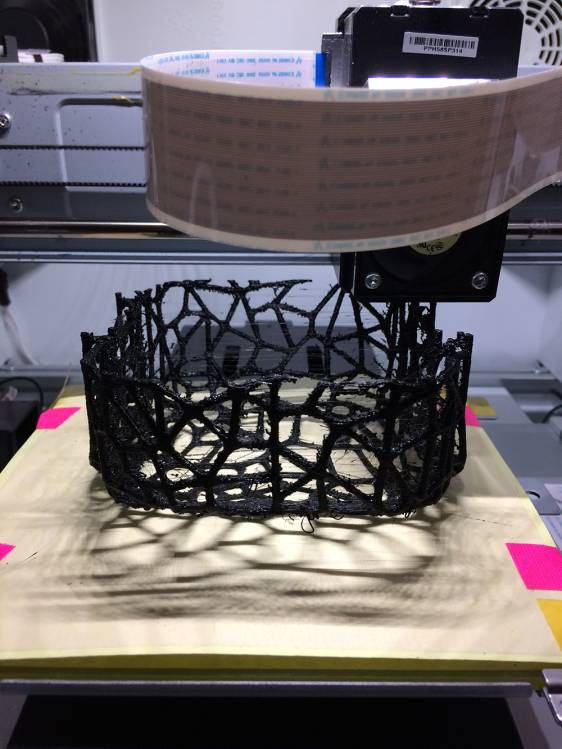


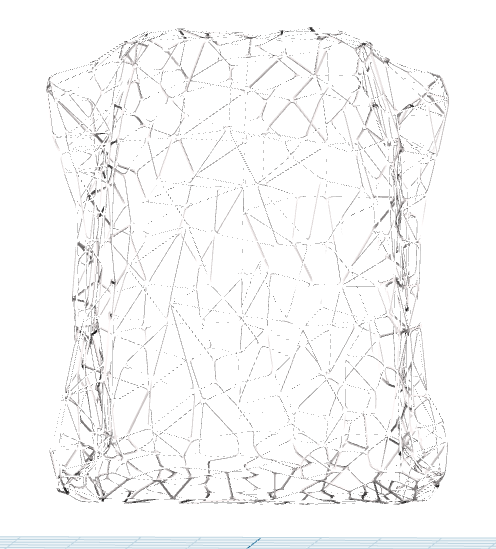
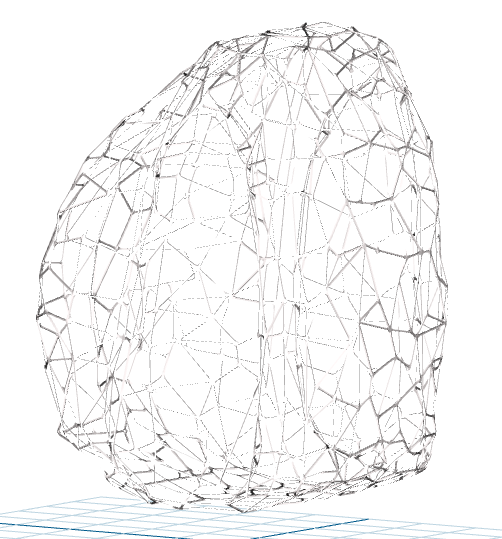
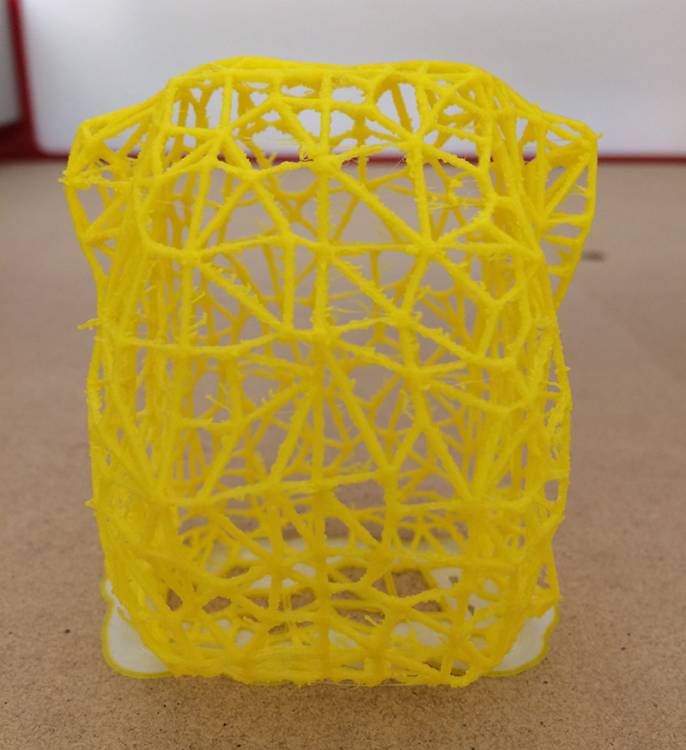
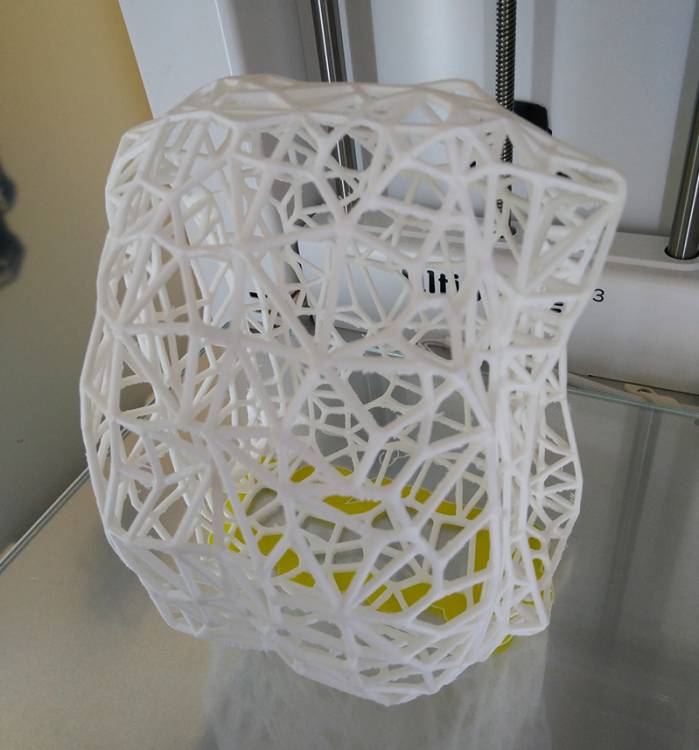

First digital beehives, modelled in Blender and printed on a XYZ junior DaVinci printer.
Wood filament: woodfilament en woodfilament
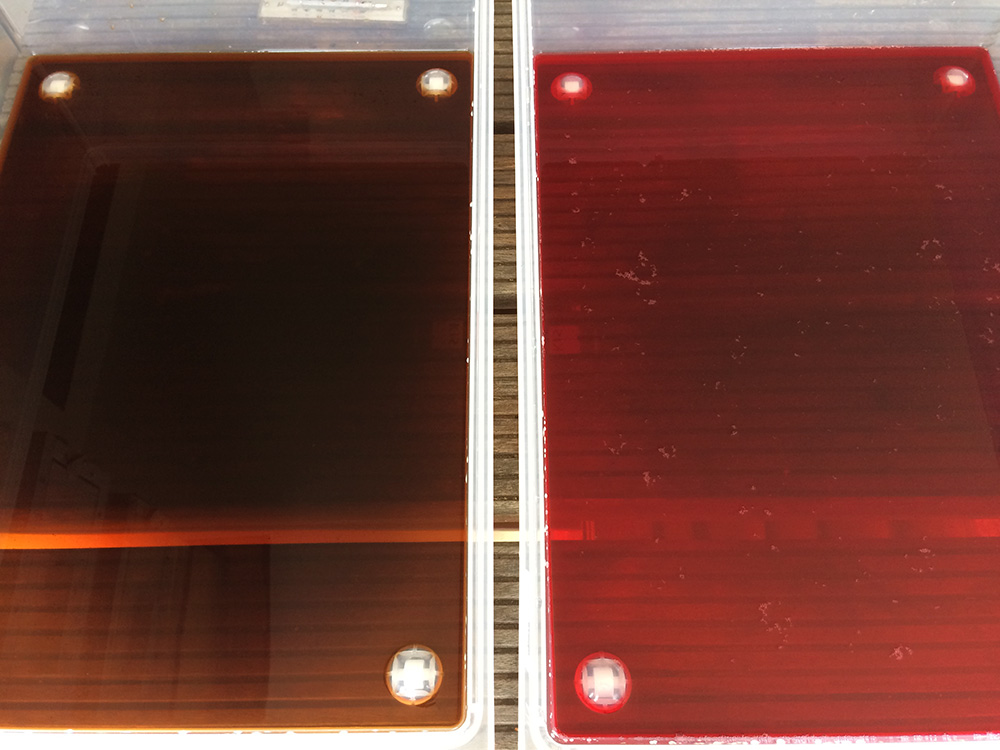
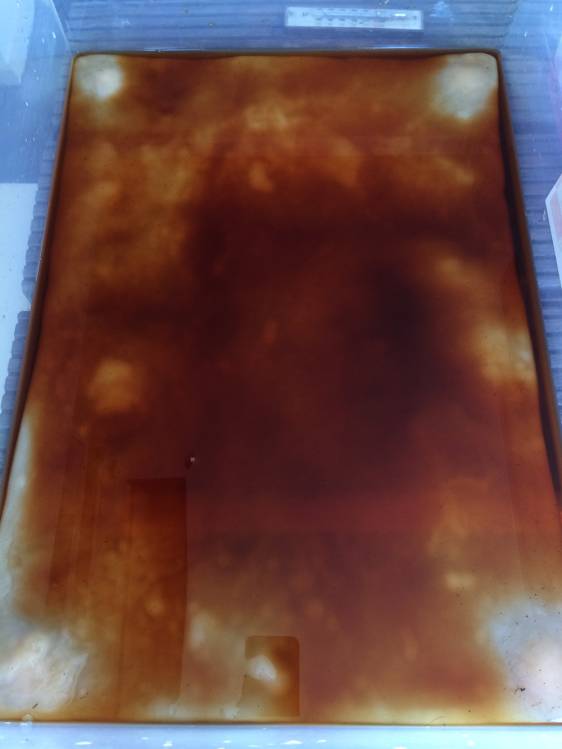
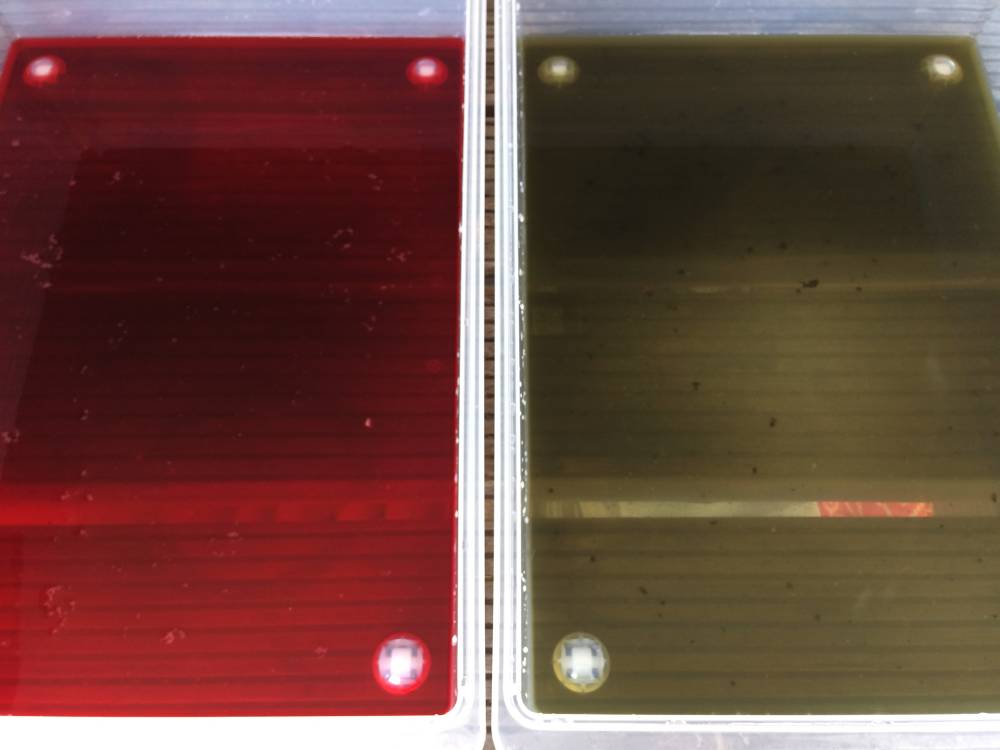
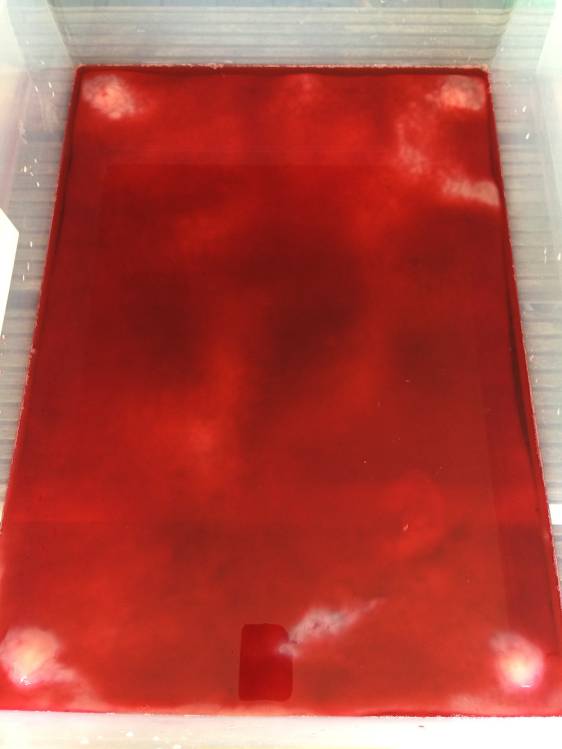
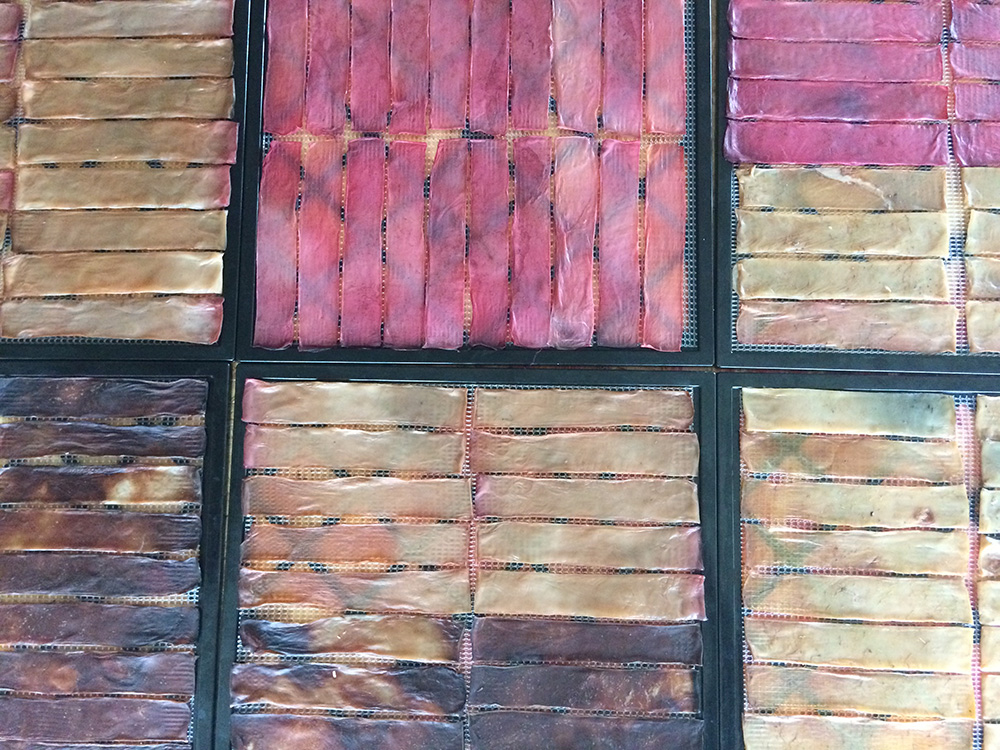
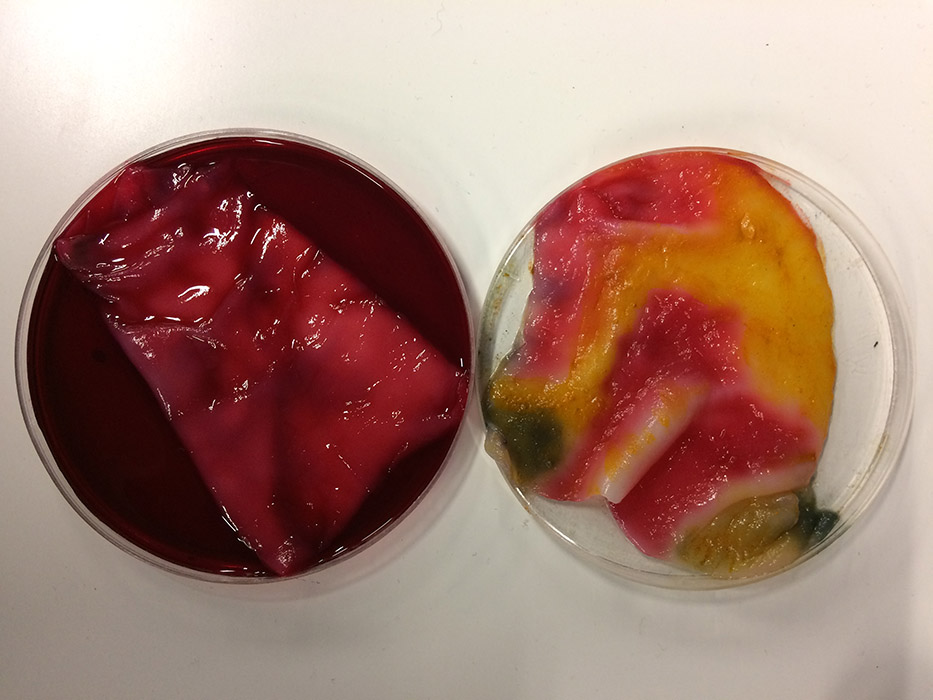
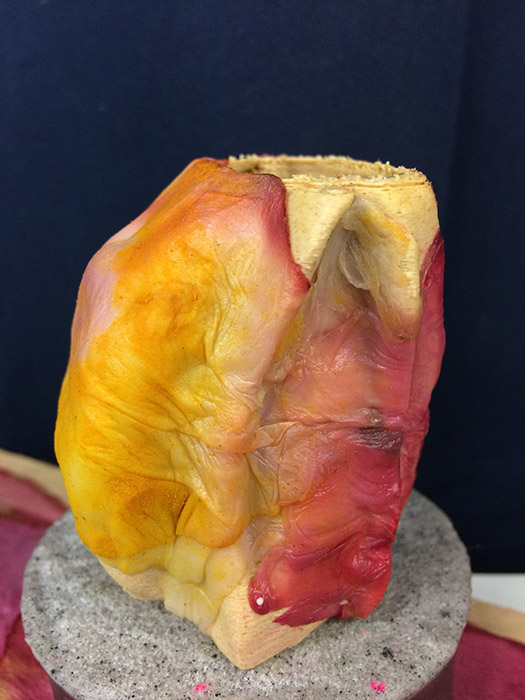
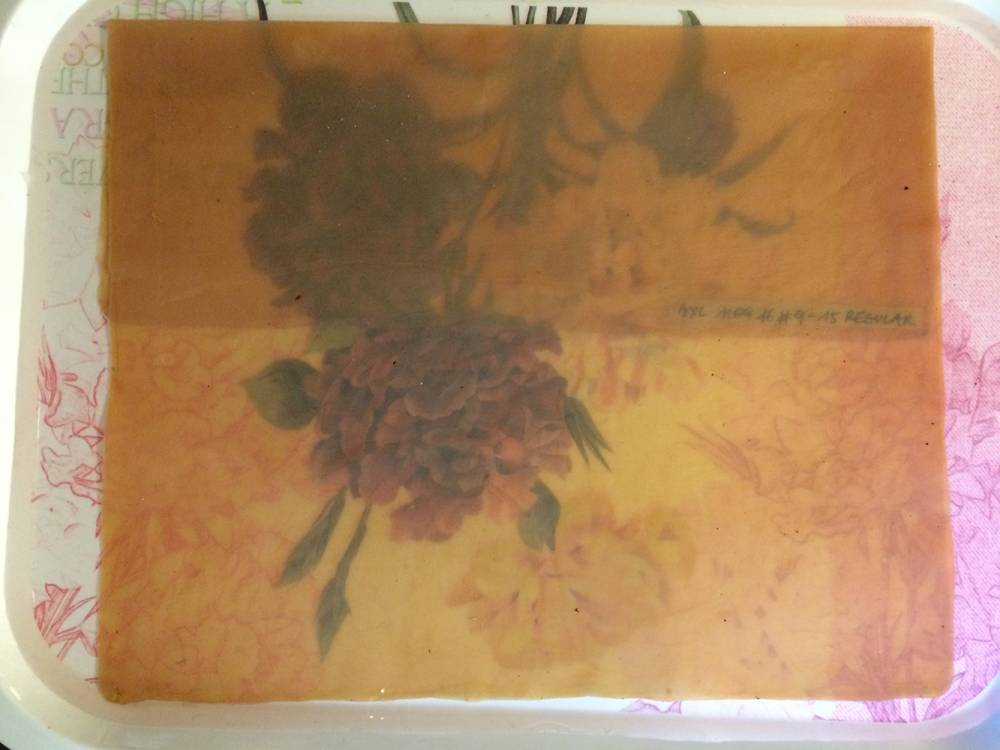
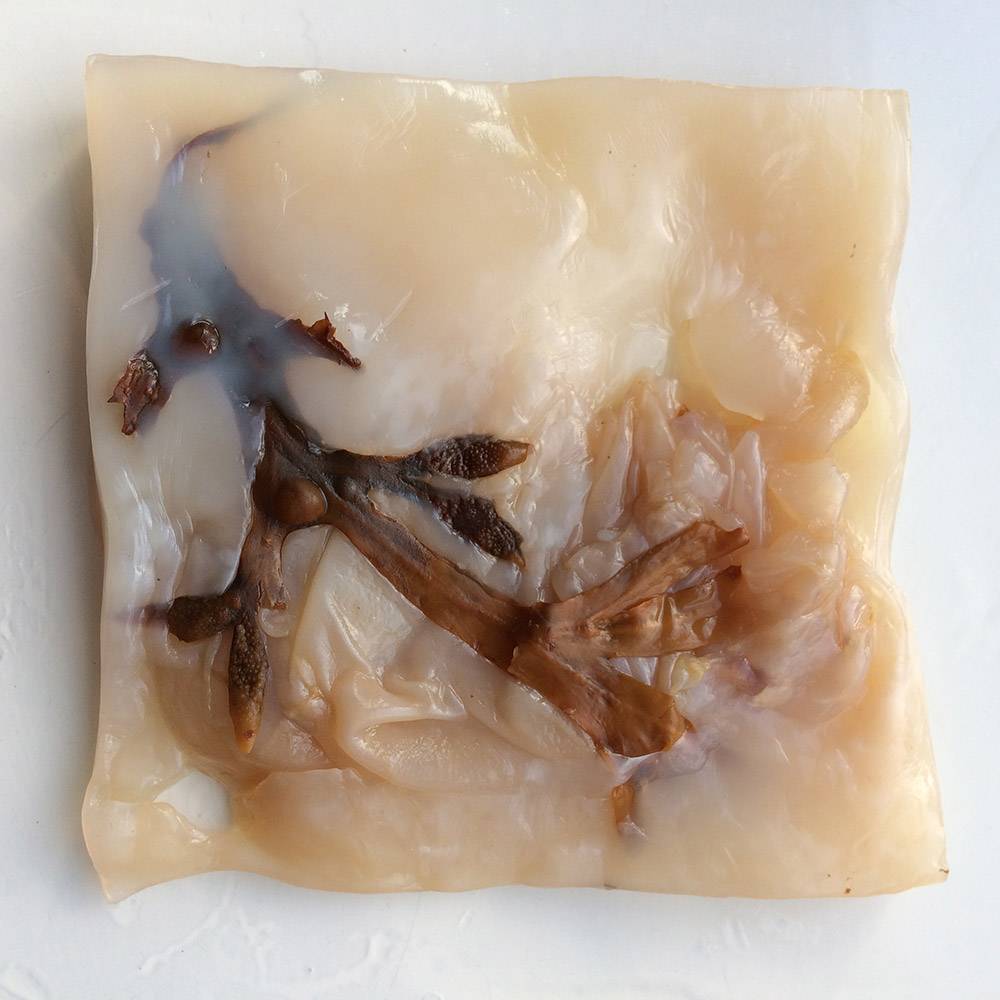
4/3/2017 - dyeing with natural dyes


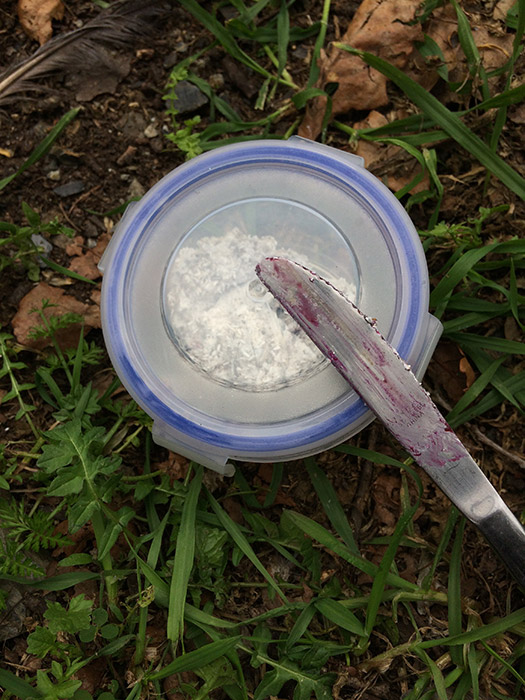

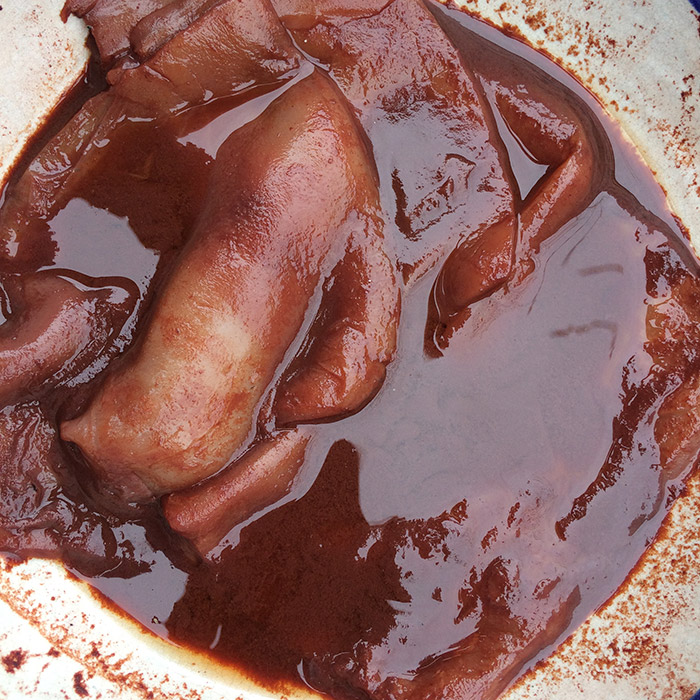
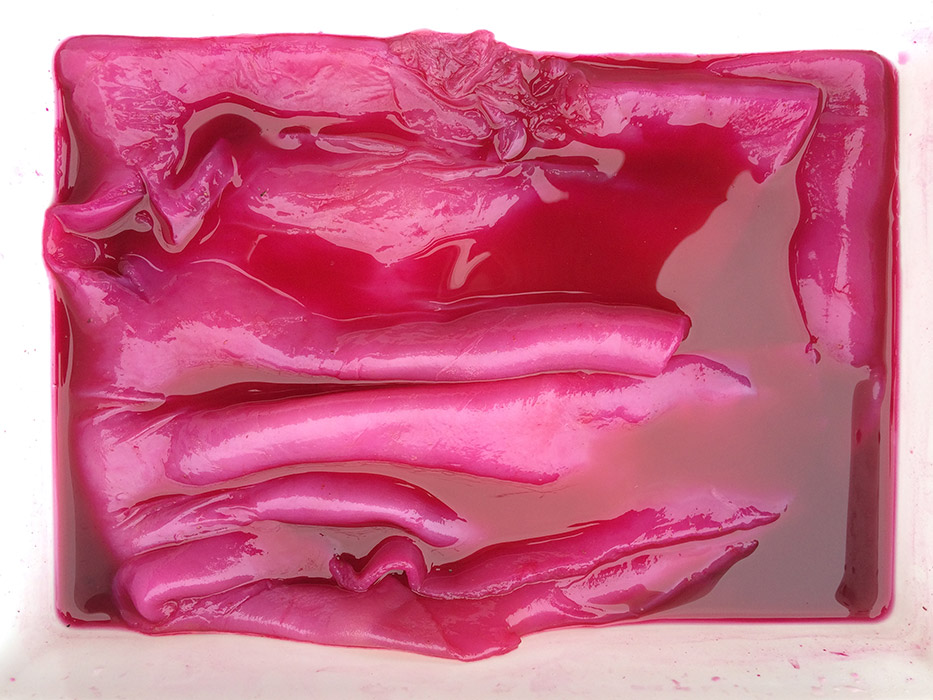


beetroot
cochineal
avocado
hibiscus curcuma
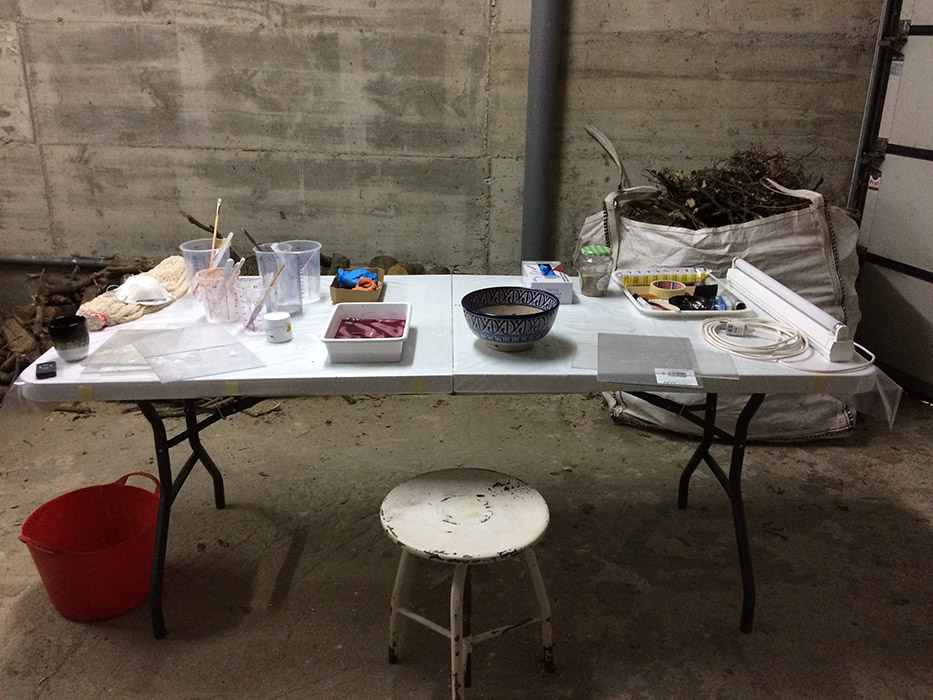
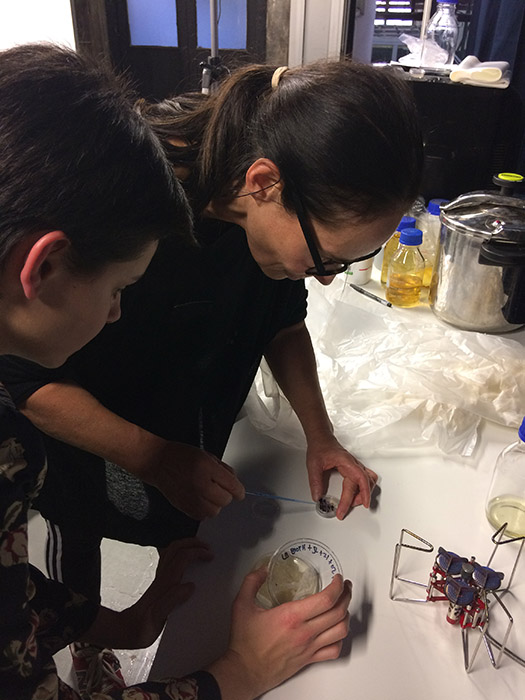
21-25/2/2017 - textile lab at fablab BCN


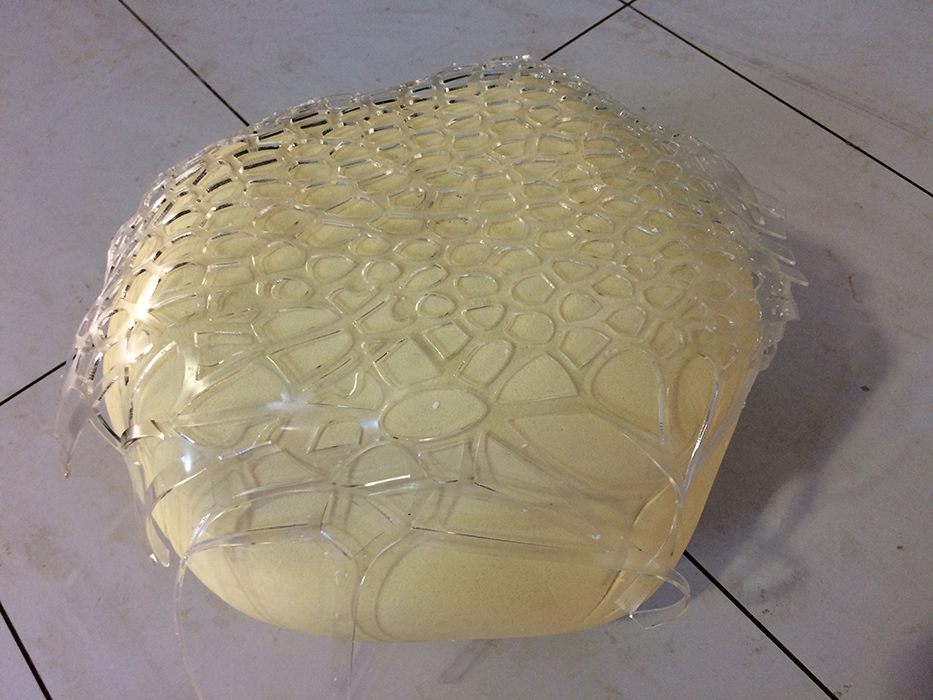
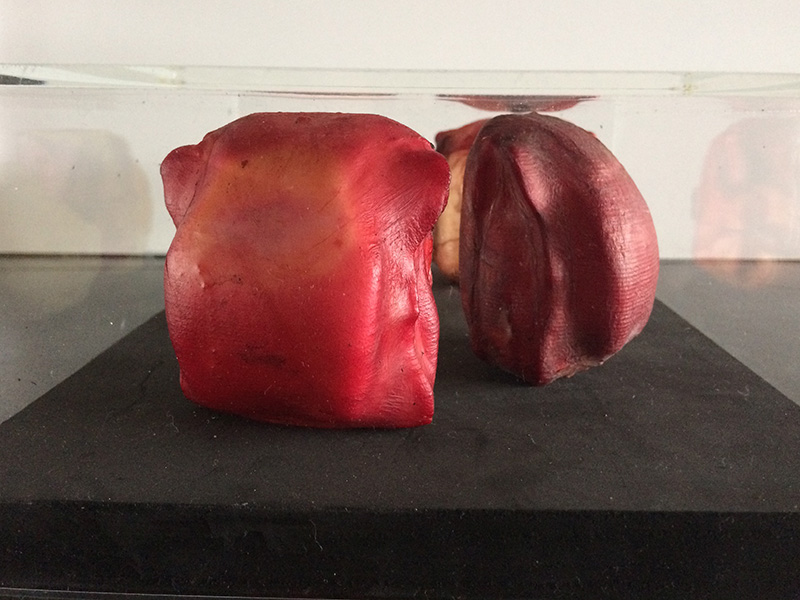
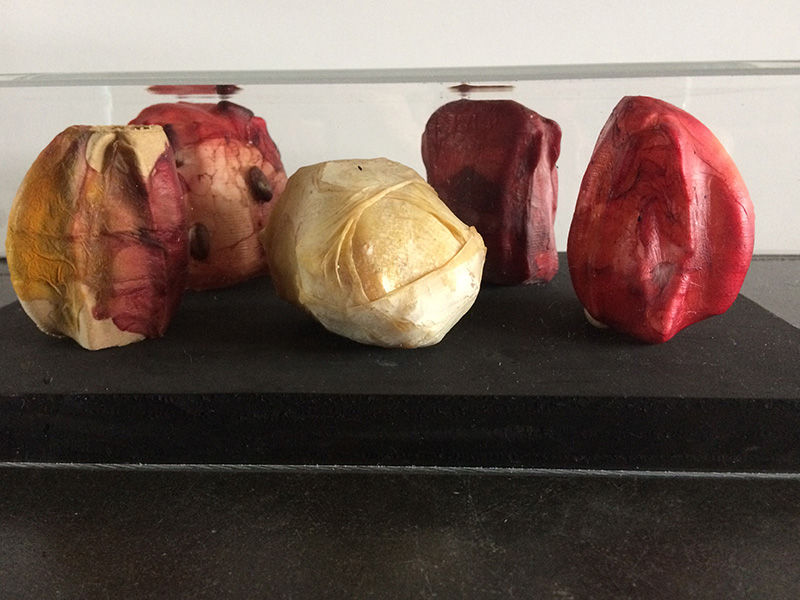
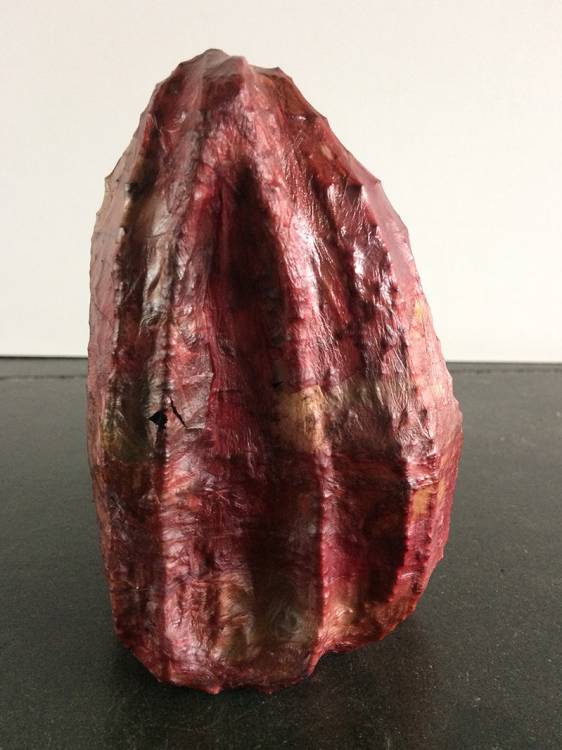
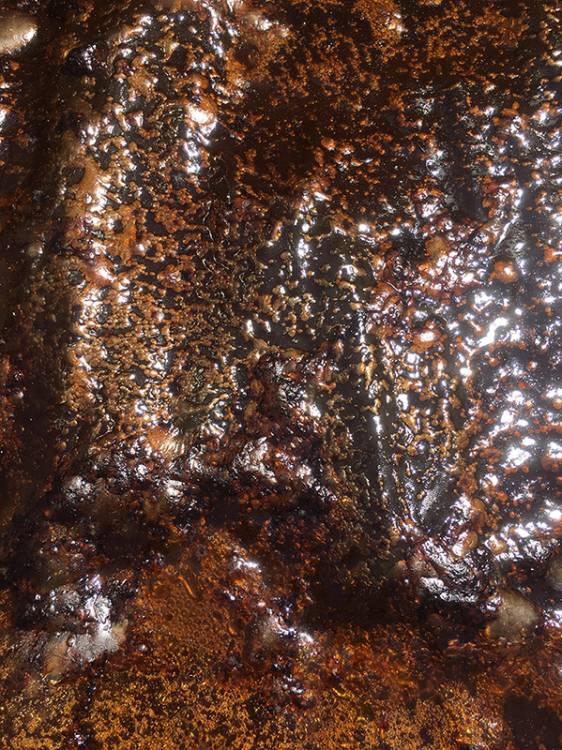
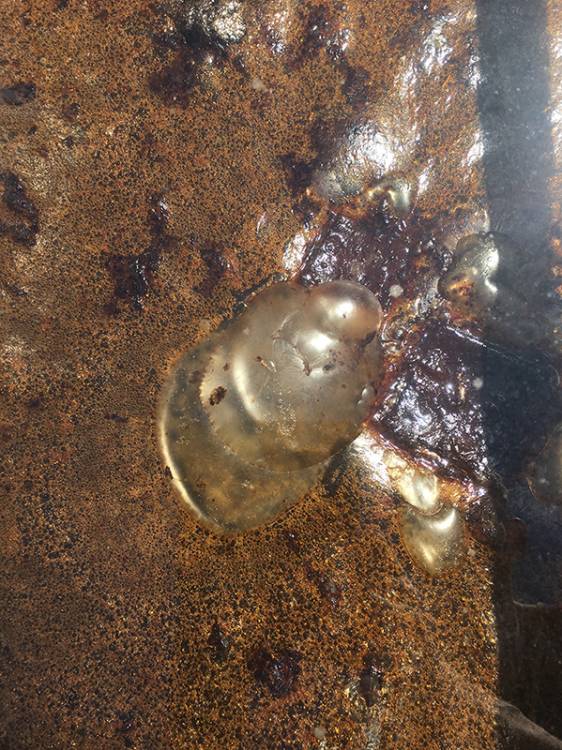
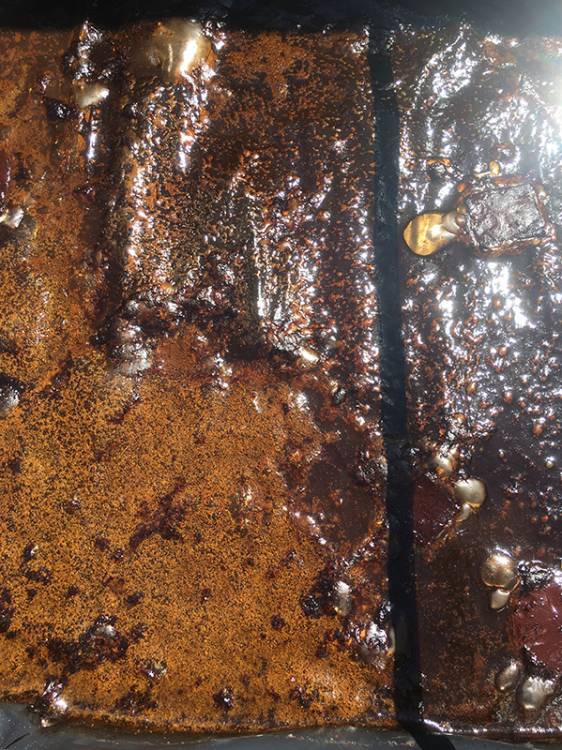
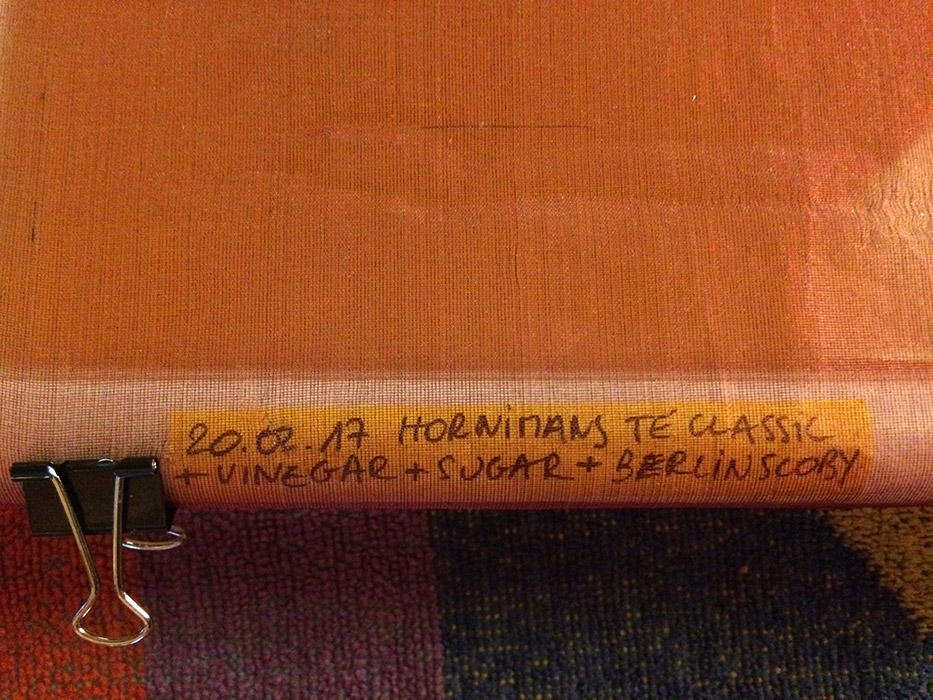
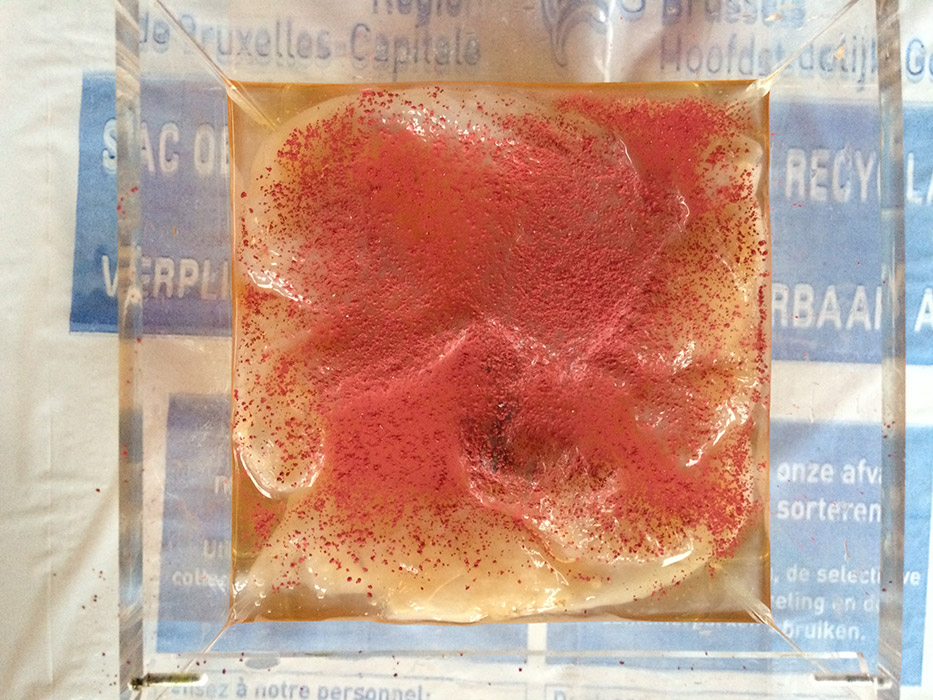
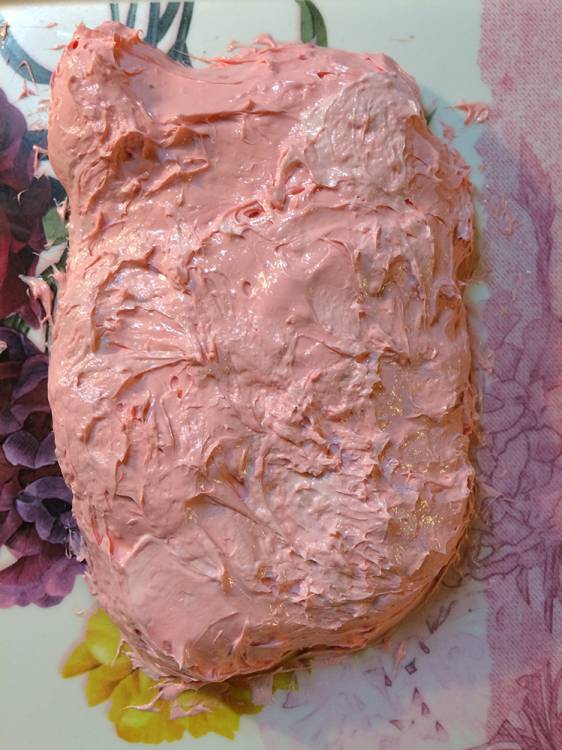
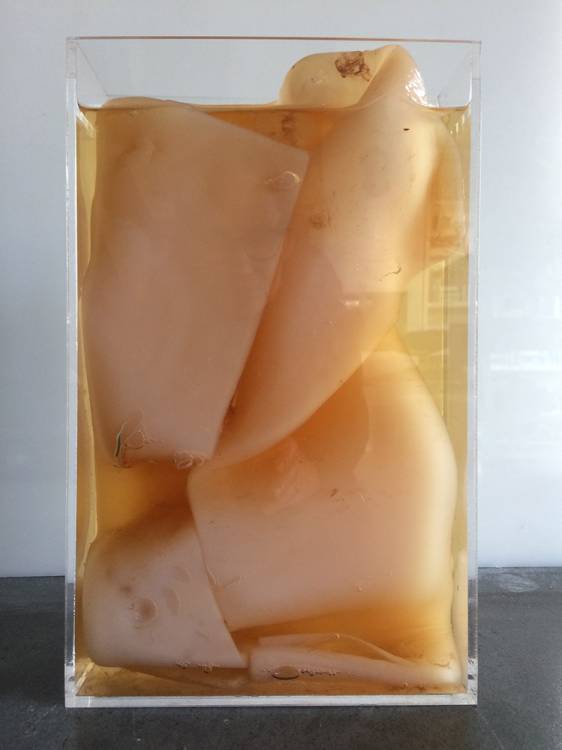
20.02.2017: results of the castingtests

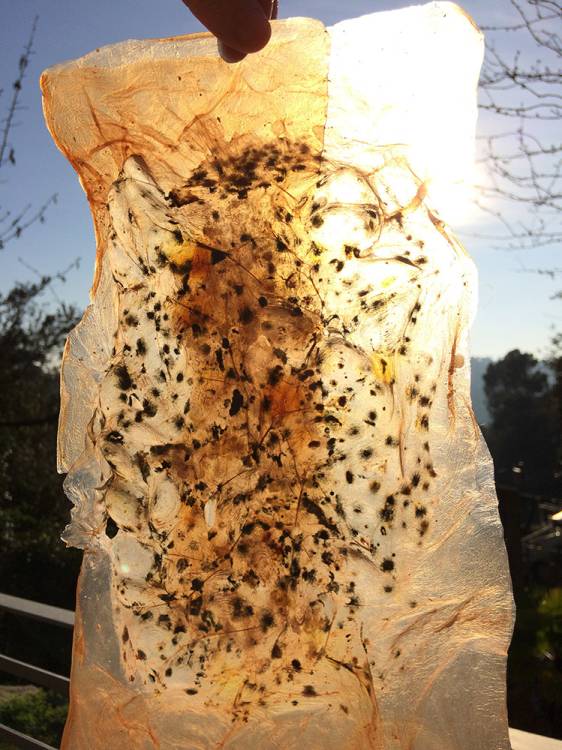

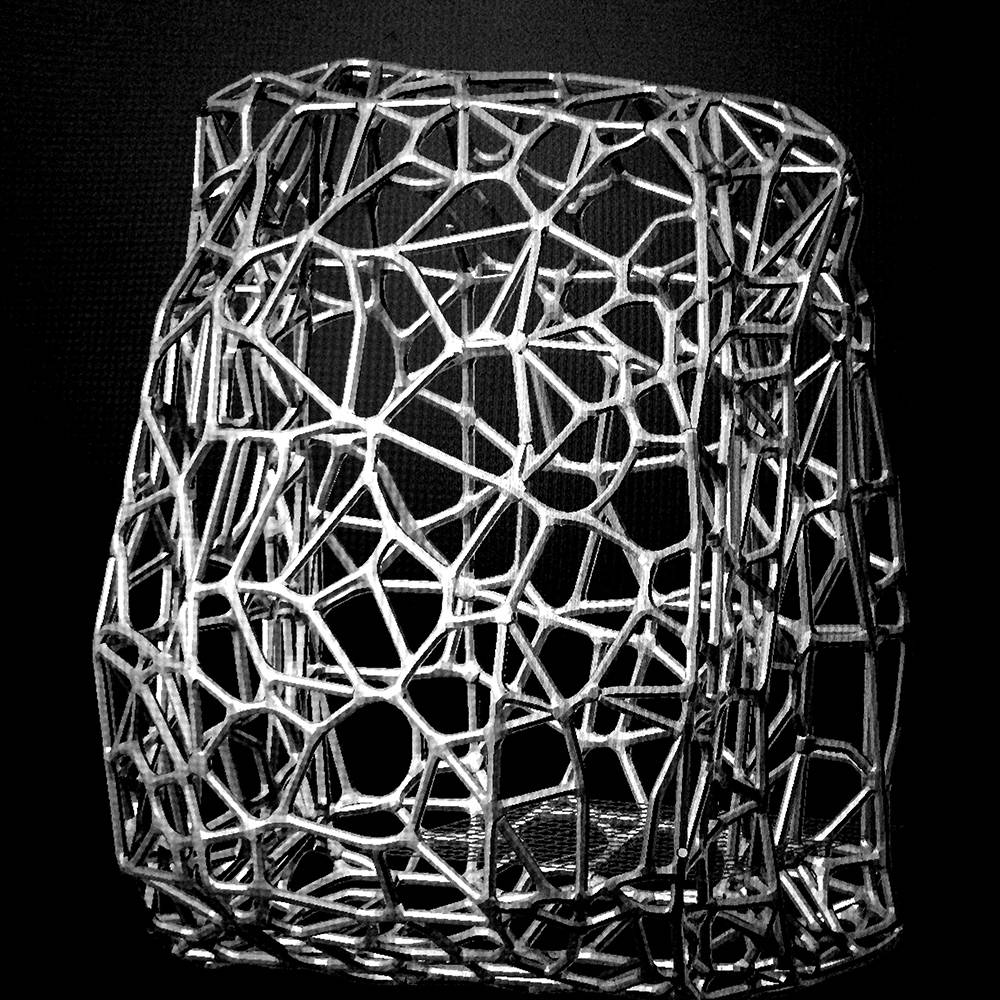
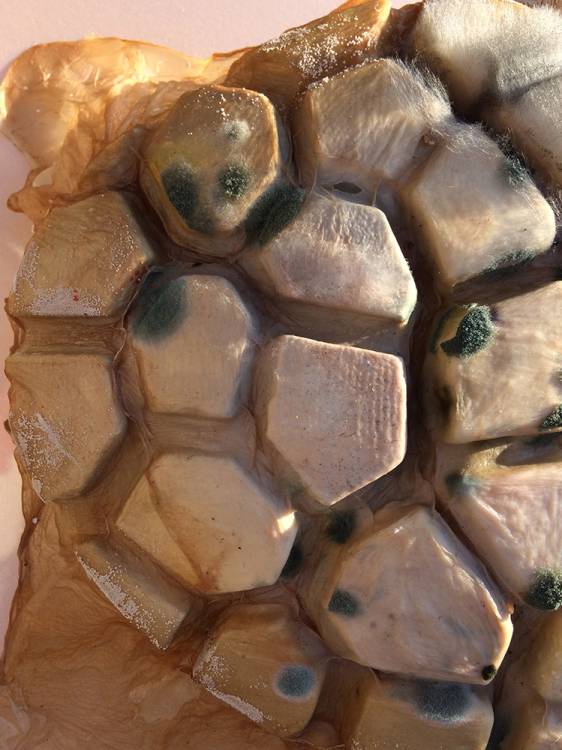
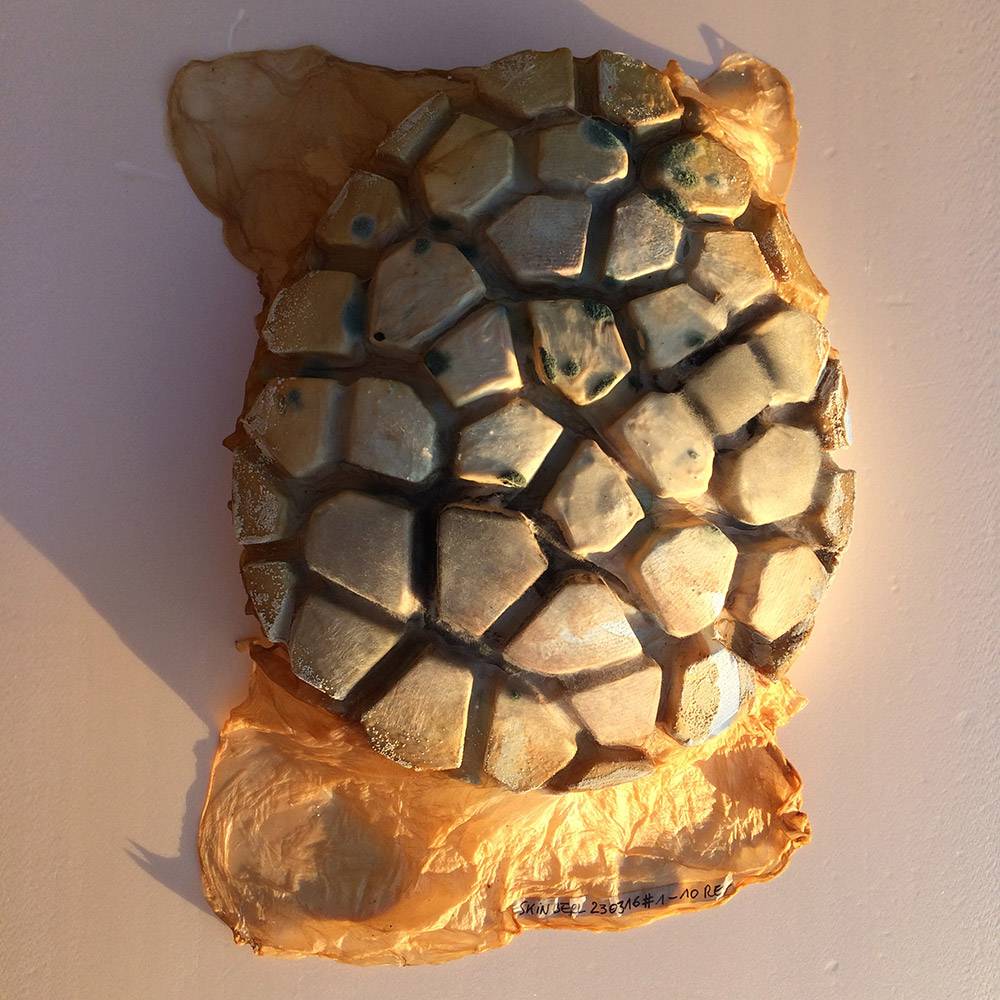
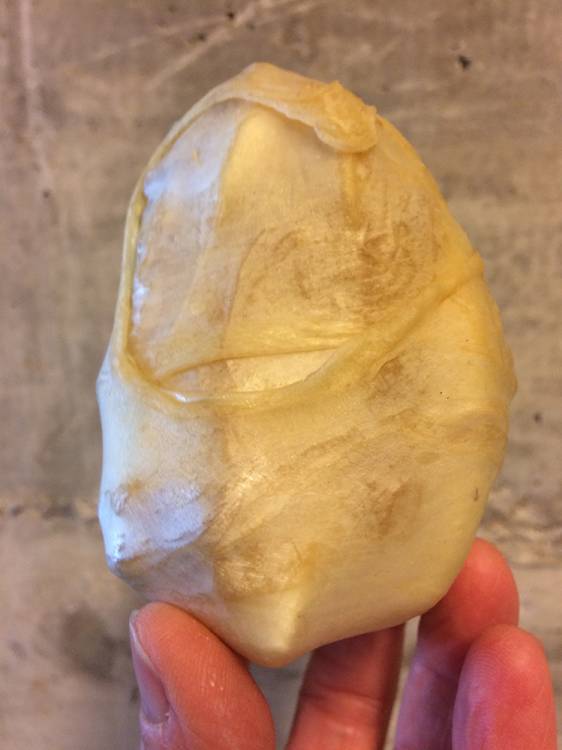
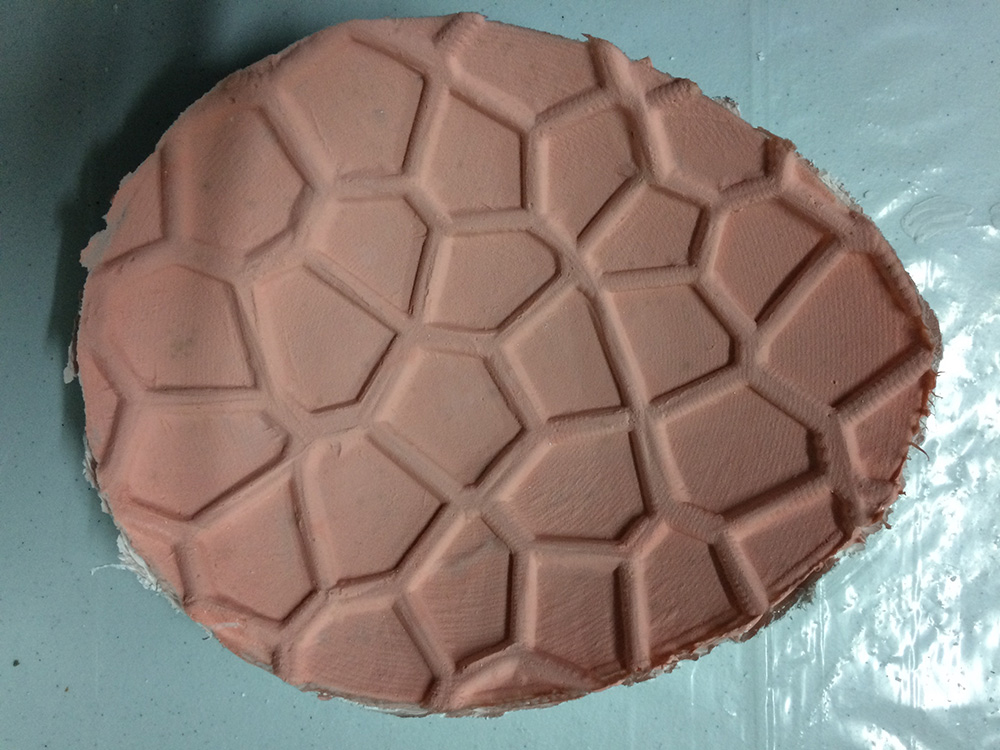
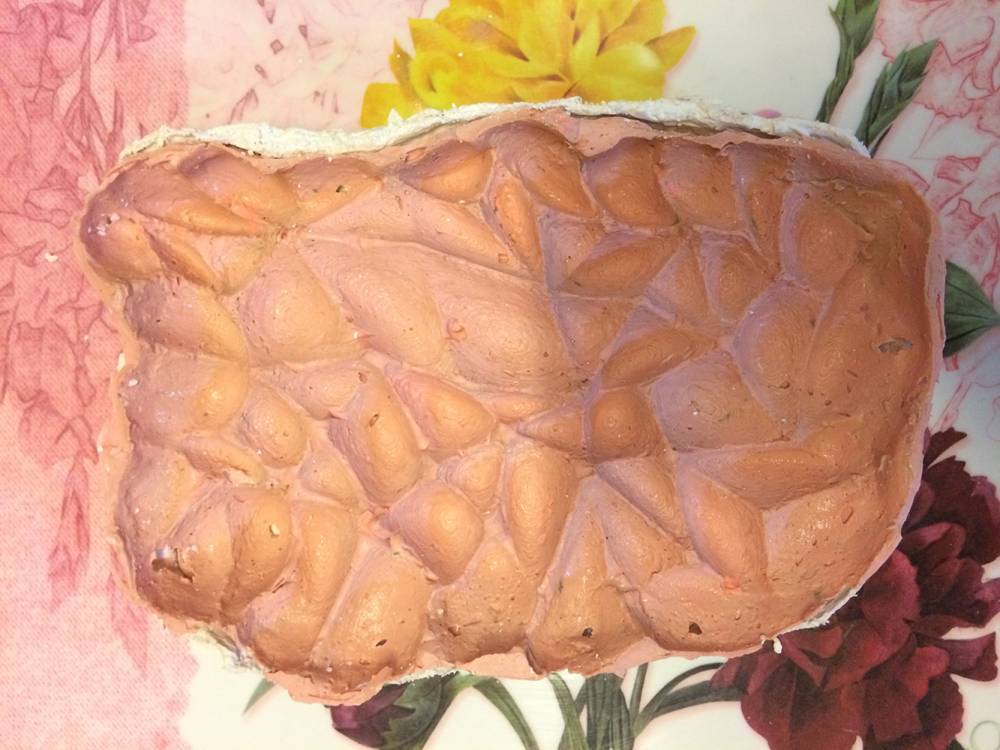
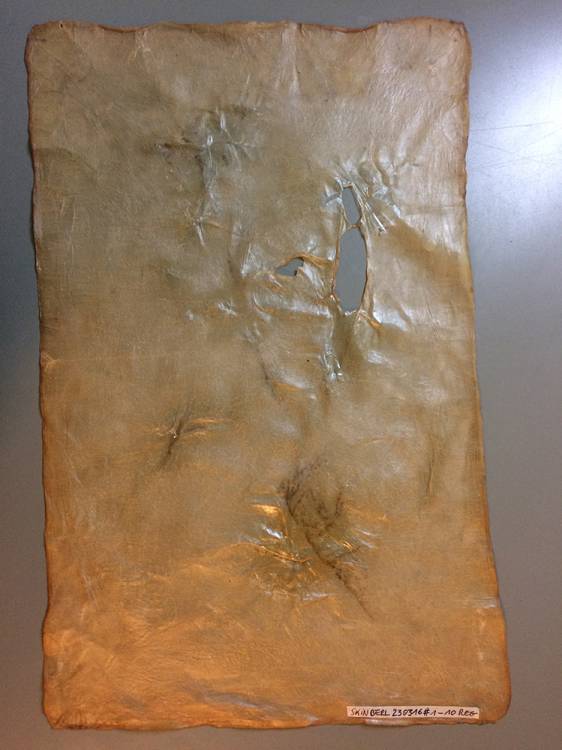
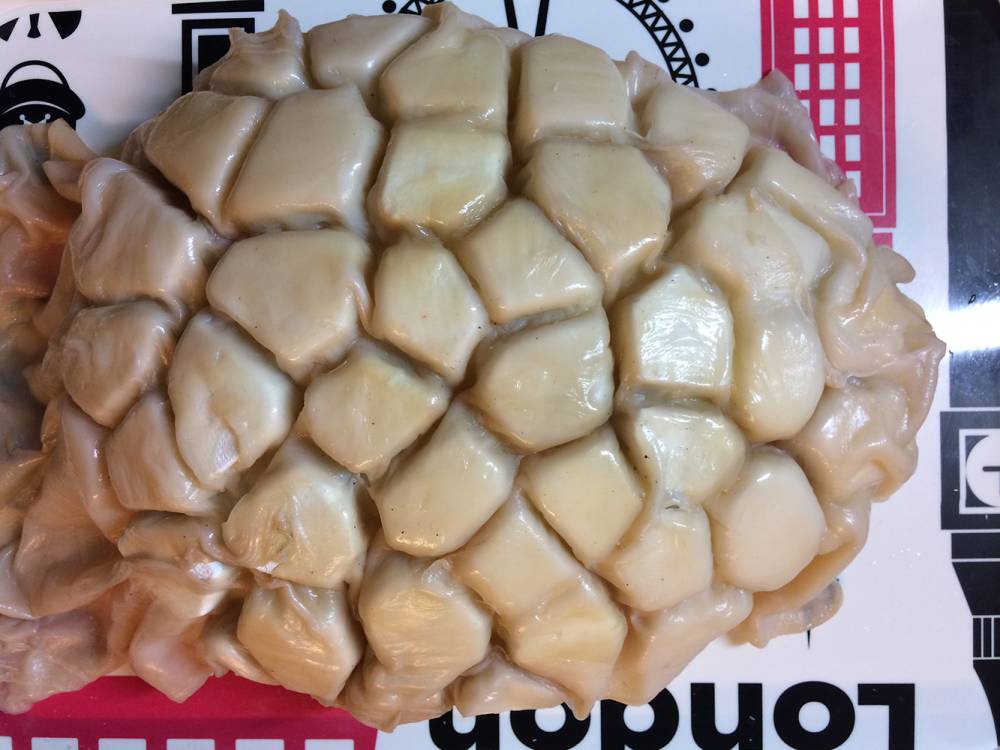
This is the result of the pos/neg molding experiment with cellulose skin. The skin was pressed for nearly 3 weeks between a positive form (in this case a 3D printed Voronoi form) and its negative form (a neg. mold made made from silicone). Due to the silicone cover, the skin was cut off fresh air, and thus it could not dry properly. The result was that is was growing mold. As it was a very thin skin, it was drying even between the 2 layers and it kept more or less the form of the 3D-printed object.
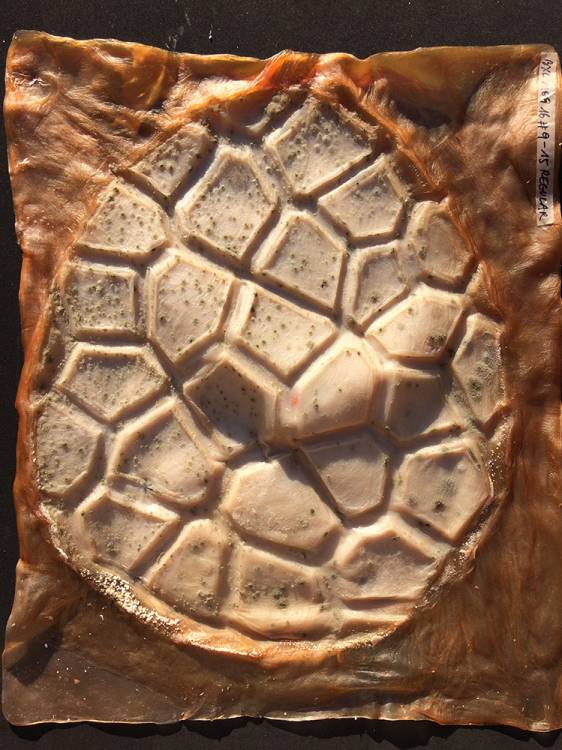

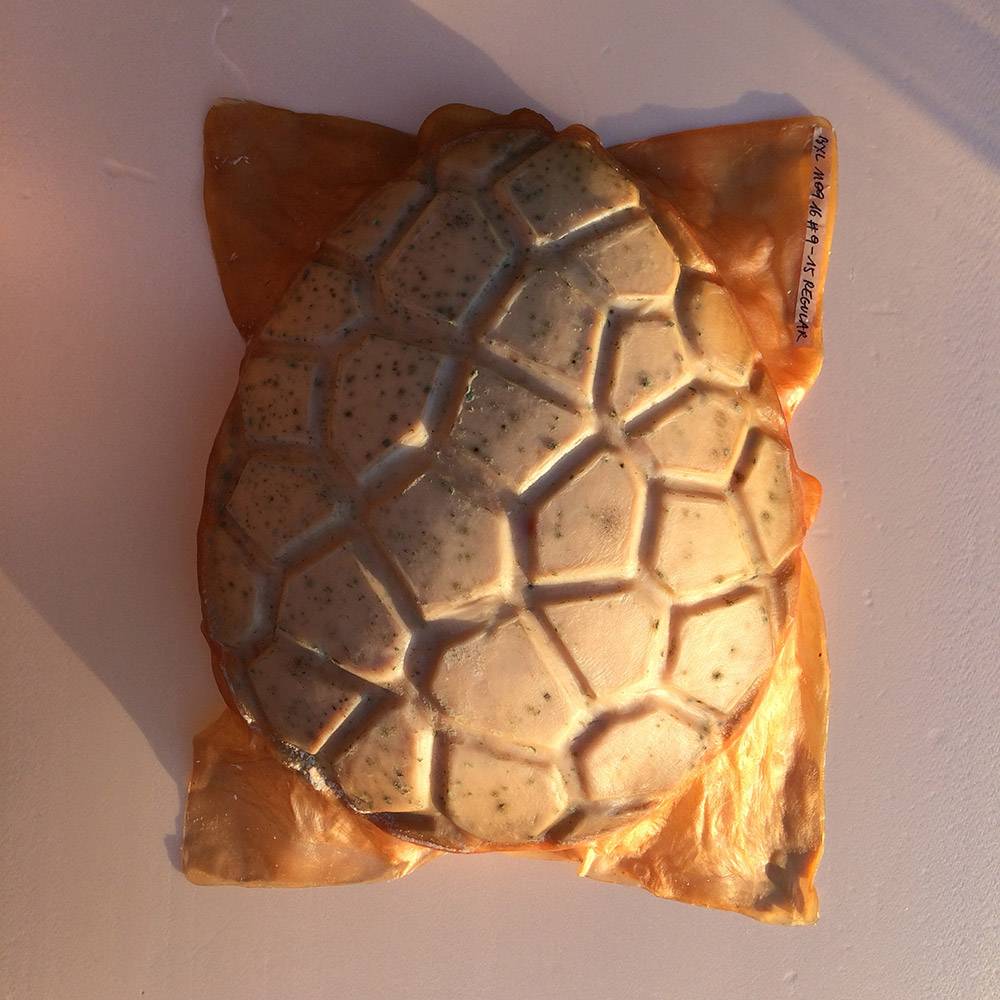
different casting tests
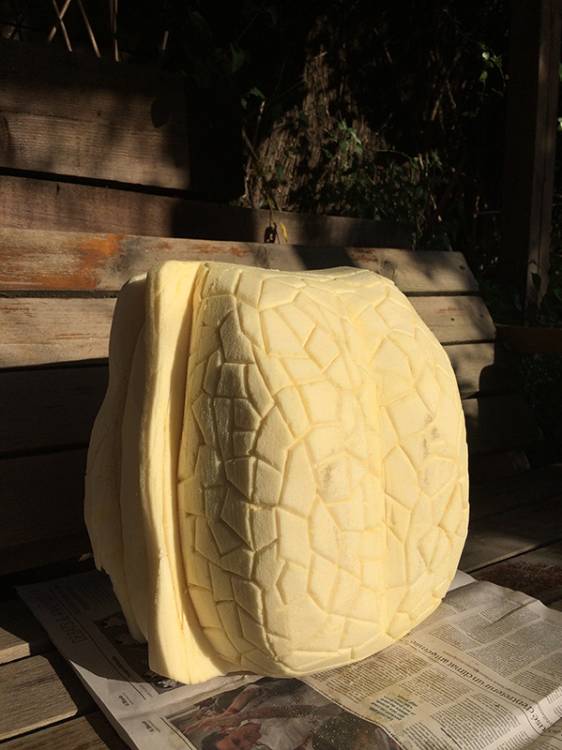
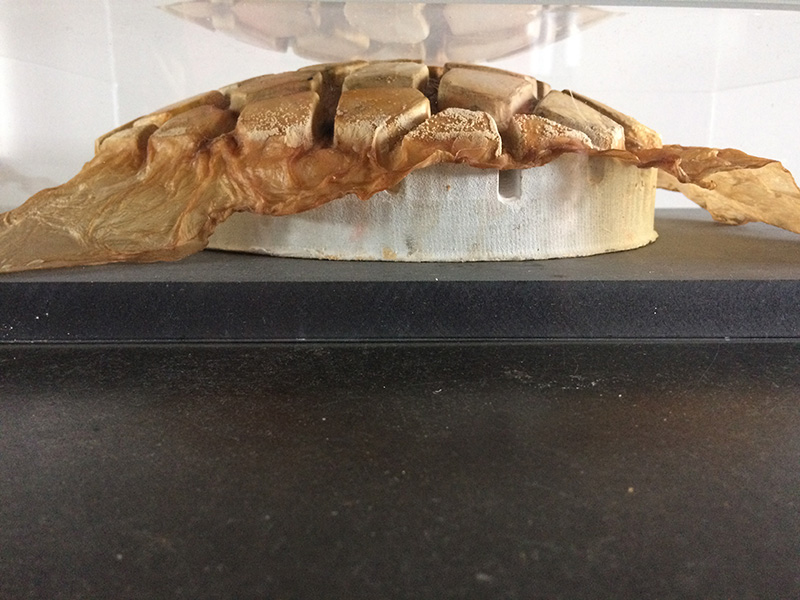
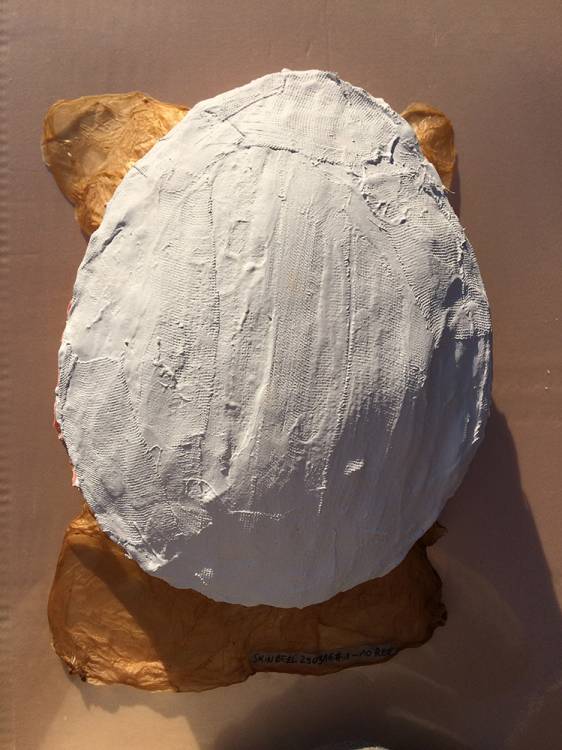
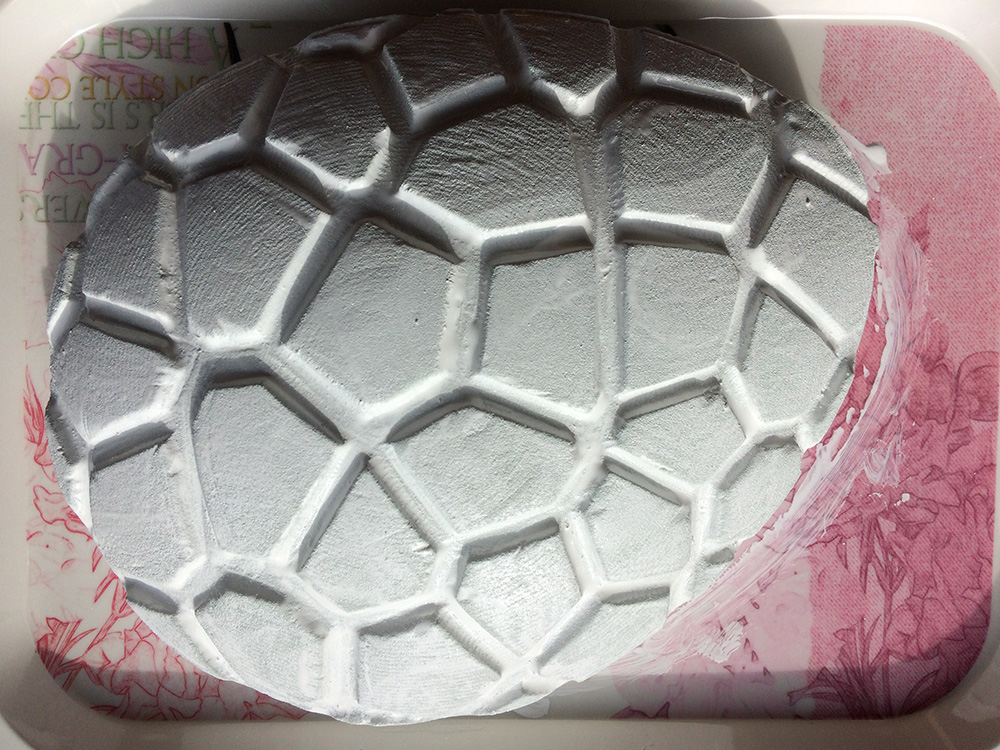
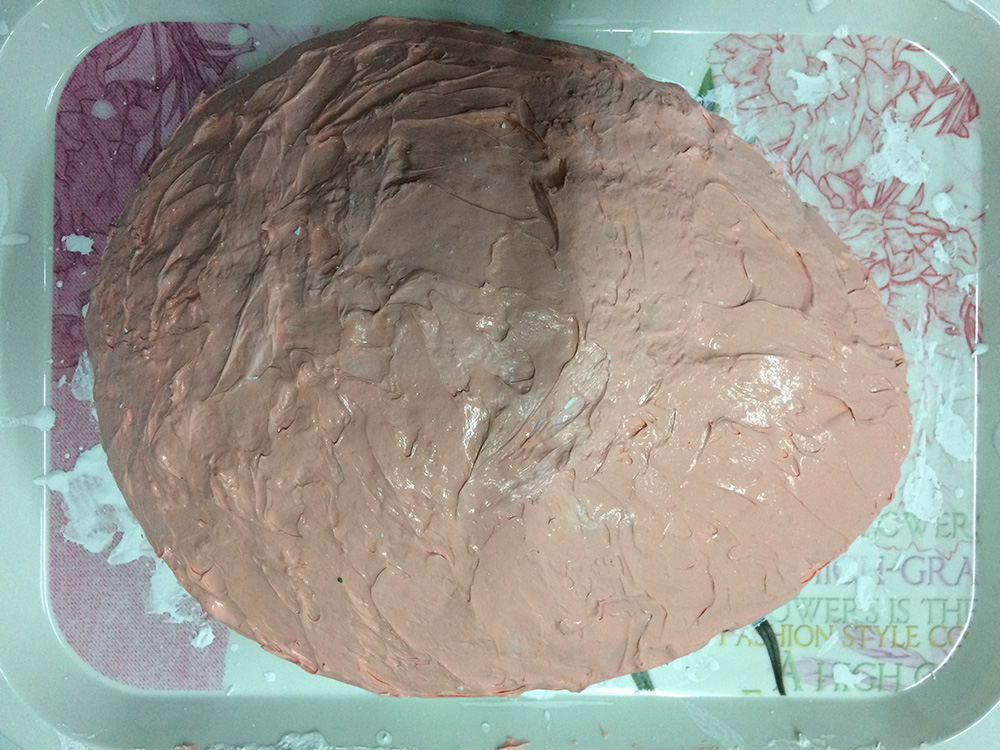
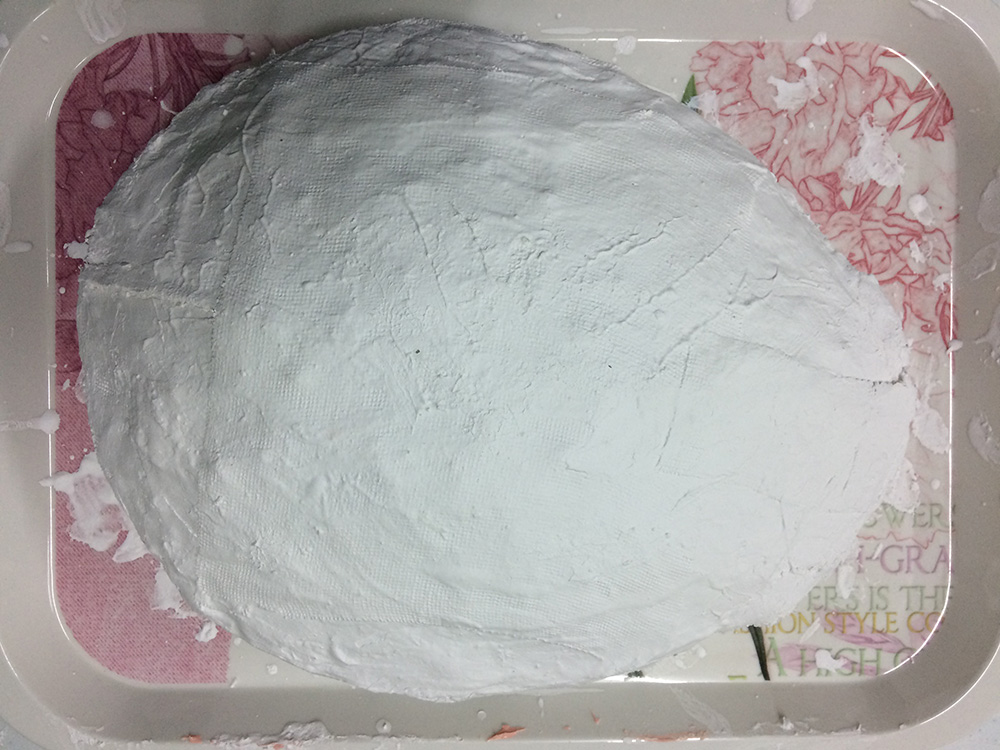
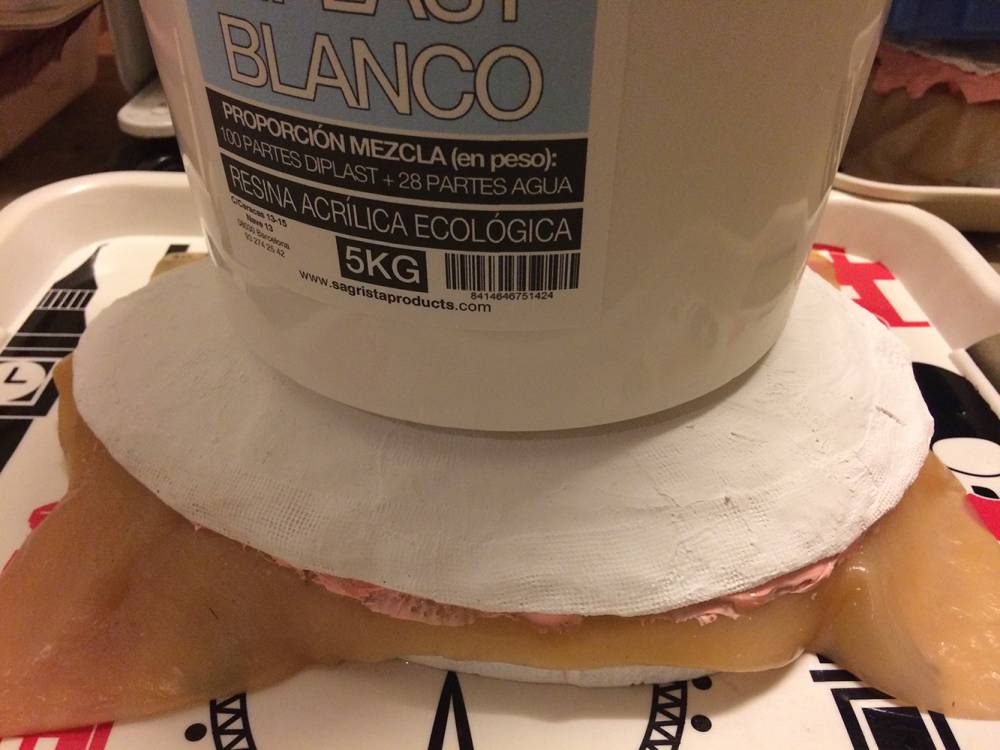
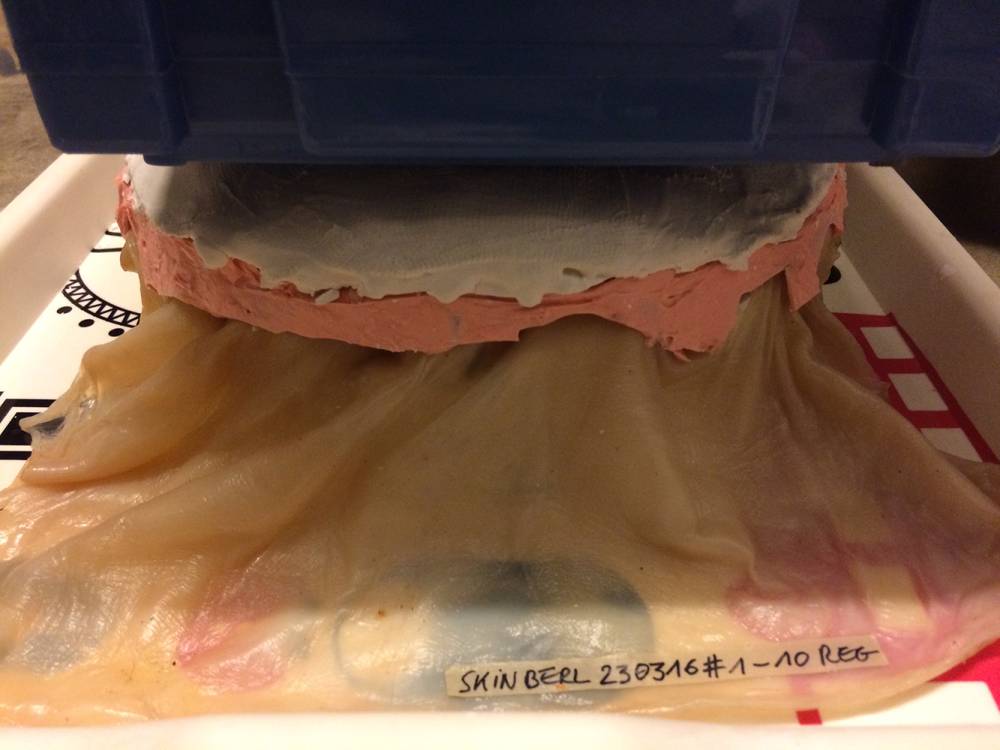
The forms generated by the CNC milling machine are the basis for my casting proces. First, I sand the sharp edges and the rough visual remains of the milling tool. Then, I cover them with shellac to seal the porosity of the foam (dissolve 25gr shellac in 200ml of ethanol- denaturalized alcohol, au bain marie). The shellac is transparent and not very visible on the foam, therefore I cover the forms once more with Gesso paint. When all is dry, I cover the forms with non-liquid silicone (SilgomFH/Sagrista Products), and on this layer I add a mothershell from plaster bandage, to give support.
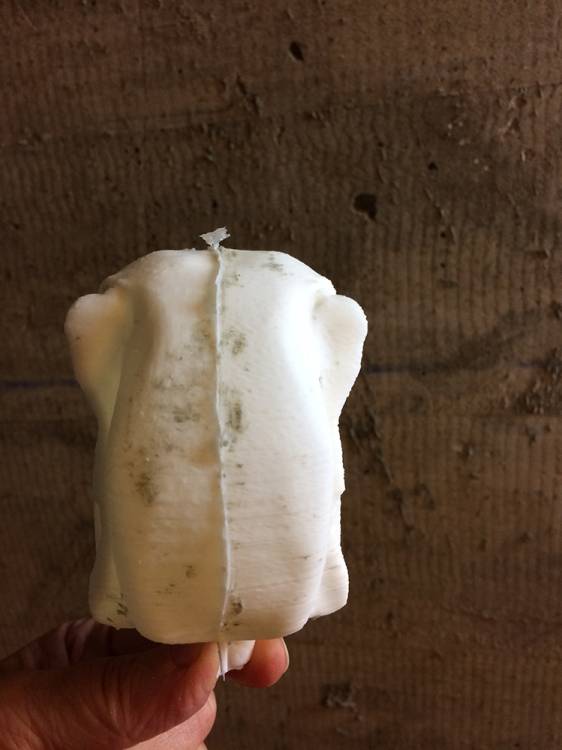
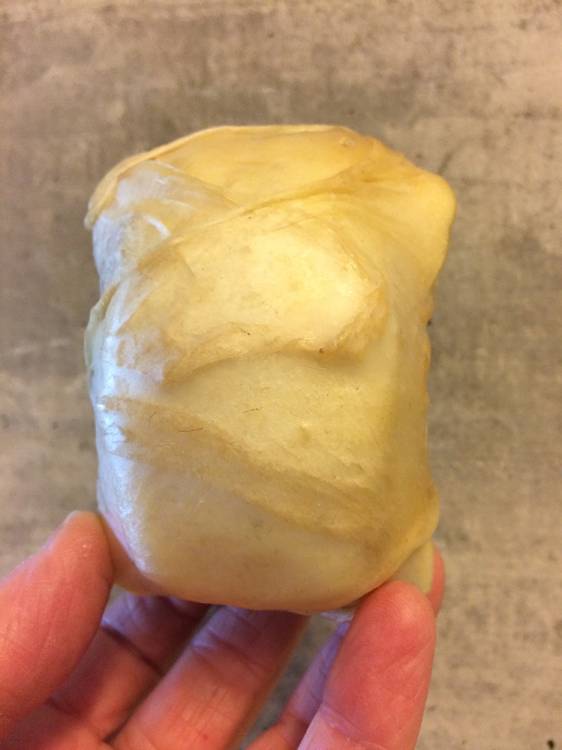

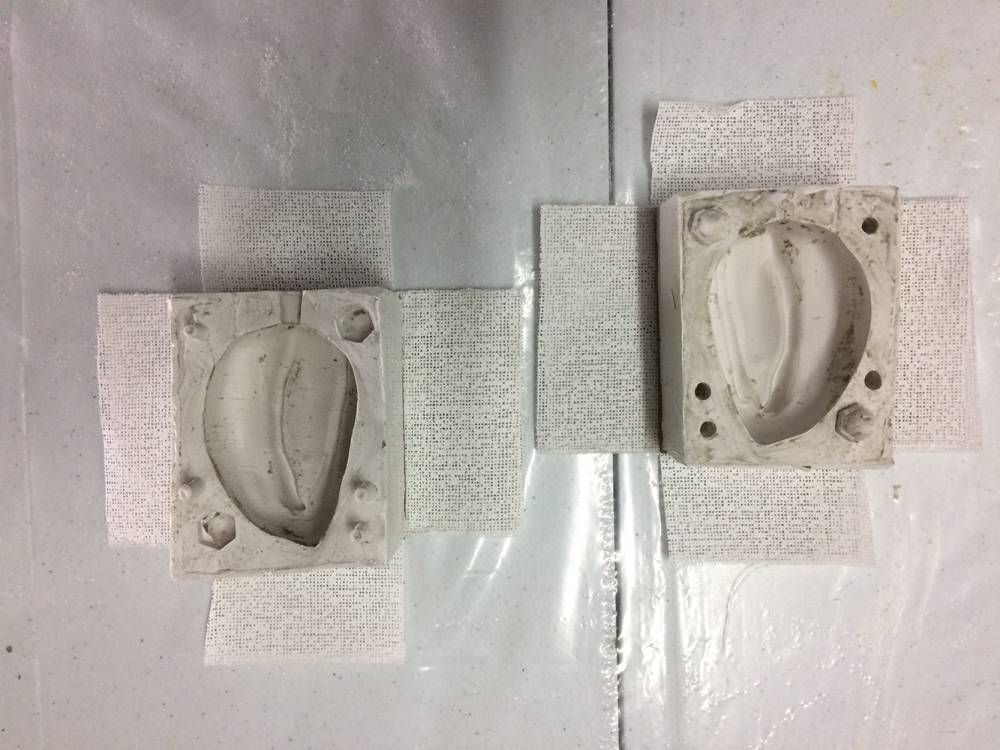


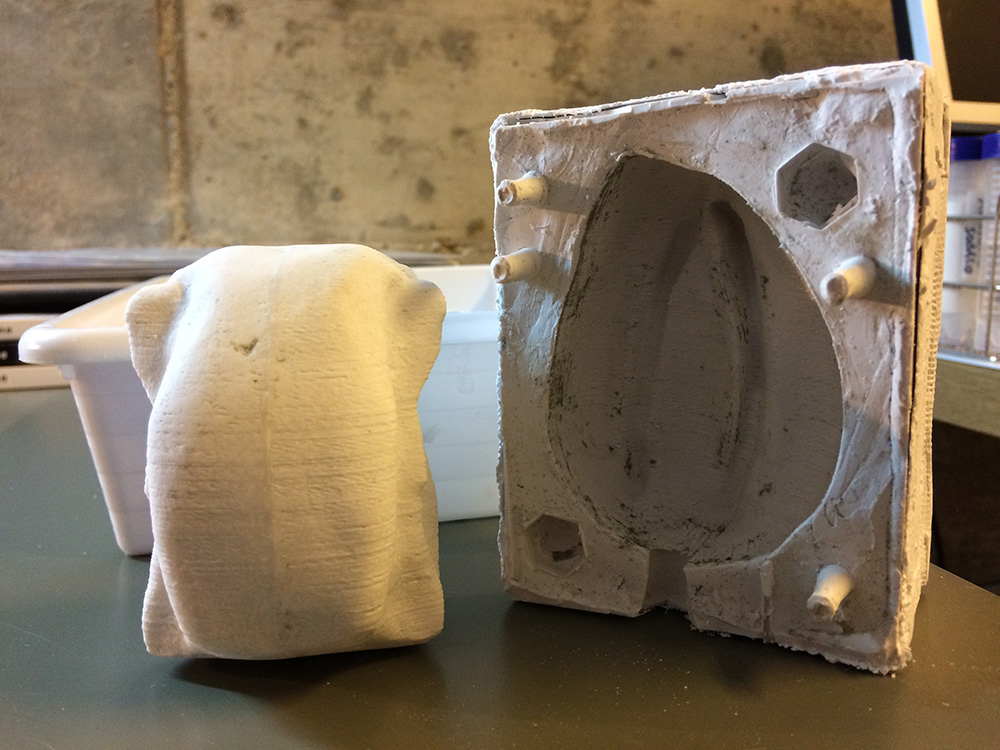
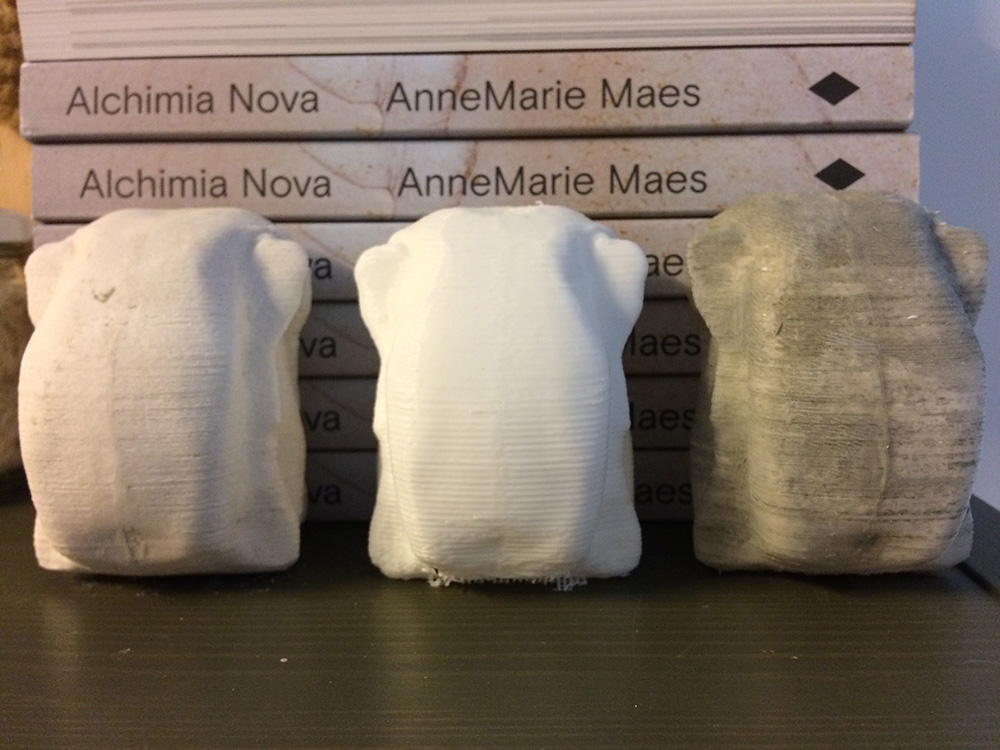
The cast from the small 3D printed beehive is made in 2 parts from SILCAST517 silicone (Sagrista products) and has also a mothershell in plaster bandage. The first full cast, made with 250gr DIPLAST, is a true copy of the 3D print.
Secondly, I make a cast (in the same mold) with epoxy PLA (50gr, hollow casting). It works fine. I cover this one with a leftover of a piece of latex skin (latex SF mask).
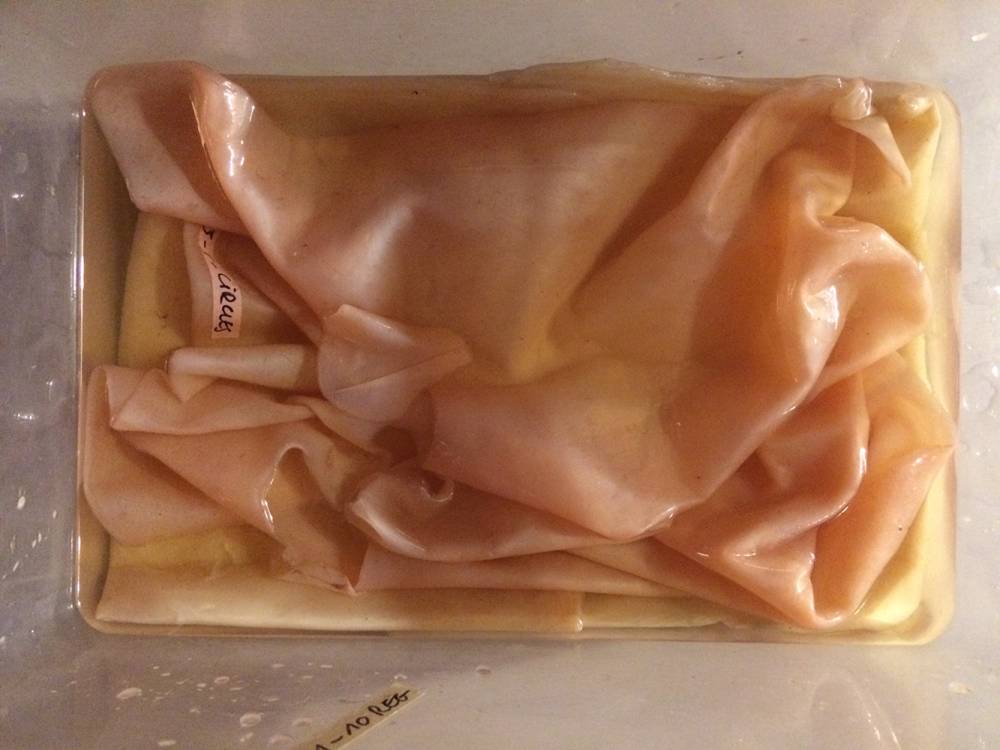
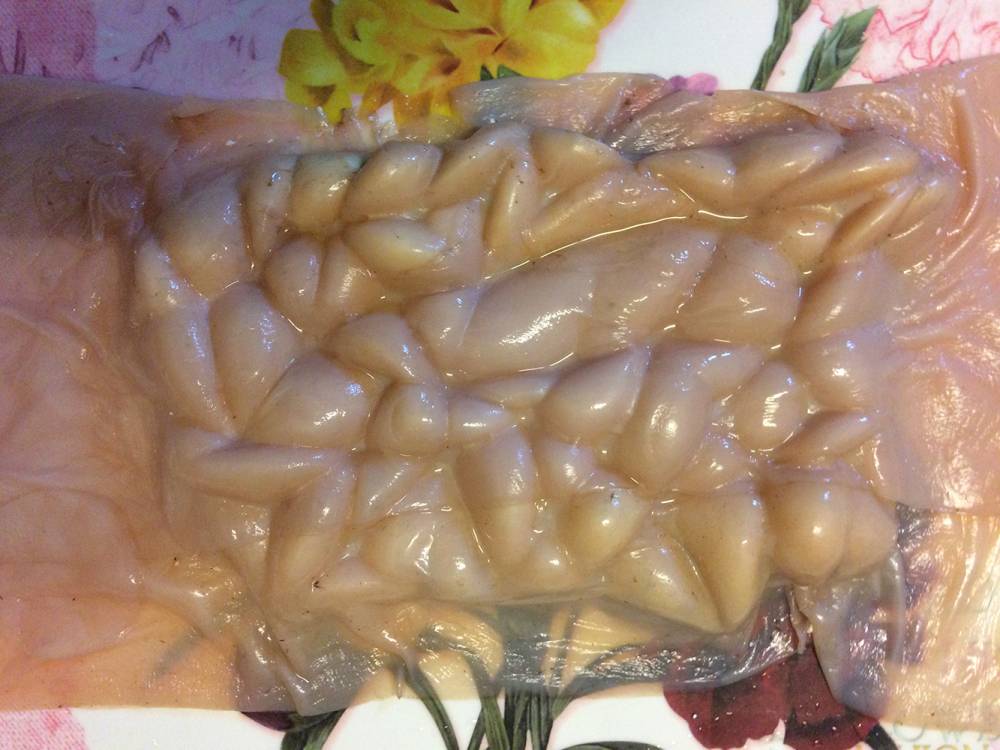


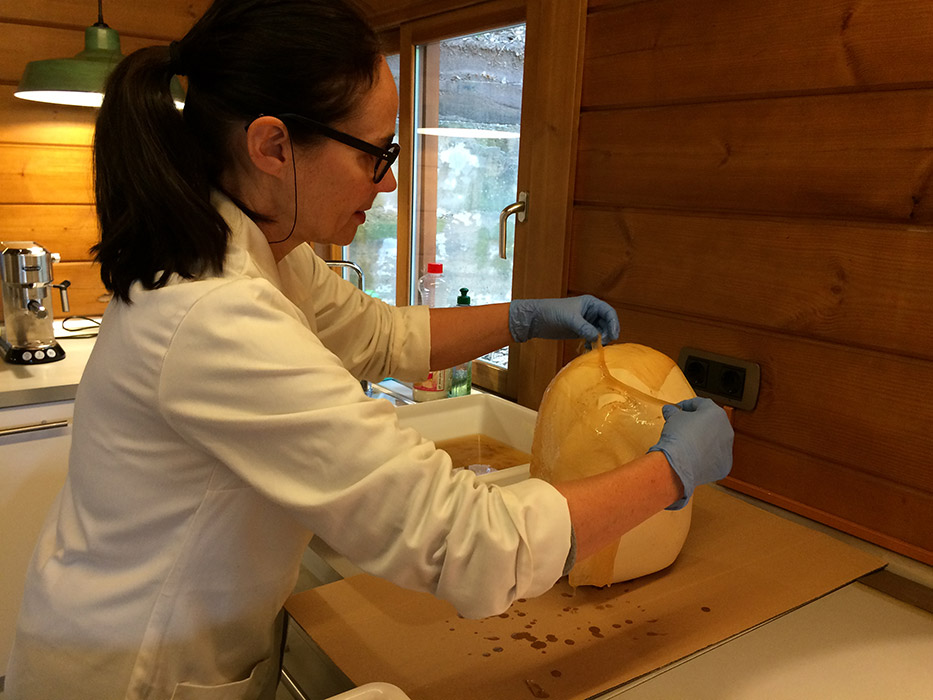
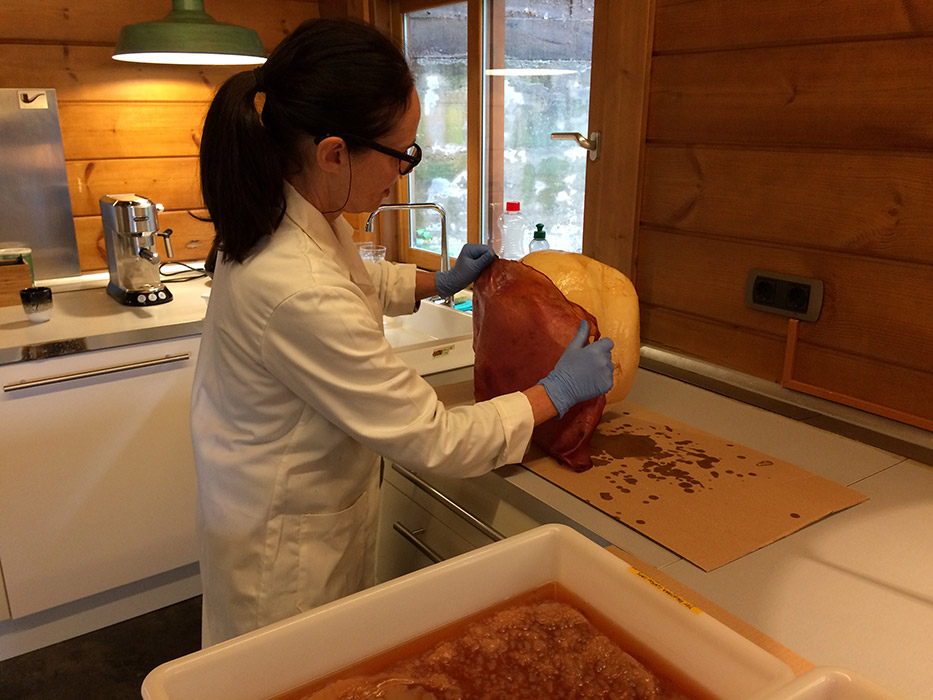
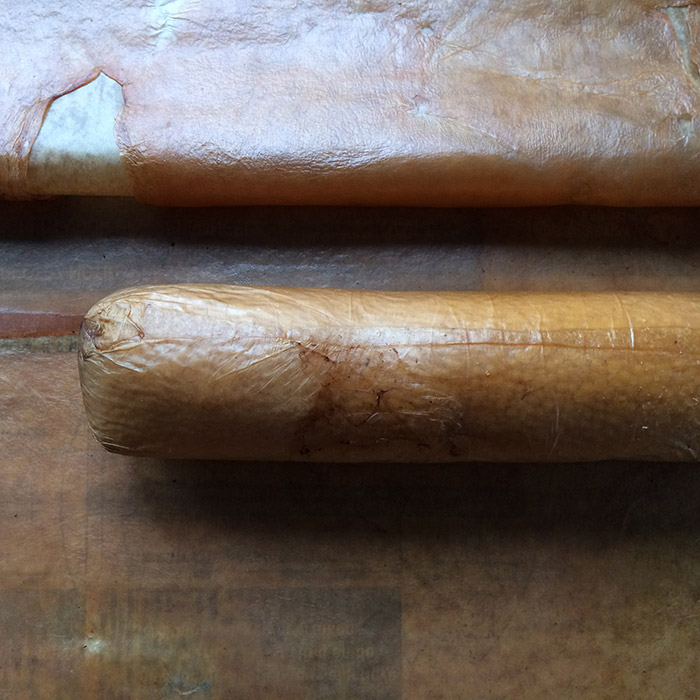
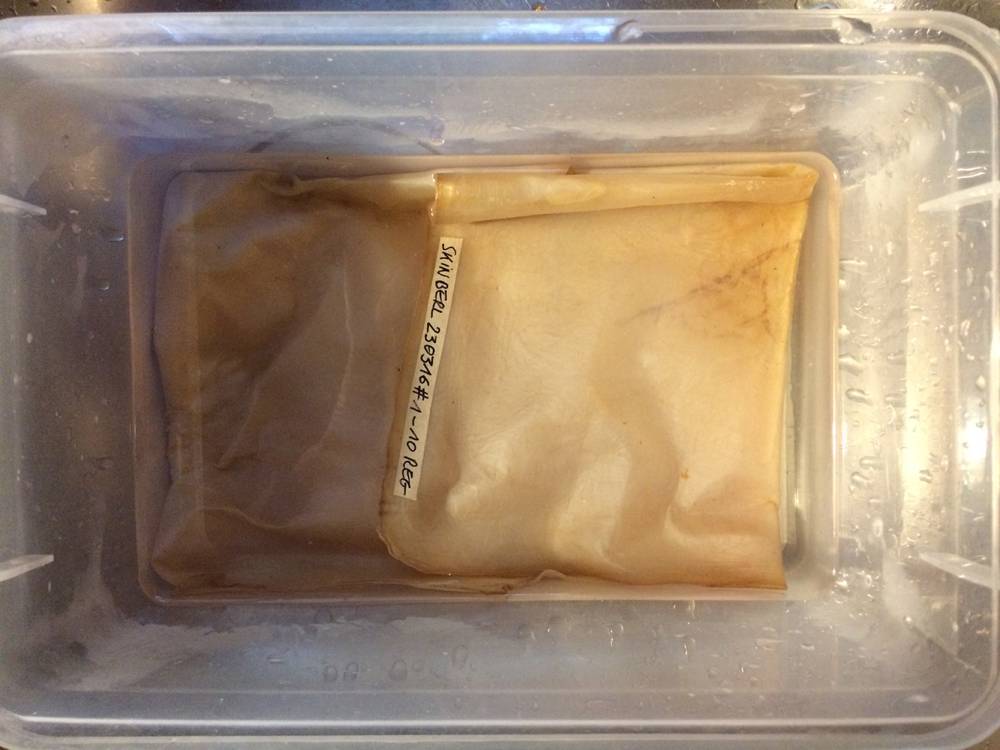
I continue the casting tests with BC skin on different forms. None of the skins that I started to grow this January is yet thick enough to use - so I decide to go for an old skin that I make wet again. This is one of the advantages of Bacterial Cellulose: at any time you can change forms and shapes, dry, make it wet again and start allover.
The first Voronoi shape is a 3D printed piece. I made a negative mold of it in silicone. The wet skin is put inbetween the 3Dprinted form and its negative mold, and than pressed together - protected by a plaster mothershell.
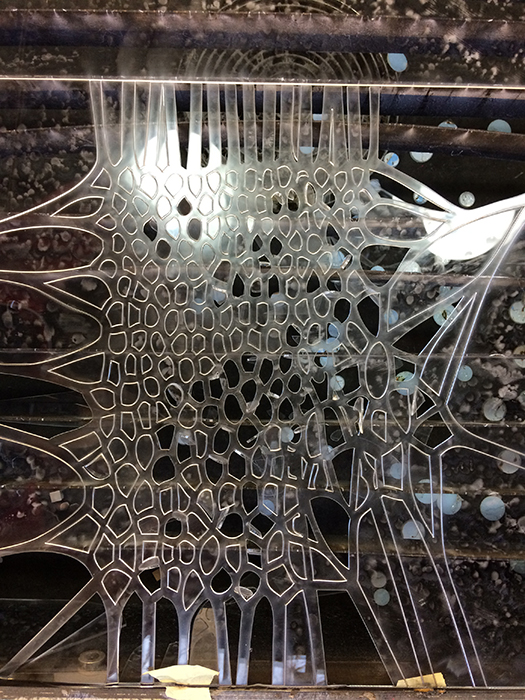
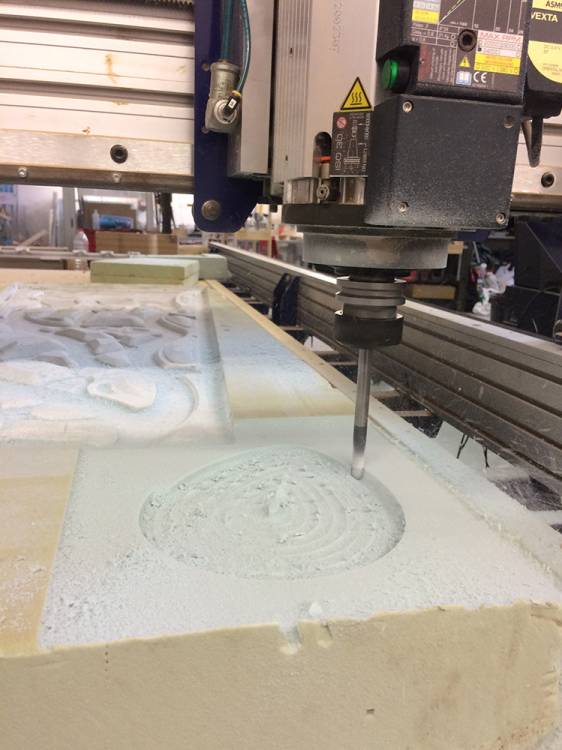
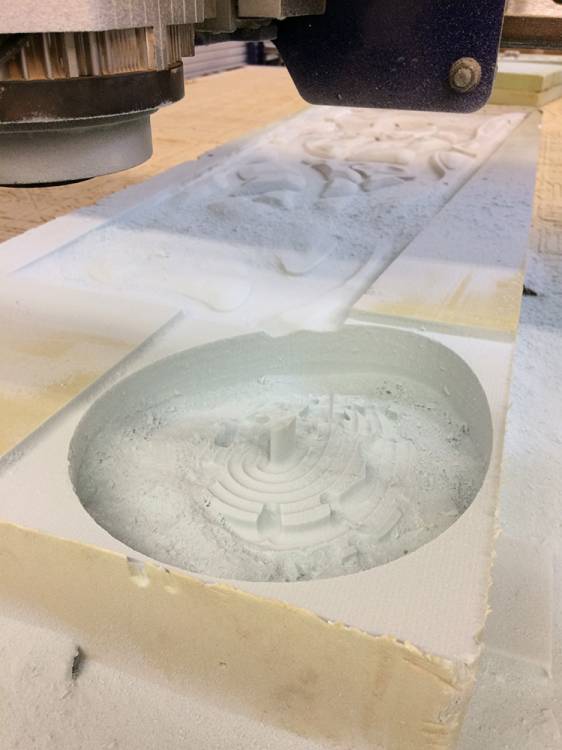
Same principle is used for the second shape: the positive form is milled with the CNC out of high density foam. The negative form is a silicon mold and the wet skin is pressed inbetween.
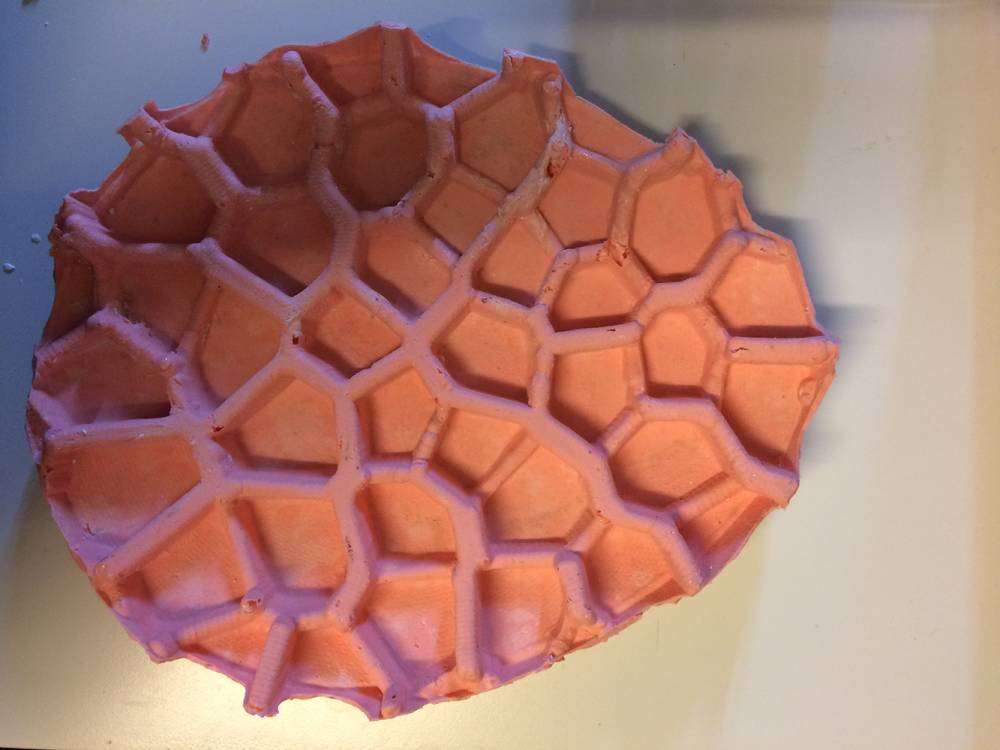
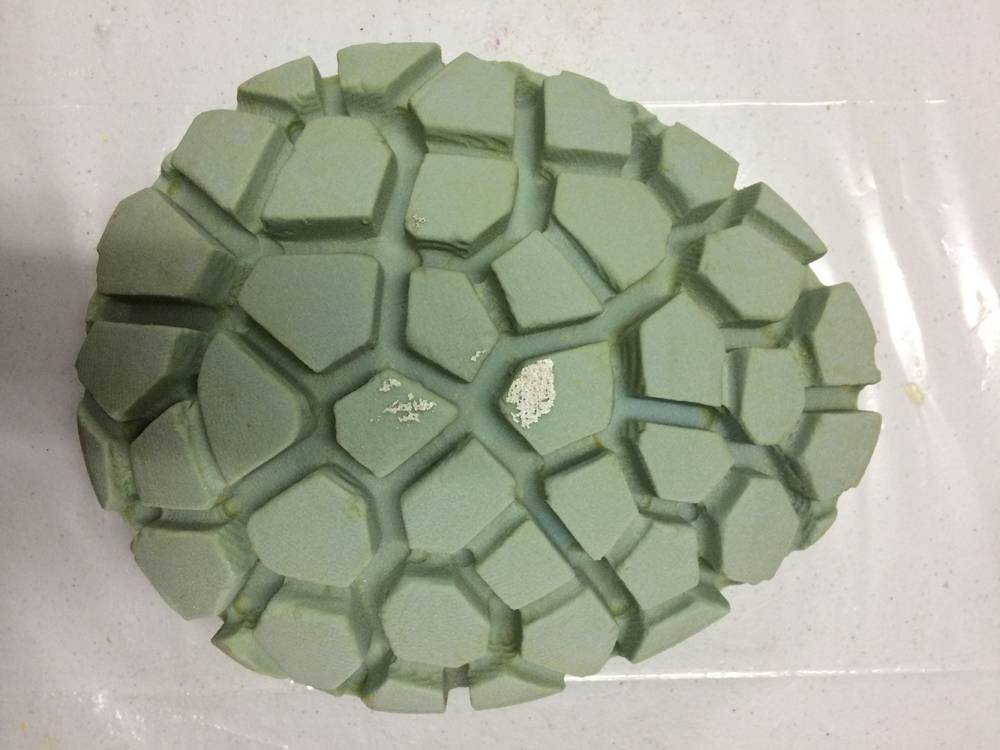
Idem principle, deeper Voronoi profiles. We'll wait for the results, end of February. If this technique works fine, I will do a complete beehive made out of different positive/negative pieces in BC, put together once dried.
report of meeting dd.20/01/2017 at FabLab BCN/IAAC/Textile Lab
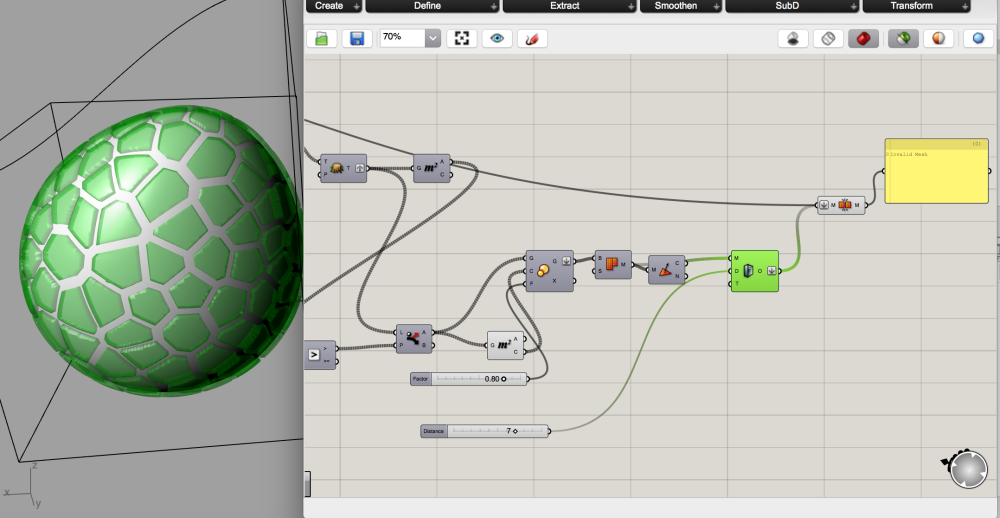
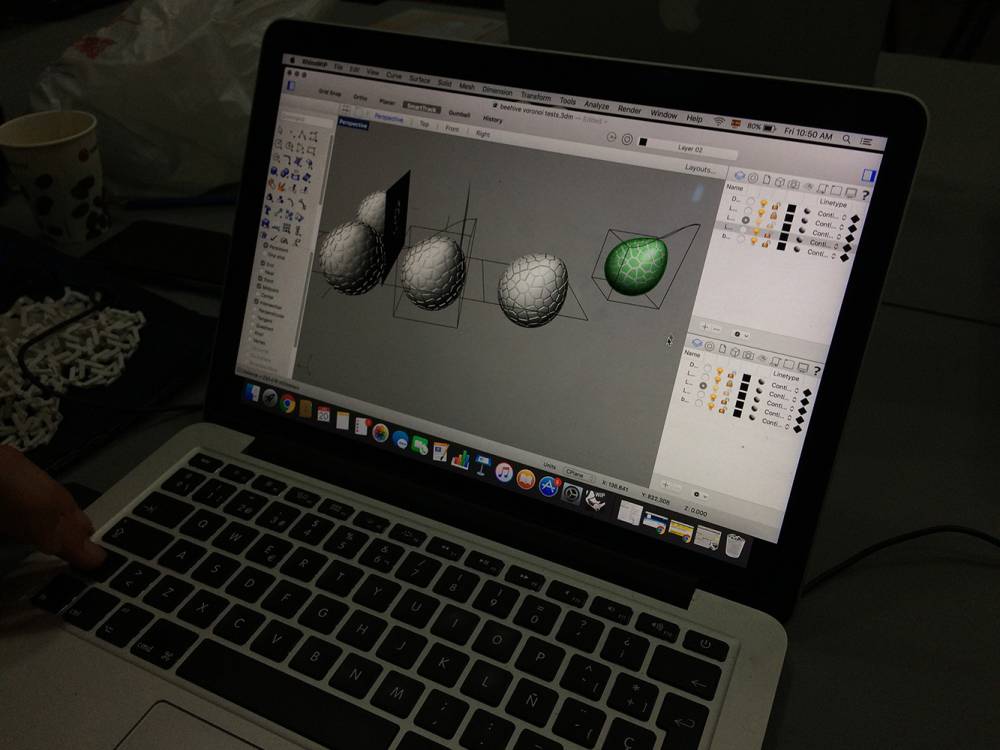
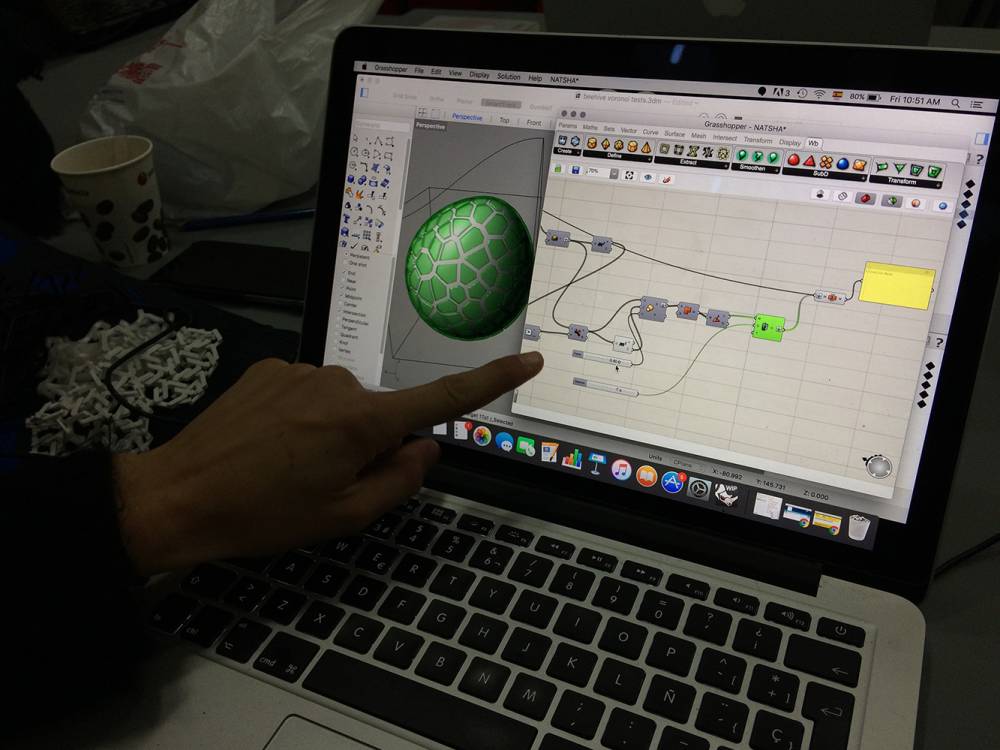
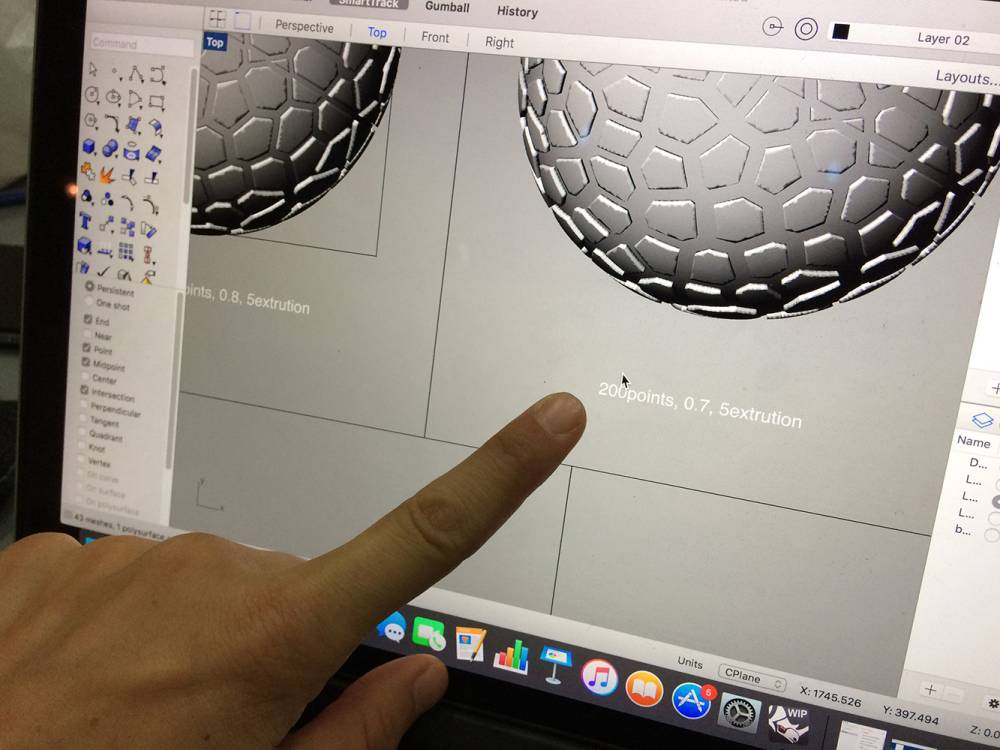

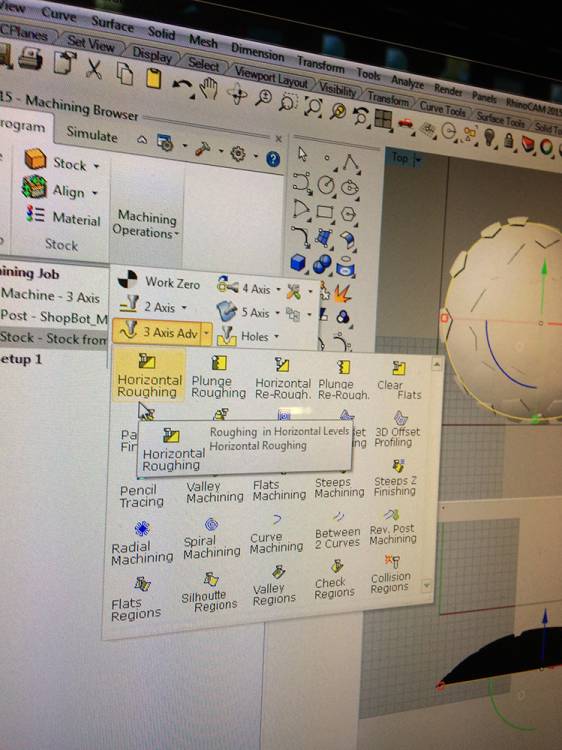
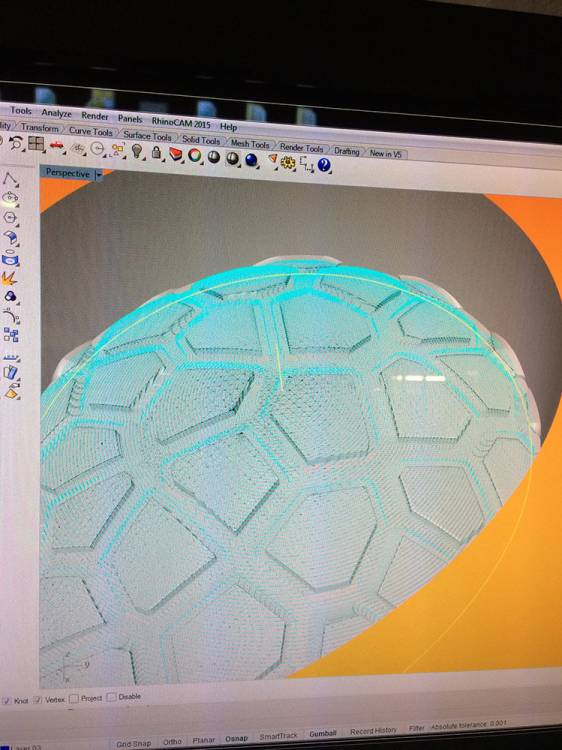
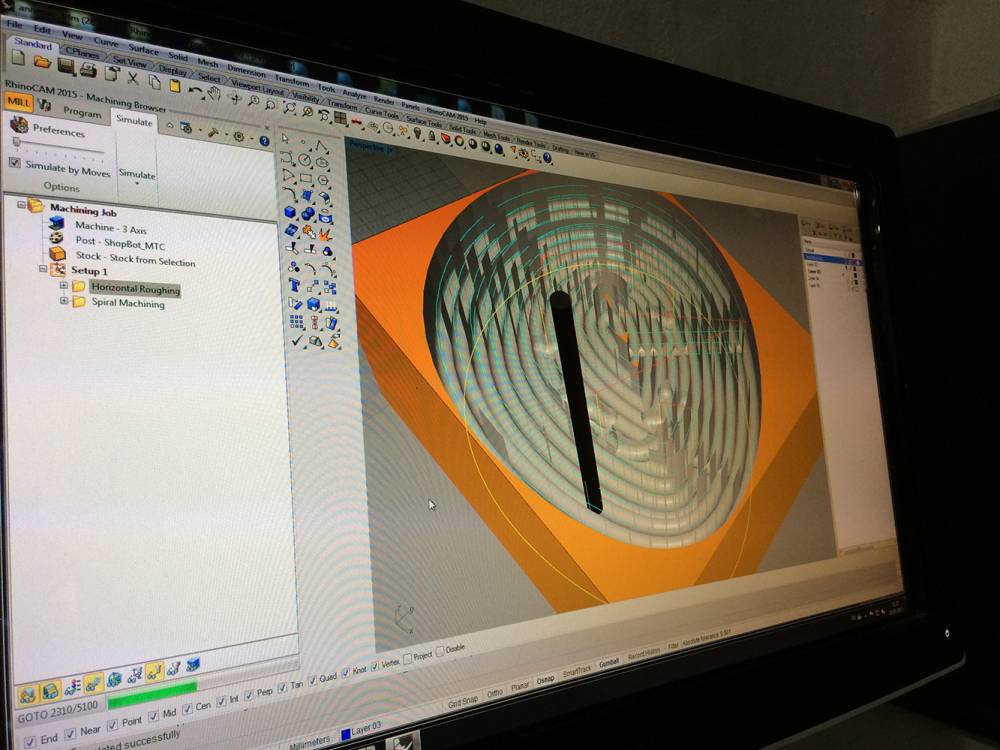

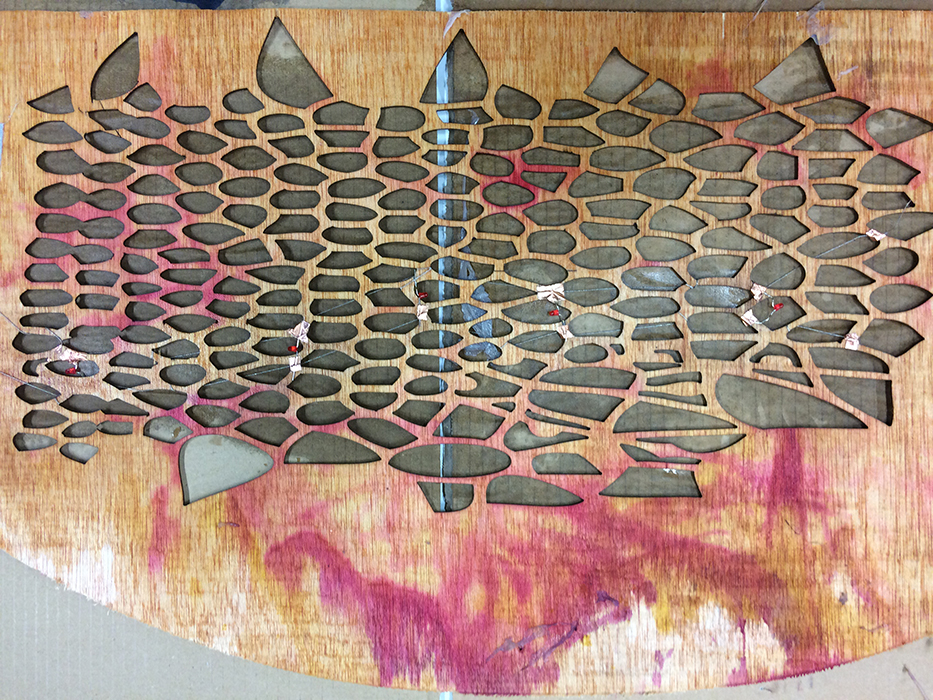
Anastasia gives a course Grasshopper and Rhinoceros while preparing the CNC machine to mill the Voronoi shapes in high density foam.
The design is parametrical and can thus be adjusted where needed. We mill shapes with different depths and widths and after tests we'll decide from the results which design works best for forming the Bacterial Cellulose skin.
external research
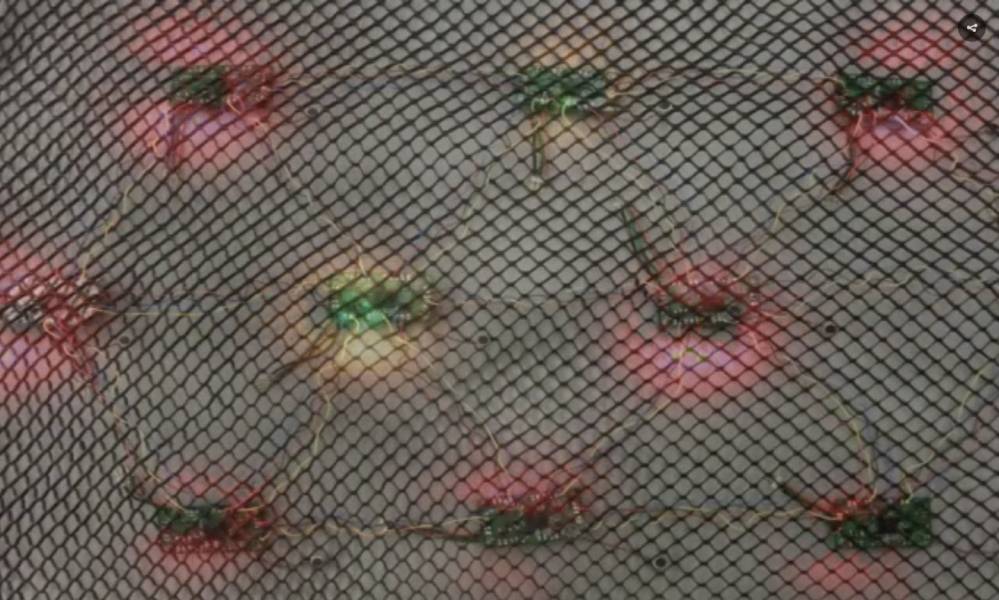
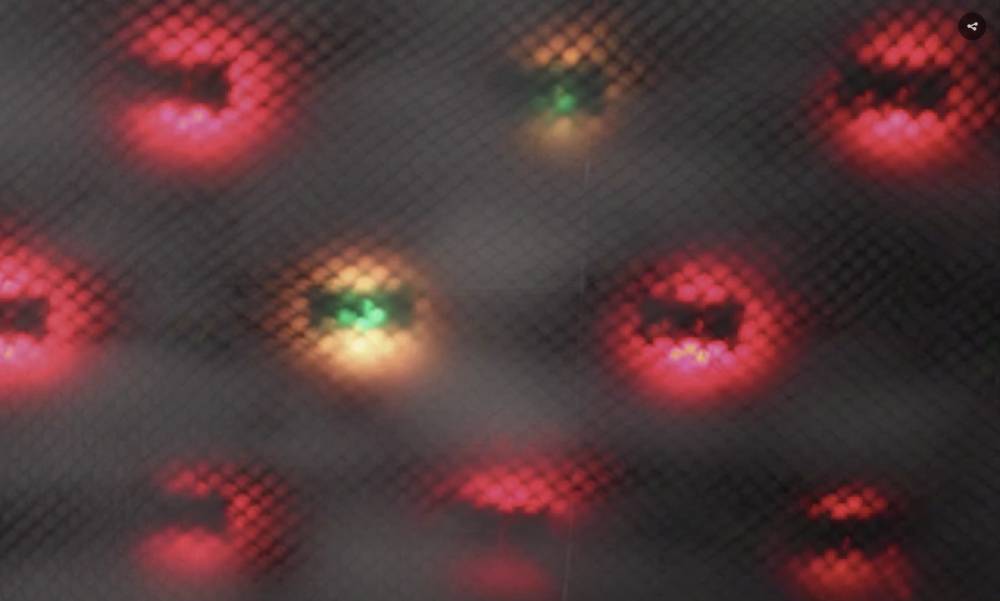
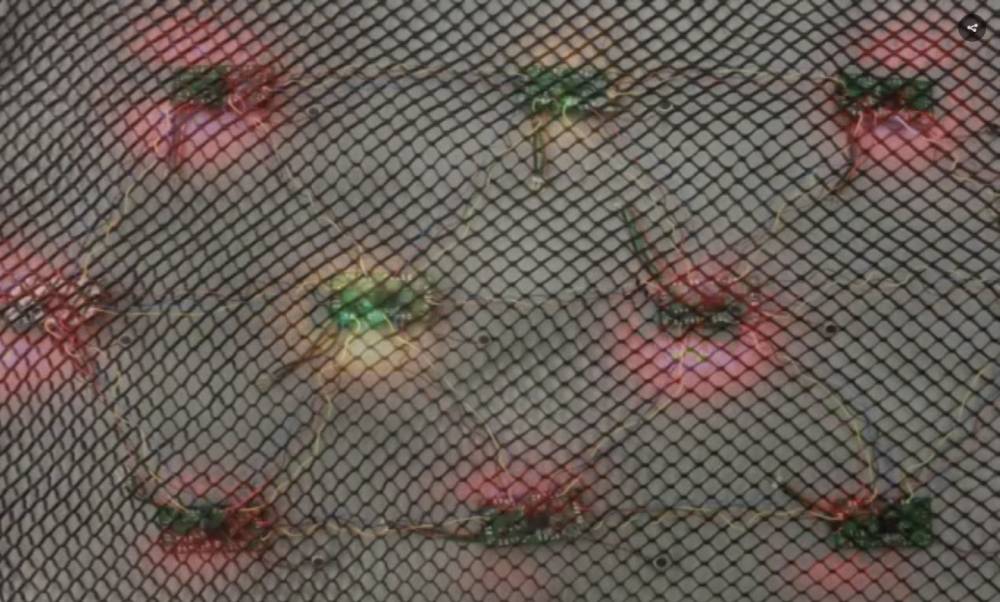
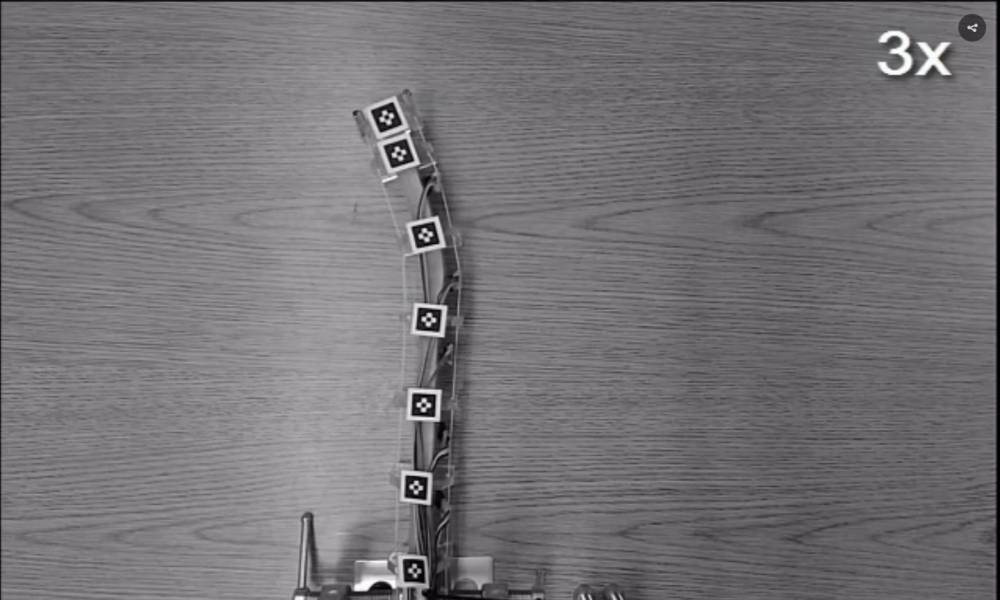
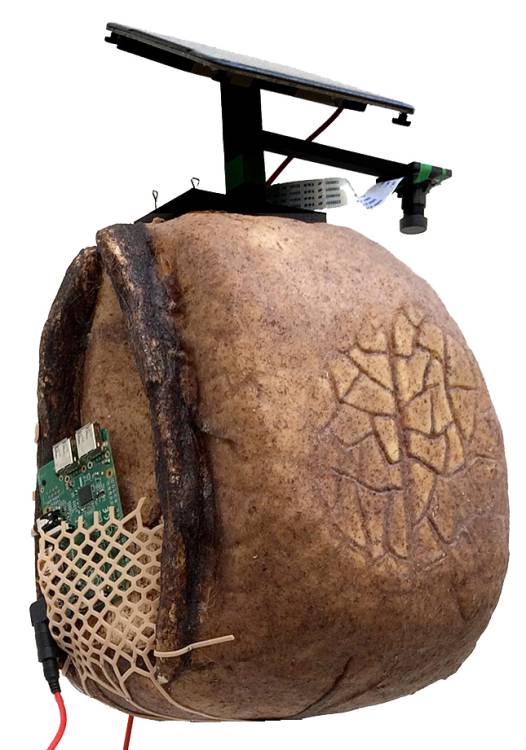
robotic skin at Correll lab, Bouylder, Colorado
Robotic materials require tight integration between sensing, computation and actually changing the materials properties of the underlying material. While materials can already be programmed to change some of their properties in response to specific stimuli, robotic materials can sense stimuli and determine how to respond on their own.
An artificial skin with possibly thousands of sensors could do the same thing, and only report to a central 'brain' if it touches something new.
skin materialities


basic research
information on the 3 basic elements that are important for growing my membranes:
- bacteria (https://en.wikipedia.org/wiki/Bacteria)
- fermentation process (https://en.wikipedia.org/wiki/Fermentation)
- skin / leather (https://en.wikipedia.org/wiki/Skin; https://en.wikipedia.org/wiki/Leather)